Getting Creative with Perlin Noise Fields
TL;DR: I made twenty five different designs using only Perlin flow fields, a simple generative algorithm. Scroll down to see the results.
All Processing code for this article, along with images and animated GIFs, can be found on Github
In little gaps of time when I’m trying to unwind from my PhD work, I have a hobby of making generative art. Seeing interesting images appear within a short time using simple algorithms provides a refreshing change from my academic work where one ends up working for months or years on a project before seeing any success.
On a boring weekend in December last year, I decided to set myself a fun challenge: pick a simple generative process to simulate and attempt to make as many different variations as I can by just playing with the various available parameters.
The algorithm I picked was perlin noise fields, the movement of particles on a canvas based on a simple force field created using Perlin noise. I built a handful of simple classes in Processing to help me quickly iterate on ideas and I was off.
This post details what I came up with along with some lessons learnt. In particular, this challenge has been helpful in understanding how to actively practice creativity using self-imposed constraints.
Perlin Noise Fields: A Brief Overview
The idea behind Perlin noise fields is quite simple. (Note: they are sometimes referred to as perlin flow fields or vector fields)
Think of the canvas as a two-dimensional force field. Each point on the canvas is assigned a direction in which it’s “force” redirects particles.
So for example, by assigning random directions of force for every point on the canvas, we might end up with the following.
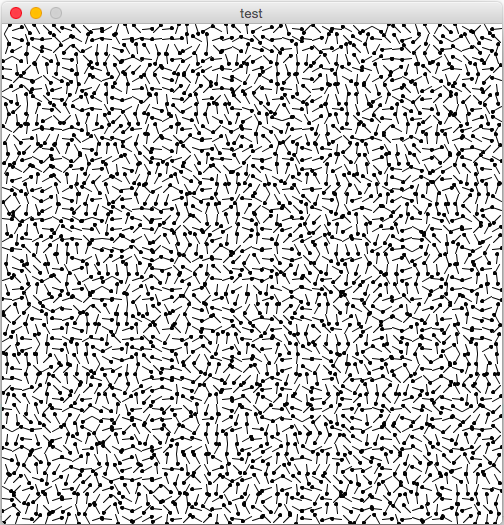
Now, to give a more organic feel to the randomness, Perlin noise is used instead in determining the directions of forces. Adrian Biagioli has a great writeup explaining how Perlin noise works in detail. Using Perlin noise, what we end up with is something along these lines.
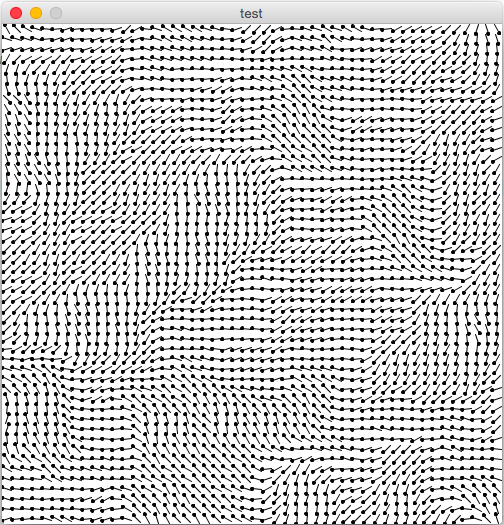
As you can see, the directions have a much smoother feel compared to jarring changes in the random version.
With this in place, the next step is to release some particles onto the canvas and simulate their movement as effected by the underlying forces.
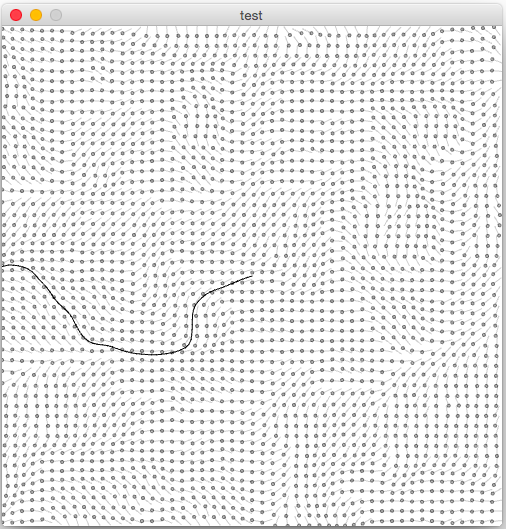
That’s it! Like I said, it’s pretty simple.
For this exercise, I added some basic classes to help me organize the code better. Primarily, I wanted to be able to define particle sets, each containing one or more particles and associated with a custom drawing function. I also implemented classes to help me layer particle sets. That way I can have a sequence of layers which are drawn on the canvas one after the other, and a layer is finished only when all particle sets assigned to a given layer have been simulated a certain number of steps.
The Iterations
Click on the images below to see an animation of the process. WARNING: in case you’re viewing this on your mobile data, some of the GIFs are fairly large!
I first started with the low hanging fruit. A white background with many low-opacity black particles results in the following, where the areas attracting more particles end up being darker.
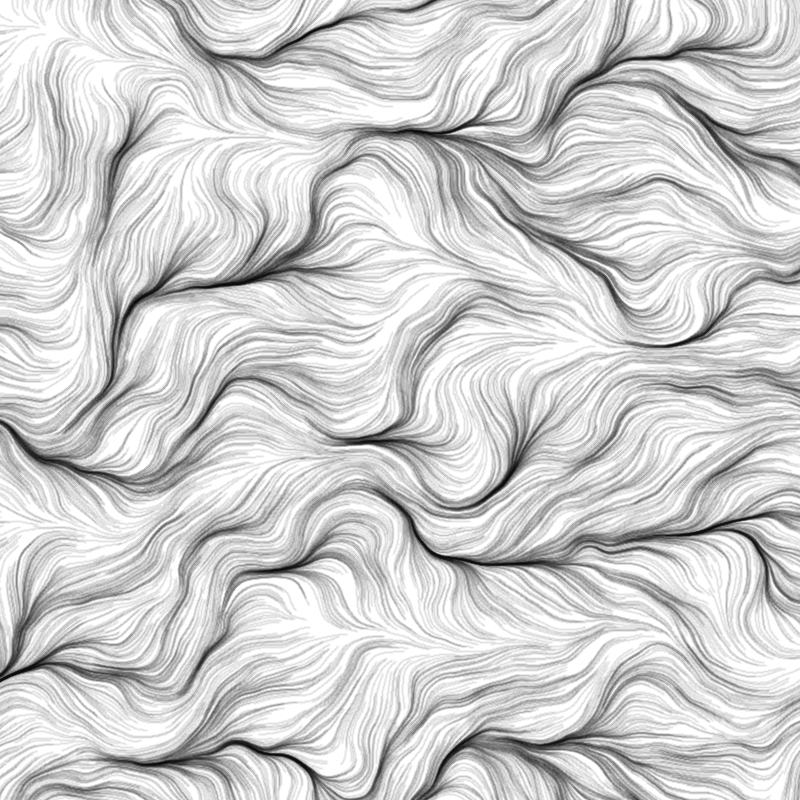 Iteration 1
Just out of curiosity, I decided to flip the colors; a black background with white streaks of different thicknesses across it. The result was more interesting with a greater sense of depth.
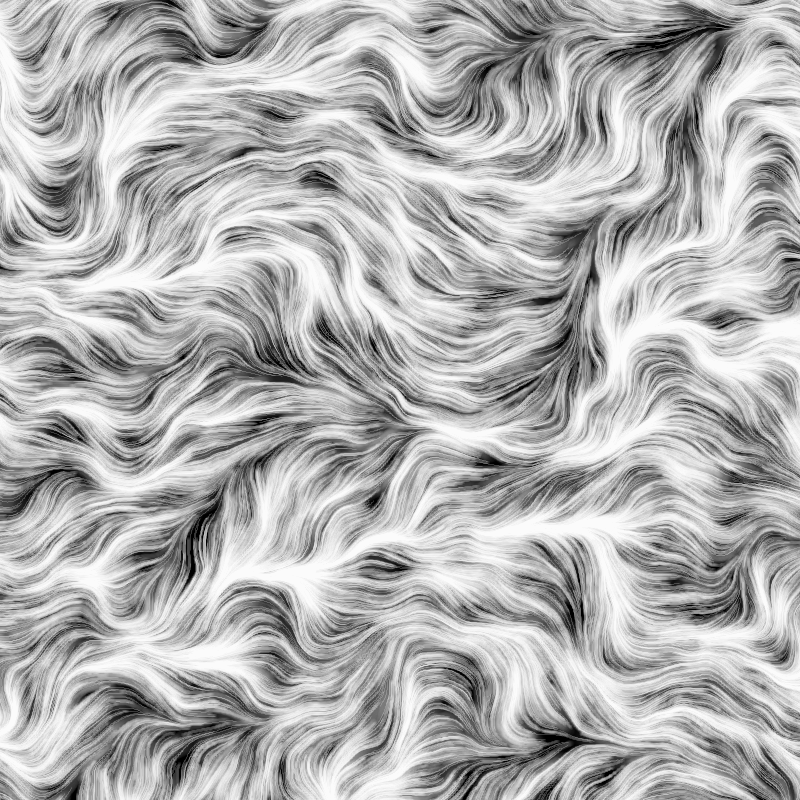 Iteration 2
Going off that sense of depth, I decided to throw in some colors. Hand-picking a palette of purples, I layered multiple sets of particles, going from darker to lighter. The result was unexpectedly beautiful!
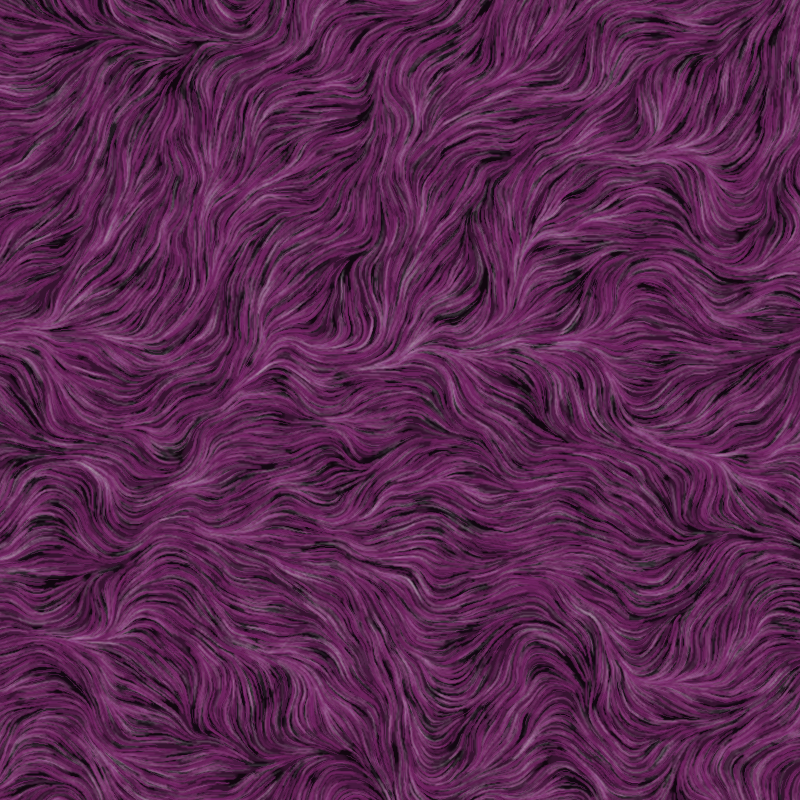 Iteration 3
Unexpectedly, just after three variations, I already felt like I was out of ideas on where to take things next. I put aside the thought and played around with varying the line thickness and used a very low opacity (1%) for the particles. The result was quite pleasing, with the gray color almost appearing out of nowhere!
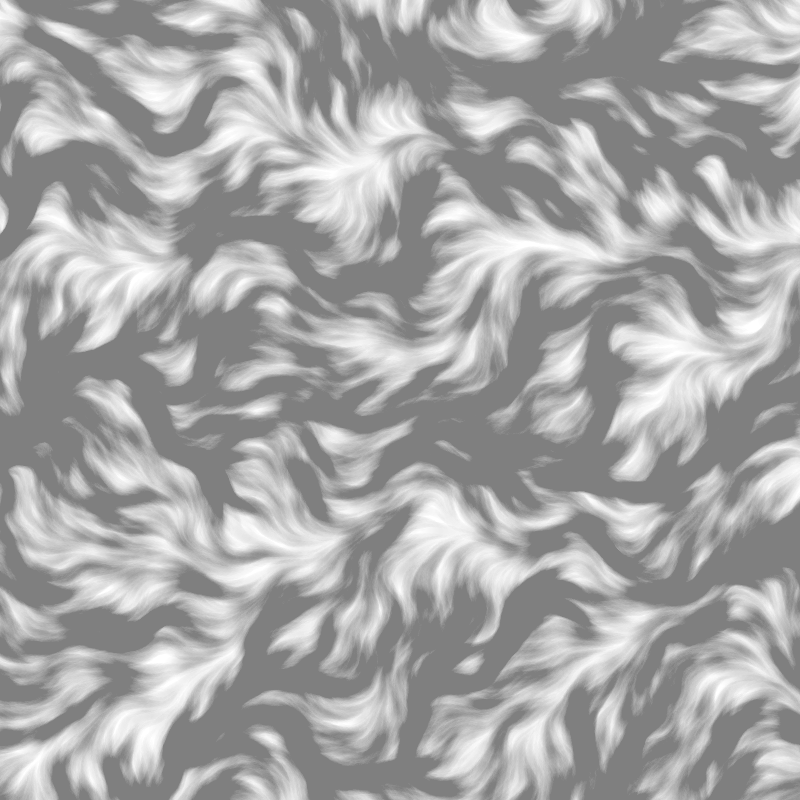 Iteration 4
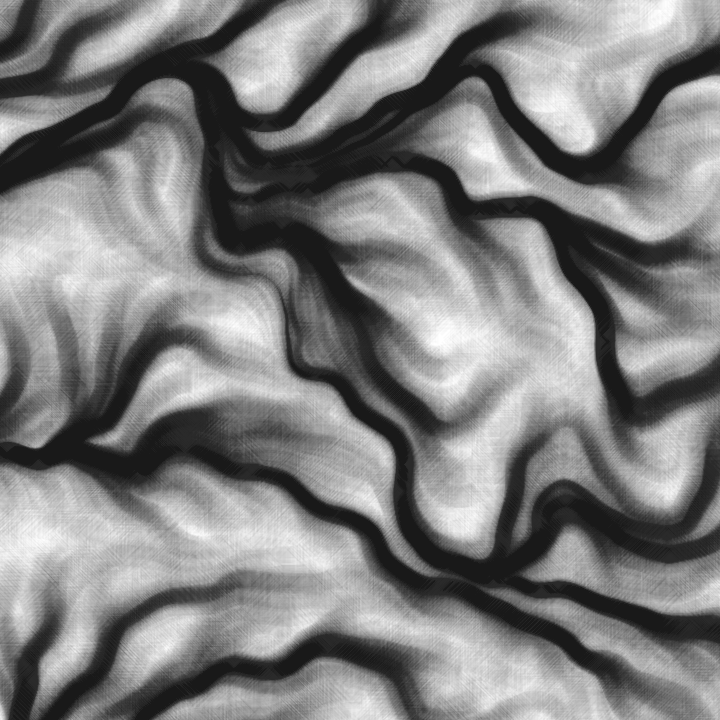
While playing around with the different line parameters, completely by chance, I happened to change the stroke cap for the lines to square instead of the default round one. To my surprise, it introduced a whole new texture to the image, like a charcoal pencil on rough paper.
I wanted to get some color in there and so I started looking for a way to procedurally generate a pleasing set of colors. I ended up finding this great article on generating colors, and used the golden ratio color generator described there. Again, the result was spectacular!
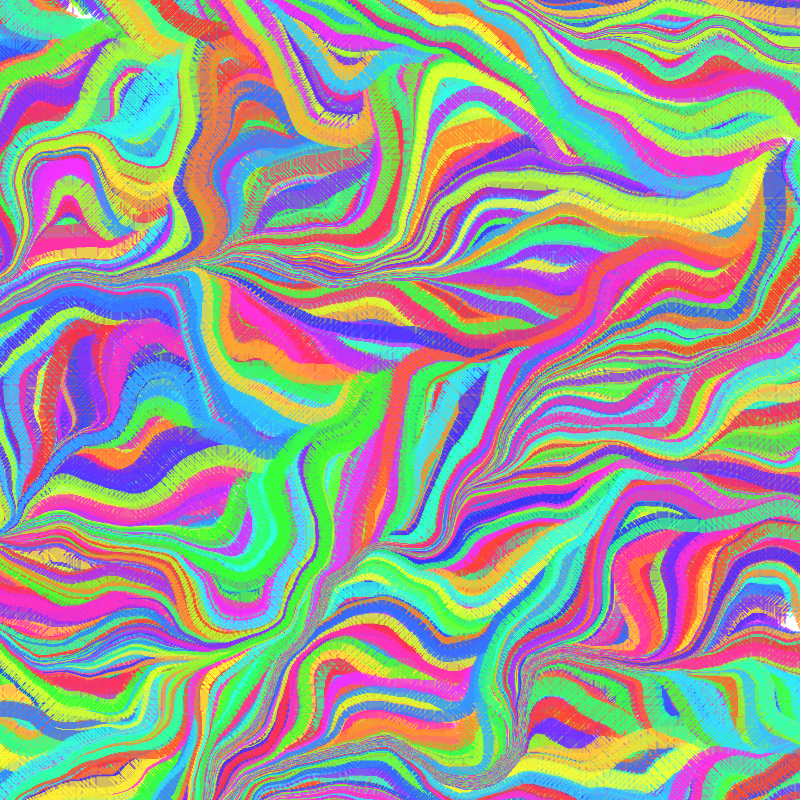 Iteration 5
I decided to keep the procedural colors and decided to explore other shapes; instead of drawing lines, I switched to drawing arcs instead. Again, the result is completely different!
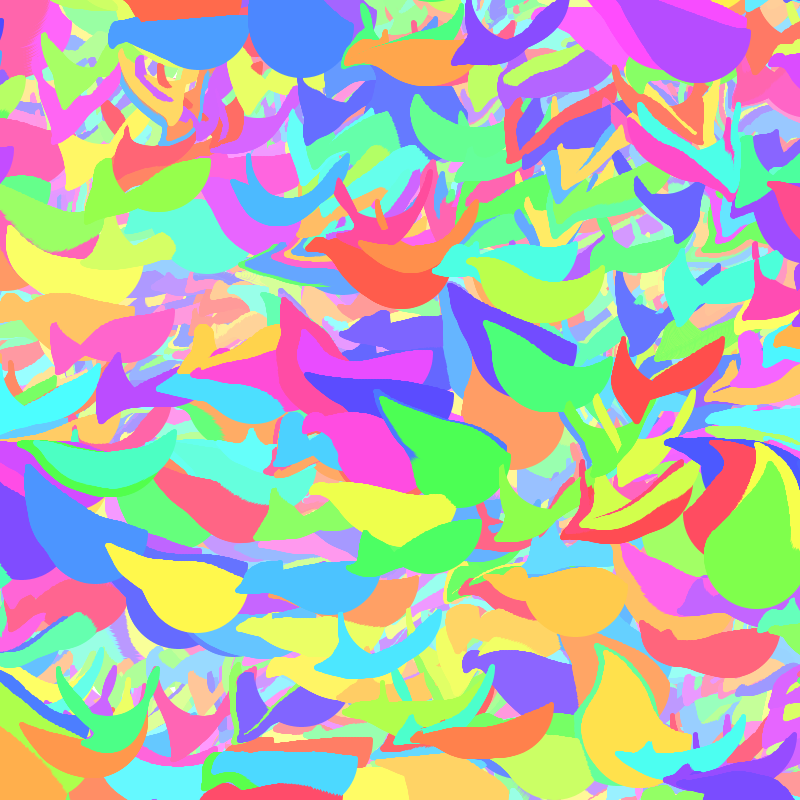 Iteration 6
I noticed that the golden-ratio based color generator was using the HSB (or HSL) color space and decided to play with that a bit. I picked a hue that I liked and picked random saturation and lightness values and ended up with this.
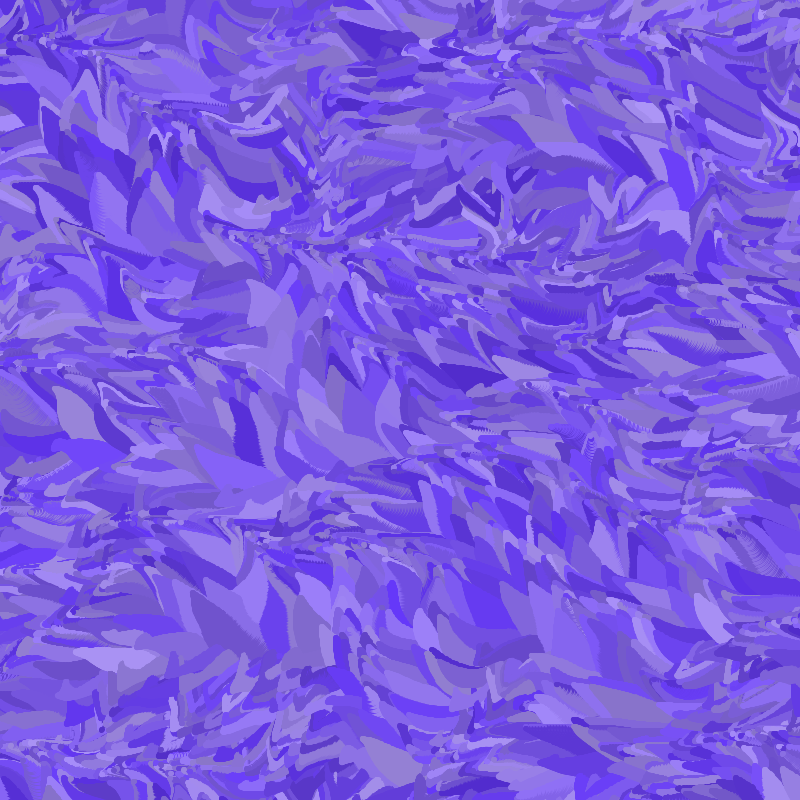 Iteration 7
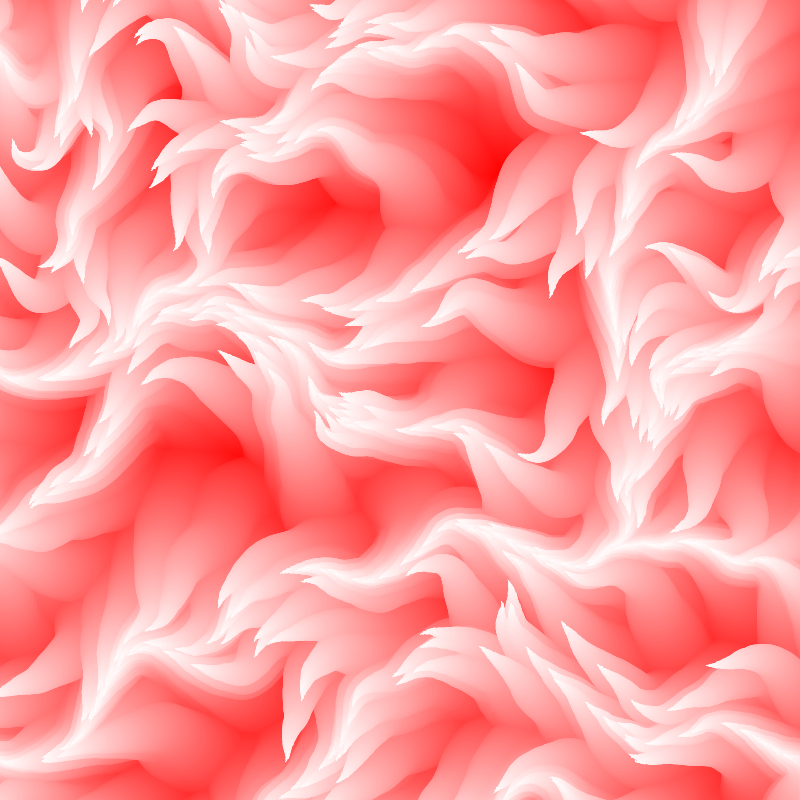
Next I decided to vary the saturation value based on the lifetime of the particle. The resulting effect took me by surprise as I watched it unfurl on the screen. The color went from full saturation to white while reducing in width, creating these beautiful flames!
 Iteration 8
For some reason, it suddenly reminded me of the green clouds in the hyena’s den from Lion King.
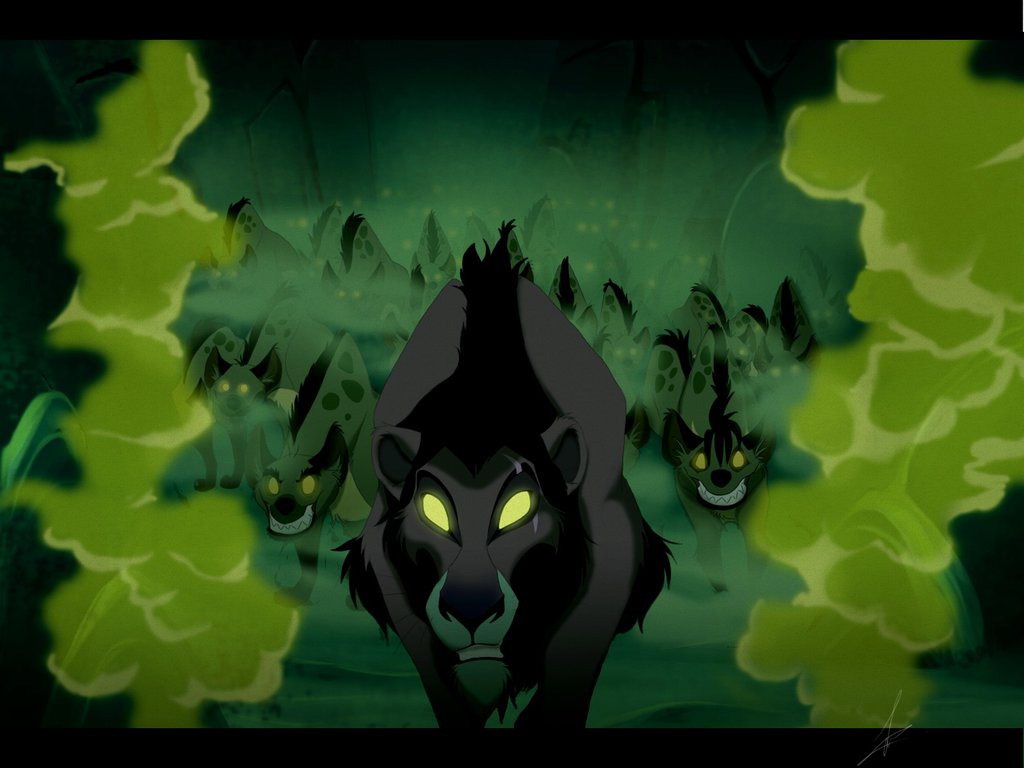
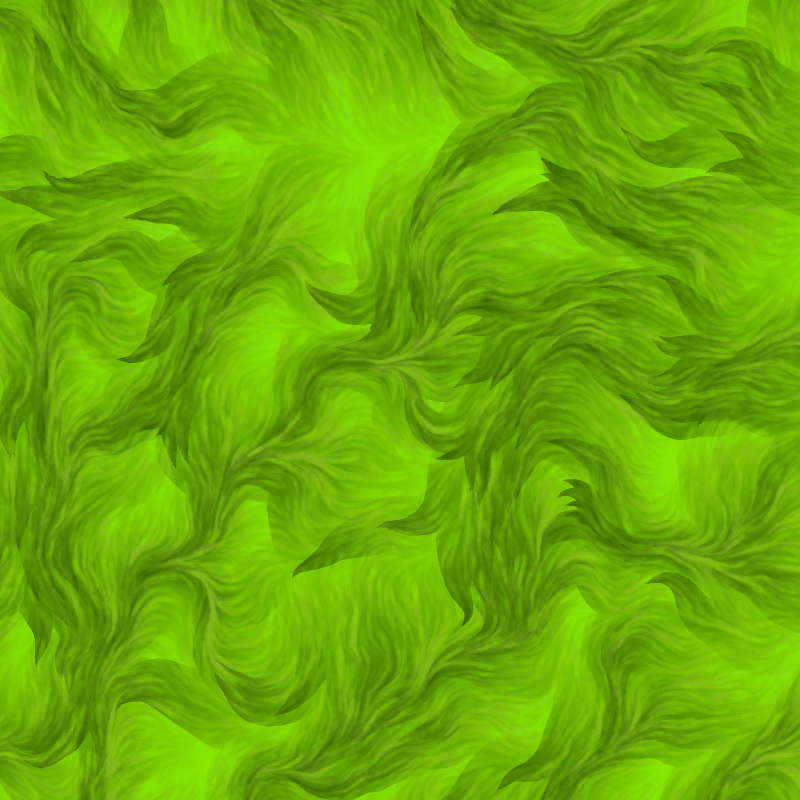
An odd connection which I decided to pursue a little for fun! With a bit of layering, I was quite happy with what emerged.
 Iteration 9
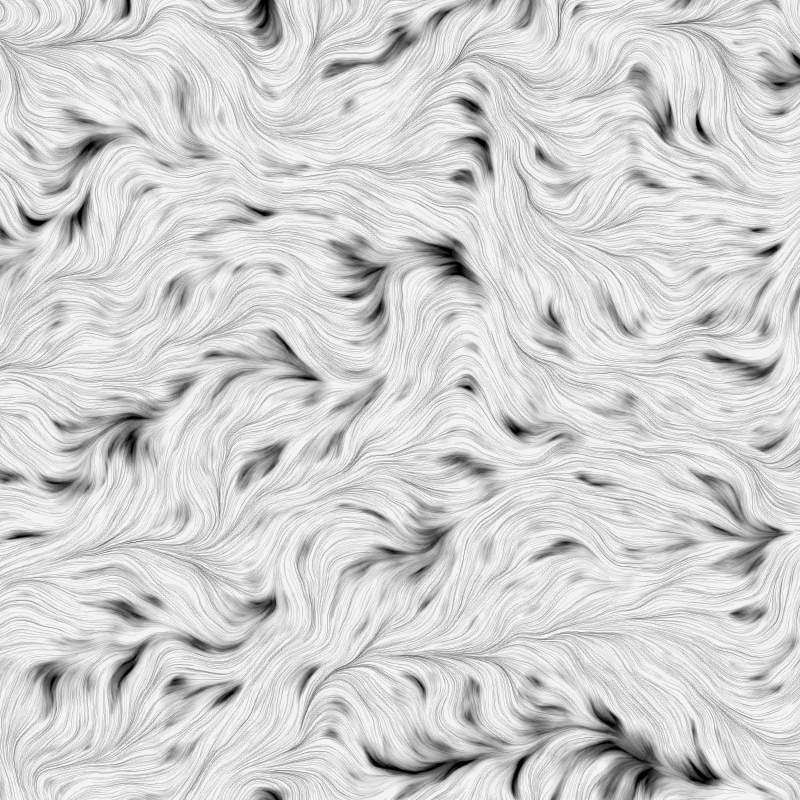
At this point, I began to panic a little. I seemed to be running out of ideas and most of my variations weren’t very novel. How was I ever going to get to my initial target of twenty five? Again, putting aside such thoughts, I decided to think in terms of composition. I decided to back off to simple grayscale, build an interesting background first, and layer fine details over it.
 Iteration 10
At this point I decided to change things up more drastically. I decided to draw lines perpendicular to the direction of motion using some translation and rotation prior to drawing. Due to some broken logic, I ended up with a happy accident; a haze with little blotches of clarity!
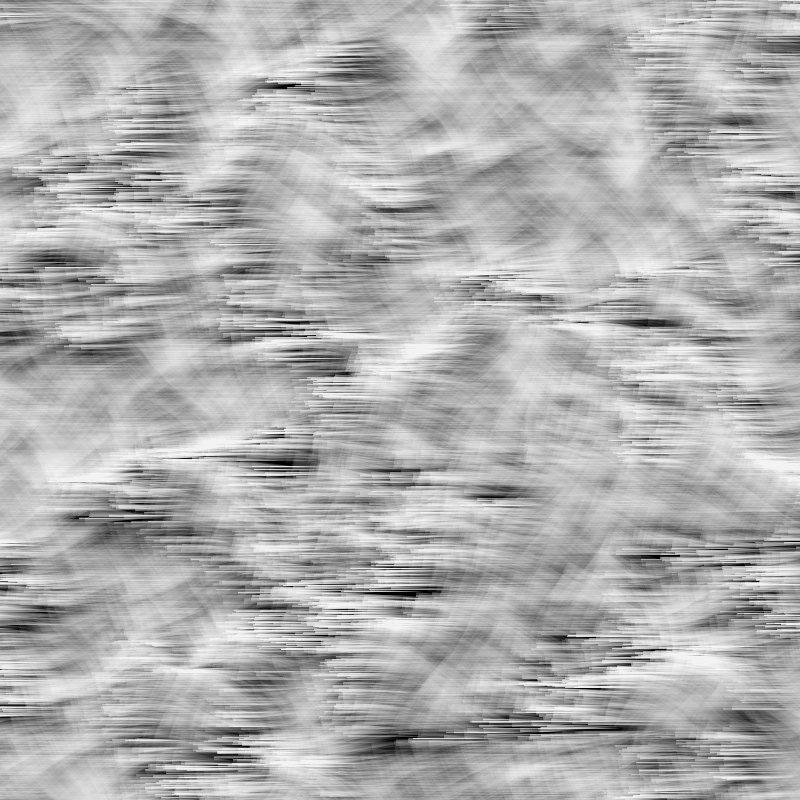 Iteration 11
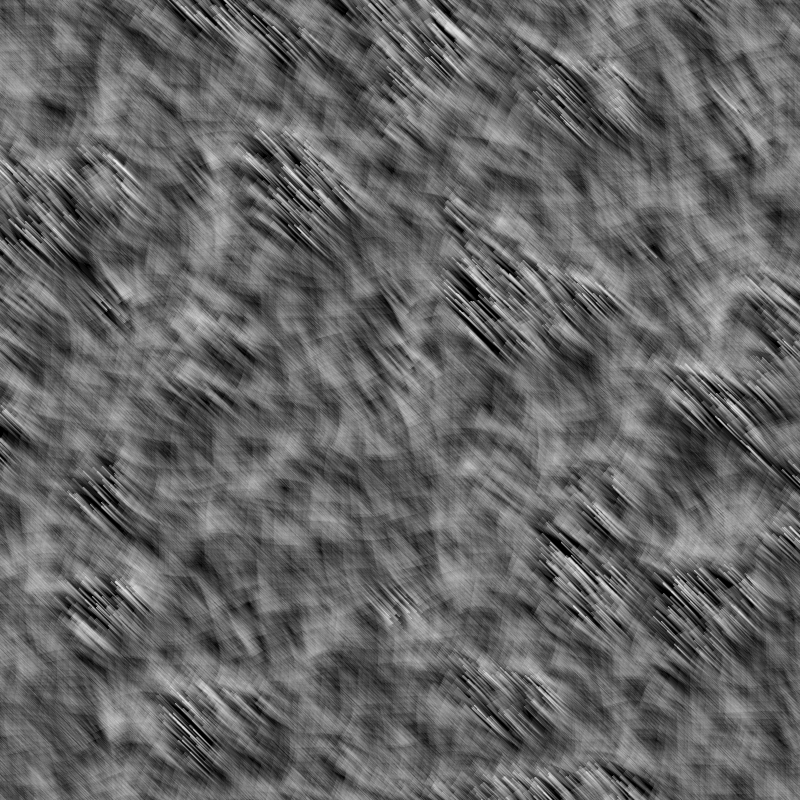
There is something beautiful about the ephemeral nature of the images discovered during these explorations. Here’s a version I found saved, which I had discarded. However, looking at it now, I find myself liking it. Unfortunately, the exact code for generating it has been lost forever with no easy way to recover it, making this image, ironically, the most precious one!
At this point, I again found myself running out of ideas but I stayed the course. I decided to draw circles, but a custom style that had wobbly edges. Again some bug in my code led me to a happy discovery of the following image!
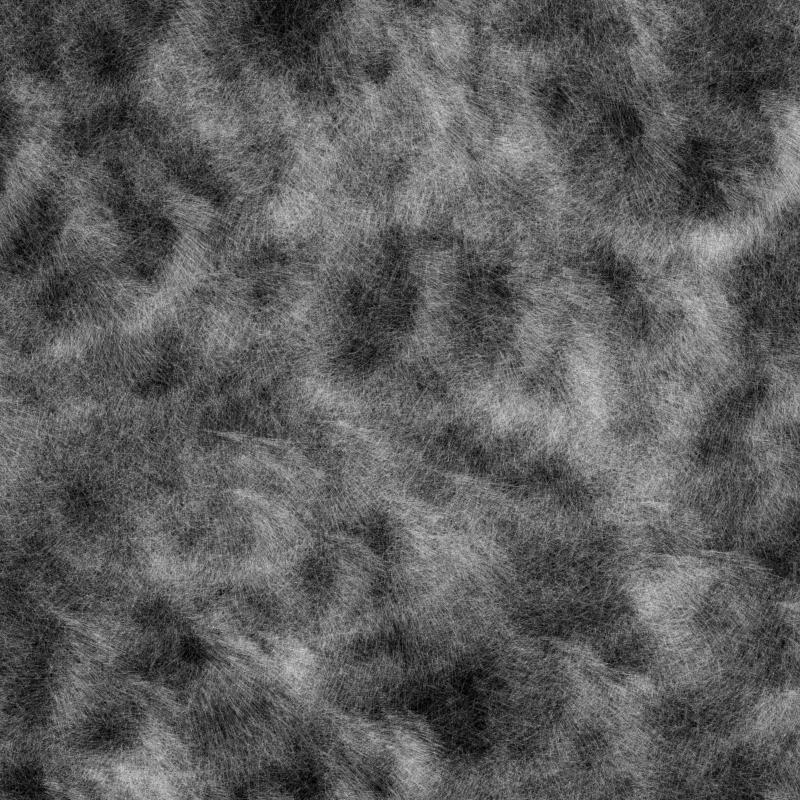 Iteration 12
Looking at it, I thought I could make it darker and achieve the feel of a starry sky. So I tried to make something along those lines. I threw in some stars in the sky and some shooting stars streaking across the sky, all using the same basic algorithm.
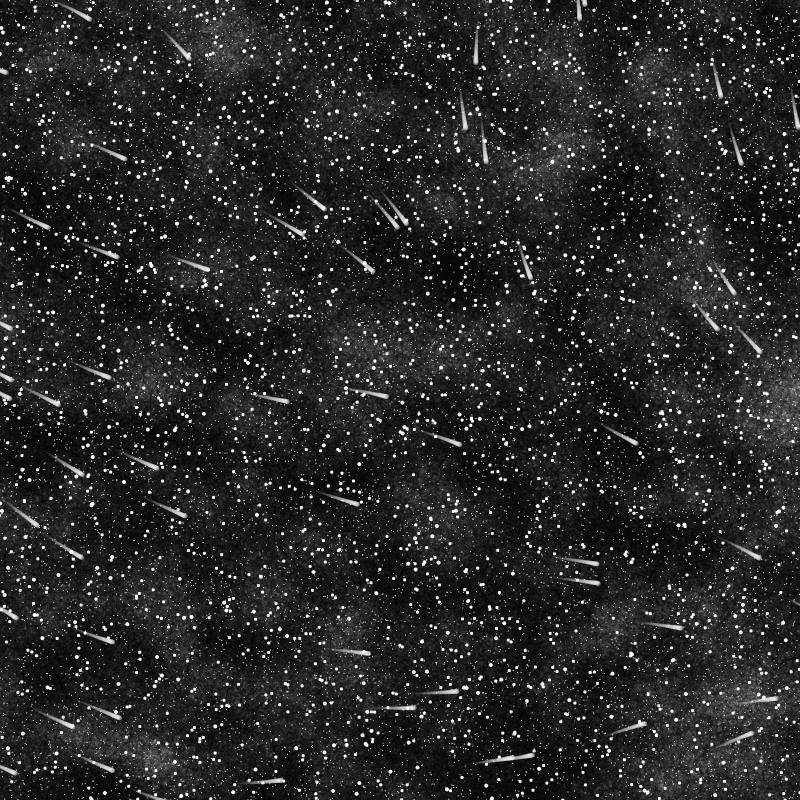 Iteration 13
I liked the shape of the shooting star where I varied the thickness of the line over the lifetime of the particle. I decided to layer different sizes of these shapes onto a white background to bring about a sense of complexity and busy-ness. The result reminds me very much of the fur on a Dalmatian!
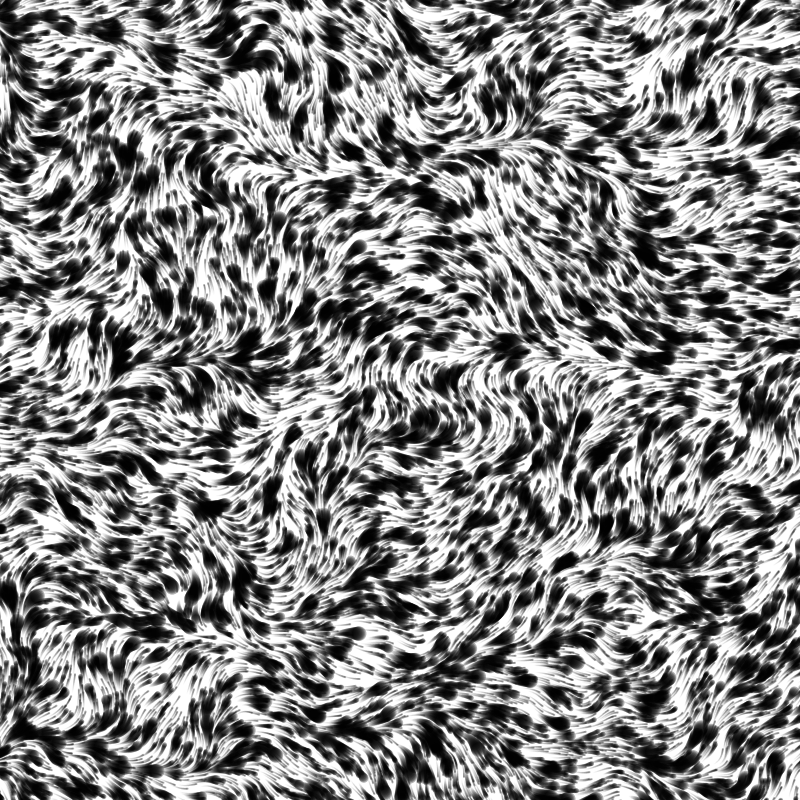 Iteration 14
I decided to re-use this basic “comet” shape and make the tails longer while lowering the opacity over time so that particles fade away. I also did this in alternating layers of black and white streaks to get a lot of variation in the different gray levels in the image. The result was super smooth and organic!
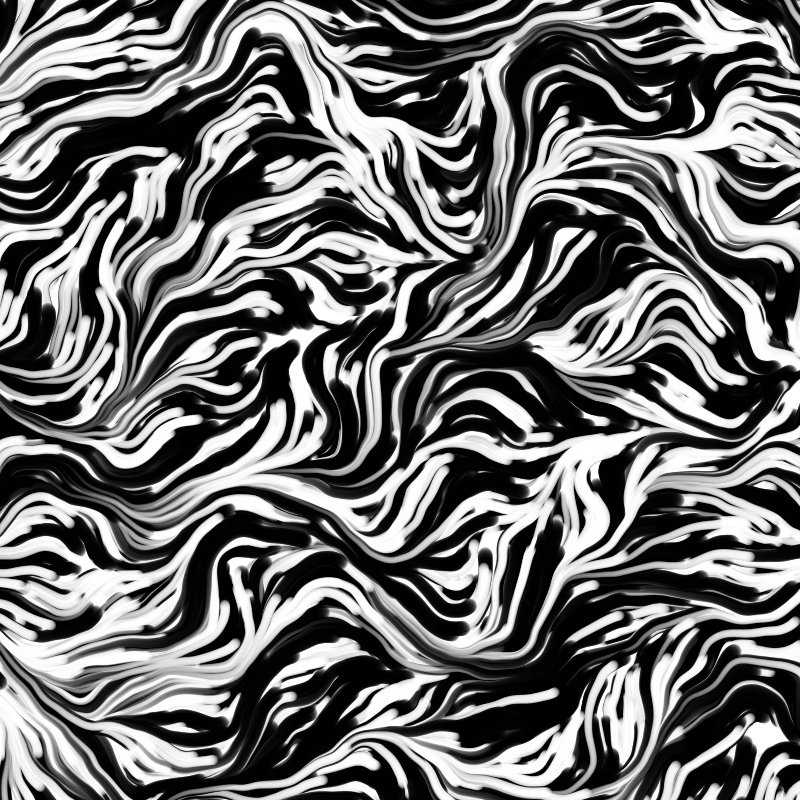 Iteration 15
I decided to add some color in there. I tried to get the feel of a chalk drawing done with a light sanguine color. Again, small and random inspiration, but nice results!
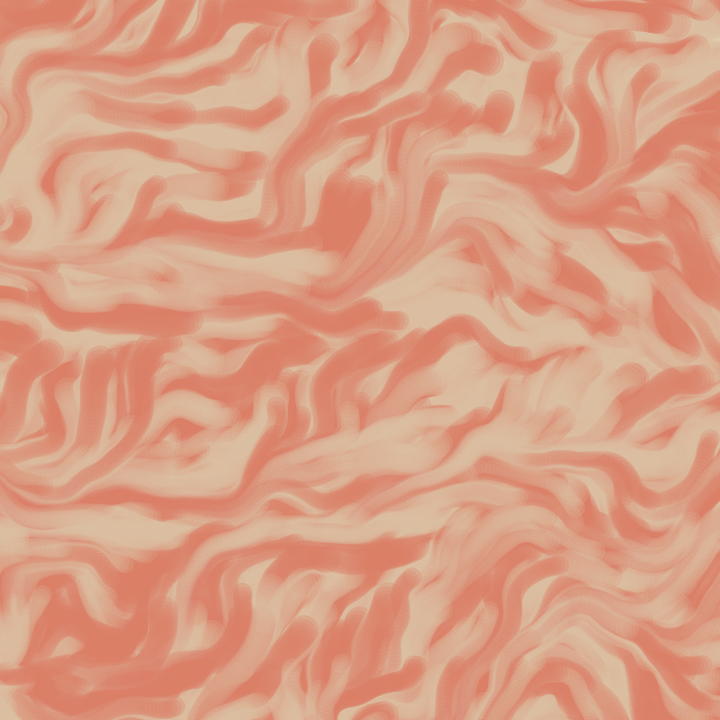 Iteration 16
Going back to the space-like image, I really liked the starry effect and decided to try and do the look of some kind of nebula in space. Instead I ended up with an angry swarm of some kind of space aliens from Star Trek. I love how “failure” can suddenly turn into success! All you have to do is define failure differently, in this case as stagnation or a lack of progress!
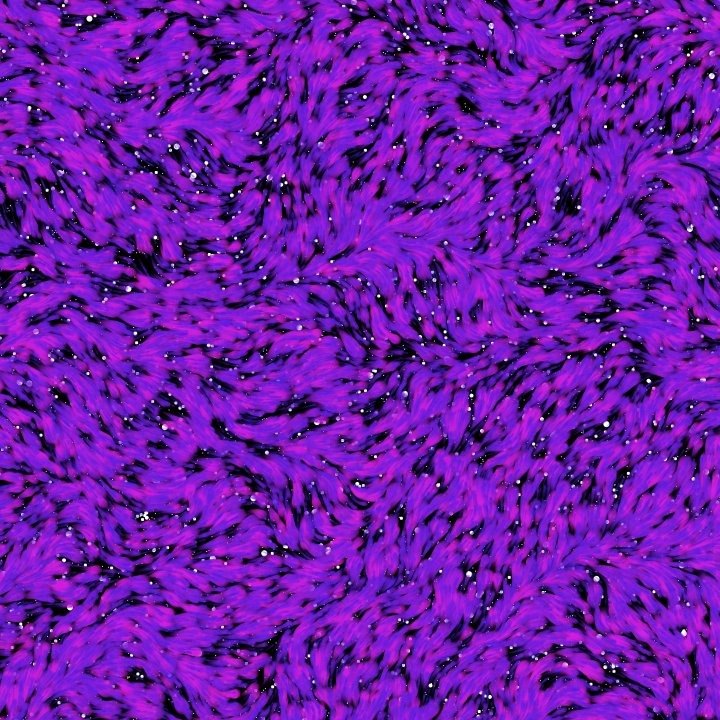 Iteration 17
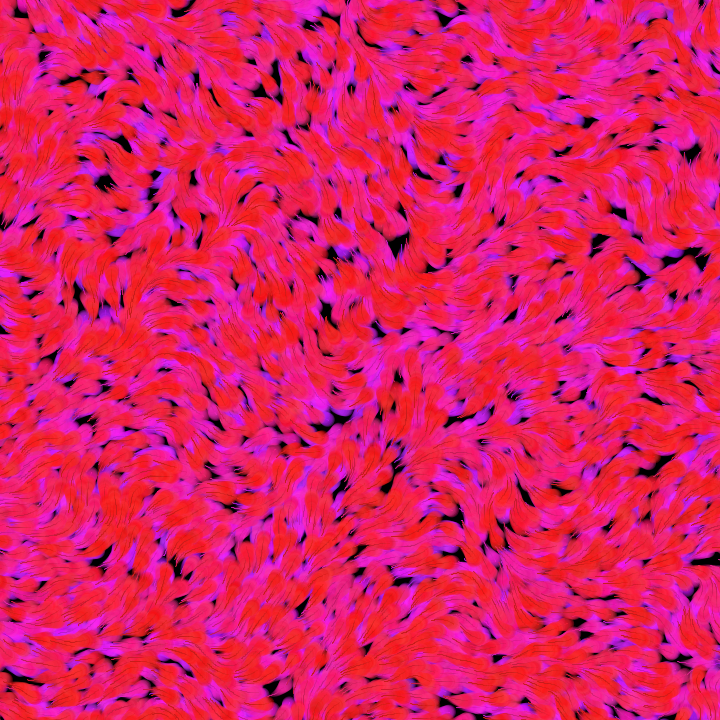 Iteration 18
The little elements in there kind of looked like leaves so I deliberately tried doing a scene of autumn leaves on the ground. Again, reusing the background from the space scene, and playing with different colors and layers, I got to this.
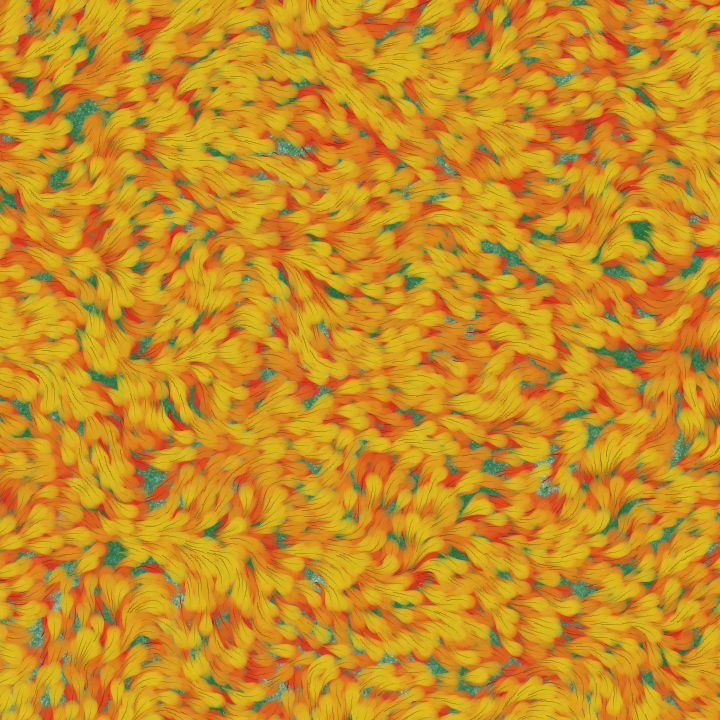 Iteration 19
One aspect I had not played with at all was the scale of the Perlin noise. Varying this, one can go from small scribbles to long sweeping lines as the force lines become more or less detailed. I simply drew ten layers with each one’s hue (in HSB space) mapped evenly along the color range.
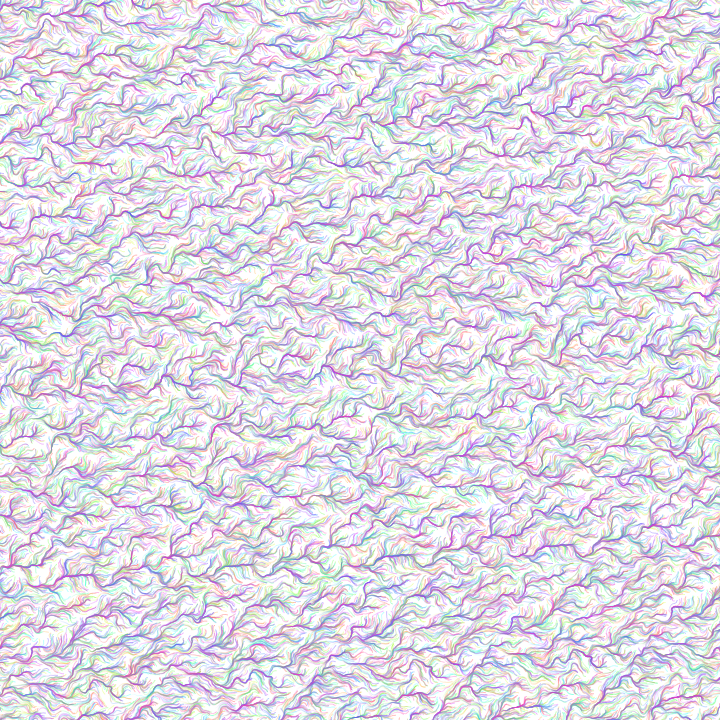 Iteration 20
I didn’t particularly like the details on this one so I decided not to play with the noise levels anymore. Instead I chose to draw some text, just a big ‘X’, as the particle moved. Along with some layering and choice of color, I ended up with this. Just a whole lot of X’s!
 Iteration 21
At this point I remembered an old program I had seen over at OpenProcessing on simulating water color and decided to implement a similar drawing style for my particles. (Note: the animated GIF in this case is not that good due to the limited color palette.)
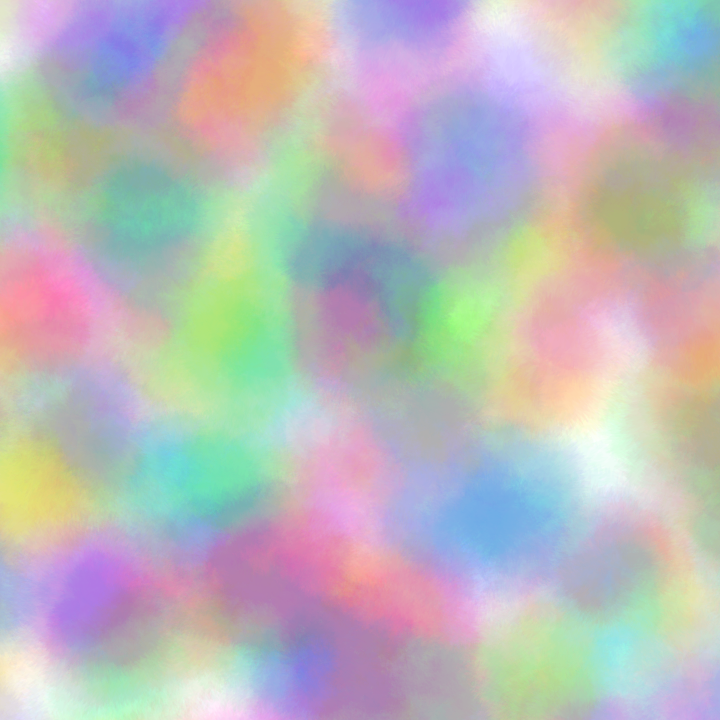 Iteration 22
I also tried varying the scale of the force. This meant that particles jumped a larger distance each frame, and instead of drawing lines, I just drew small circles at the new locations to end up with this.
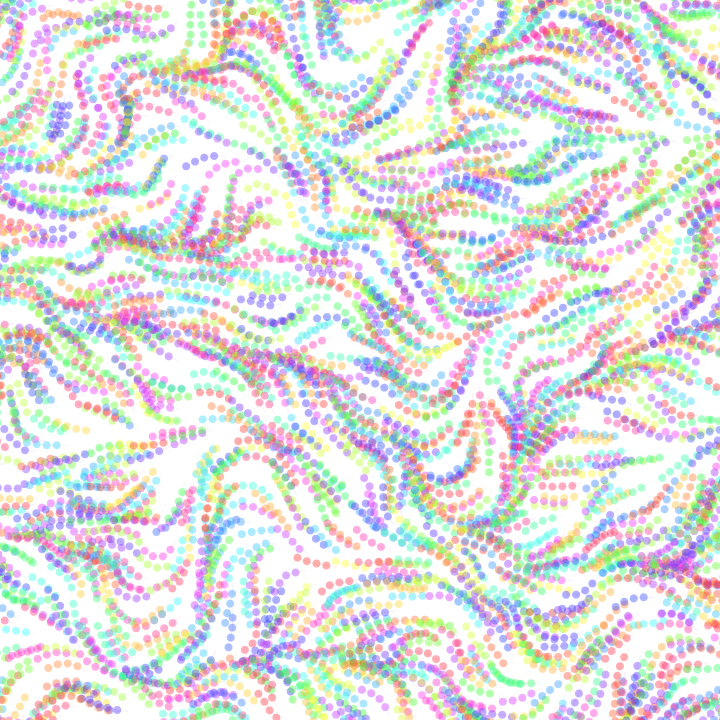 Iteration 23
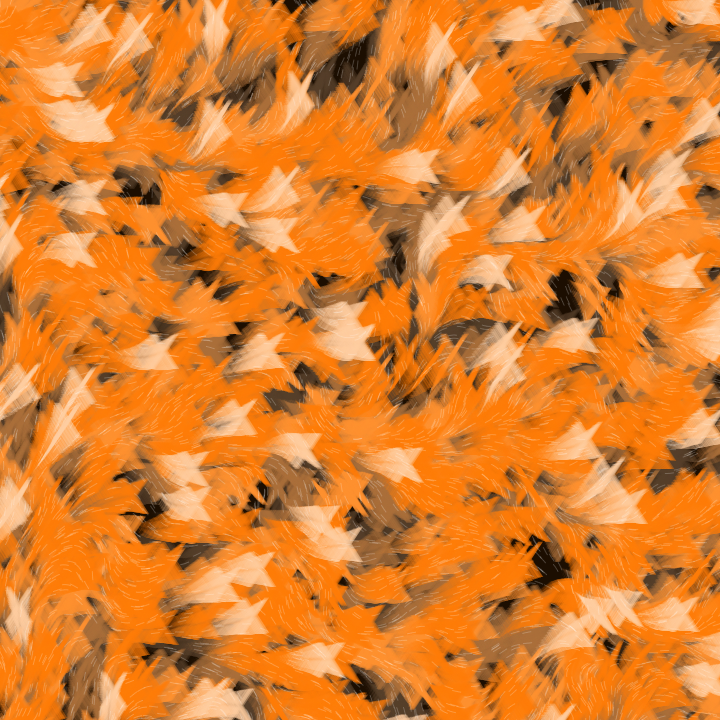
At this point I was really running out of novel ideas but I had just two more to go. I decided to try a different shape; I drew rectangles with some variation in their size and color. To me the result feels like paint over a rough canvas.
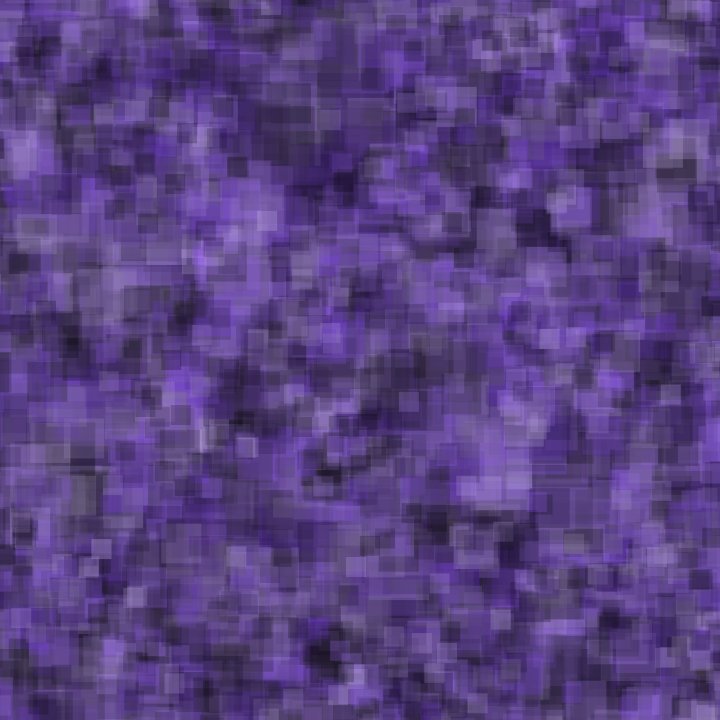 Iteration 24
Finally, for the last one, I decided to draw triangles. Every time a particle moved from an old position to a new position, I would use those as the first two points of triangle. I would additionally pick a point somewhere between them displaced vertically, and use that as a third point for a triangle. With some layering of colors, the result was quite intense!
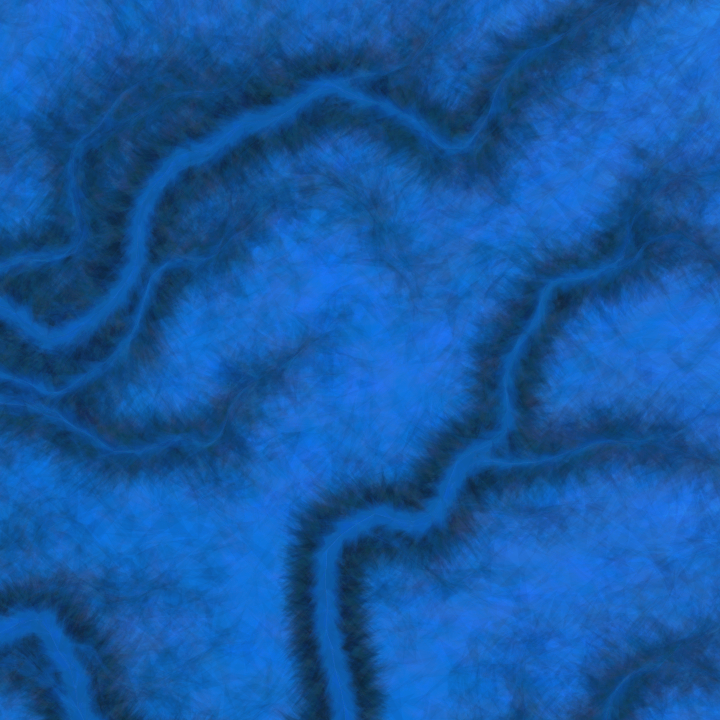 Iteration 25
Phew!
Why?
Why bother doing all this? It’s fun! While personally, that’s enough for me, I want to add some concluding thoughts on the exercise.
Initially, it was surprisingly difficult to come up with new ways to work within my self-imposed constraints. However, by the end of the exercise, I can confidently point at countless potential variations using what I learnt building the above designs. The more you do, the more ways forward you’ll see.
If you had told me at the beginning that I’d come up designs like Iteration 25, I would have scoffed. However, just sitting down and working on something, anything, even as simple as the first few designs above, gets your brain going. After a while, I started picking up and applying higher-level, re-usable building blocks (e.g., the color-generation algorithm, the dark, space-like background). So if you see some complex work and wonder how in the world the creators came up with it, they probably didn’t do it in one swoop. They probably iterated from something much simpler to reach that level of complexity over time. Creativity is a process, not a state of mind.
Constraints help. Trying to be creative without constraints, among endless potential possibilities, is like wandering aimlessly through a vast desert while looking for an oasis. Trying to be creative within strict constraints is akin to walking through a thick forest by picking one of a handful of paths revealed in front of you.
Finally, you’ll notice from my commentary that many times along the way my mind would surface all kinds of doubts and discouraging thoughts. I had to actively fight to suppress those thoughts as they came up to continue making progress.
So stop “waiting for motivation” or “for inspiration to strike” and get to work.
