Simple Stippling Using Circle Packing
All Processing code for this article, however messy, can be found on Github!
Here’s another quick tip on how to generate stippled images using a simple circle packing algorithm!
If you’ve read my linked article on how to implement circle packing, I showed a bunch of methods for adding additional constraints (e.g., restricting to a circle by adding a bounds check). I make use of that simple technique here!
My Approach
Recall that circle packing involves two simple steps: first we generate a candidate circle, and second we check if it satisfies our constraints. If so, we add it, and if not, throw it out. Then we repeat these two steps until we fail to find a candidate a certain number of times.
For my stippling approach, in order to generate a candidate circle, I first generate a random coordinate on the canvas. Next, I check the grayscale value of the image at that pixel and generate a circle proportional to it. Darker pixels result in a small candidate circle while lighter areas result in a circle with a larger radius. Finally, I check if this candidate circle I created packs correctly. If so, I track it otherwise I throw it out and try again. I stop once I fail to find a packable circle a certain number of times.
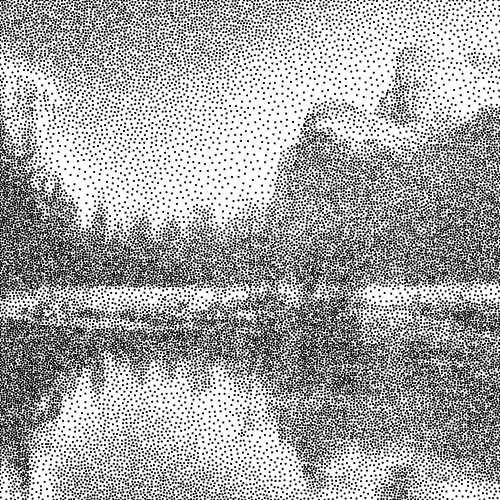
At the end of all the packing, we simply draw a little dot at the centers of the correctly-packed candidate circles. Since we chose larger radii for light areas, the points are more spread out, whereas darker regions end up with closely-packed points.
That’s all there is to it! Yes, there are faster methods, and yes, there are more elegant approaches, but this one works too, and although it runs slower, it has the advantage of extreme simplicity! Here are some animations illustrating the process!
This works fairly well for landscapes as well!