Generative Overlay Textures
This is a quick post on a technique I’ve been incorporating into my sketches lately for introducing another layer of texture. The basic idea is to draw whatever image you want, and then throw in some texturing graphics on top with a very low opacity.
Below are some examples of the kind of various textures I’ve got stored in my little toolkit of generative procedures! Note that the images below show the texturing graphics as white over black for visibility.
Example 1: Canvas/Denim Texture
The first one is a canvas-like texture I’ve talked about in the past, and comprises of a hatch pattern drawn with slight variations in stroke and line angle. The stroke used is a low opacity (approximately 5%) white color.

void gridline(float x1, float y1, float x2, float y2) {
  float tmp;
  /* Swap coordinates if needed so that x1 <= x2 */
  if (x1 > x2) { tmp = x1; x1 = x2; x2 = tmp; tmp = y1; y1 = y2; y2 = tmp; }

  float dx = x2 - x1;
  float dy = y2 - y1;
  float step = 1;

  if (x2 < x1)
    step = -step;

  float sx = x1;
  float sy = y1;
  for (float x = x1+step; x <= x2; x+=step) {
    float y = y1 + step * dy * (x - x1) / dx;
    strokeWeight(1 + map(noise(sx, sy), 0, 1, -0.5, 0.5));
    line(sx, sy, x + map(noise(x, y), 0, 1, -1, 1), y + map(noise(x, y), 0, 1, -1, 1));
    sx = x;
    sy = y;
  }
}

void overlay_example1() {
  float spacing = 5;
  for (int i = -width; i < height + width; i+=spacing)
    gridline(i, 0, i + height, height);
  for (int i = height + width; i >= -width; i-=spacing)
    gridline(i, 0, i - height, height);
}
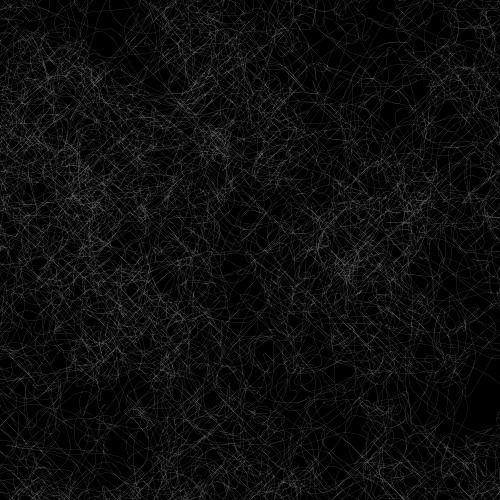
Example 2: Random Walk + Chaikin Curve
Here I used a single randomly-generated Chaikin curve. I first use a random walk to generate a polyline that walks across the entire canvas, then smooth it out using the Chaikin algorithm. I make sure that I generate curves past the border (a few hundred pixels to all sides of the canvas) so the edges don’t brighted up too much in comparison to the rest of the image.
void overlay_example2() {
  smooth();
  noFill();
  stroke(255, 80);
  strokeWeight(0.1);
  float x = random(width);
  float y = random(height);
  float j = 50;
  PShape s = createShape();
  float border = 100;
  s.beginShape();
  for (int i = 0; i < 10000; i++) {
    s.vertex(x, y);
    x += random(-j, j);
    y += random(-j, j);
    x = constrain(x, -border, width + border);
    y = constrain(y, -border, height + border);
  }
  s.endShape();
  shape(chaikin_open(s, 0.25, 3), 0, 0);
}
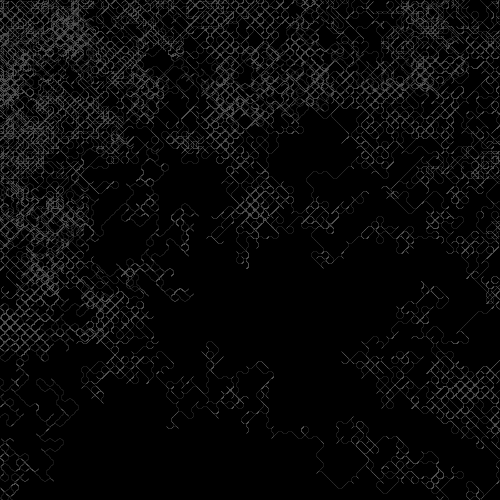
Example 3: Restricted Random Walk + Chaikin Curve
Here I use the same random walk but restrict the movement to a fixed step and the movement directions to the diagonals only. Some areas where the random walk repeats become slightly brightened, giving it an organic feel.
void overlay_example3() {
  smooth();
  noFill();
  stroke(255, 80);
  strokeWeight(0.1);
  float x = random(width);
  float y = random(height);
  float j = 5;
  PShape s = createShape();
  float border = 100;
  s.beginShape();
  for (int i = 0; i < 50000; i++) {
    s.vertex(x, y);
    float qx = random(1) < 0.5 ? -1 : 1;
    float qy = random(1) < 0.5 ? -1 : 1;
    x += qx * j;
    y += qy * j;
    x = constrain(x, -border, width + border);
    y = constrain(y, -border, height + border);
  }
  s.endShape();
  shape(chaikin_open(s, 0.25, 3), 0, 0);
}
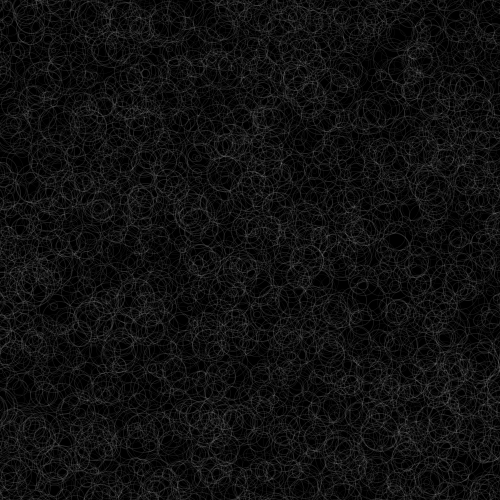
Example 4: Random Circles
Finally, here’s an example using a few thousand randomly-generated circles of varying stroke weight and radius:
void overlay_example4() {
  smooth();
  noFill();
  stroke(255, 30);

  float border = 100;
  for (int i = 0; i < 8000; i++) {
    float x = random(-border, width + border);
    float y = random(-border, height + border);
    float r = random(2, 20);
    strokeWeight(random(0.1, 0.8));
    ellipse(x, y, 2*r, 2*r);
  }
}
The above are just a few examples barely scratching the surface of what is possible of course. This basically works as a completely new layer for creating subtle generative art using any and every technique used in regular artworks.
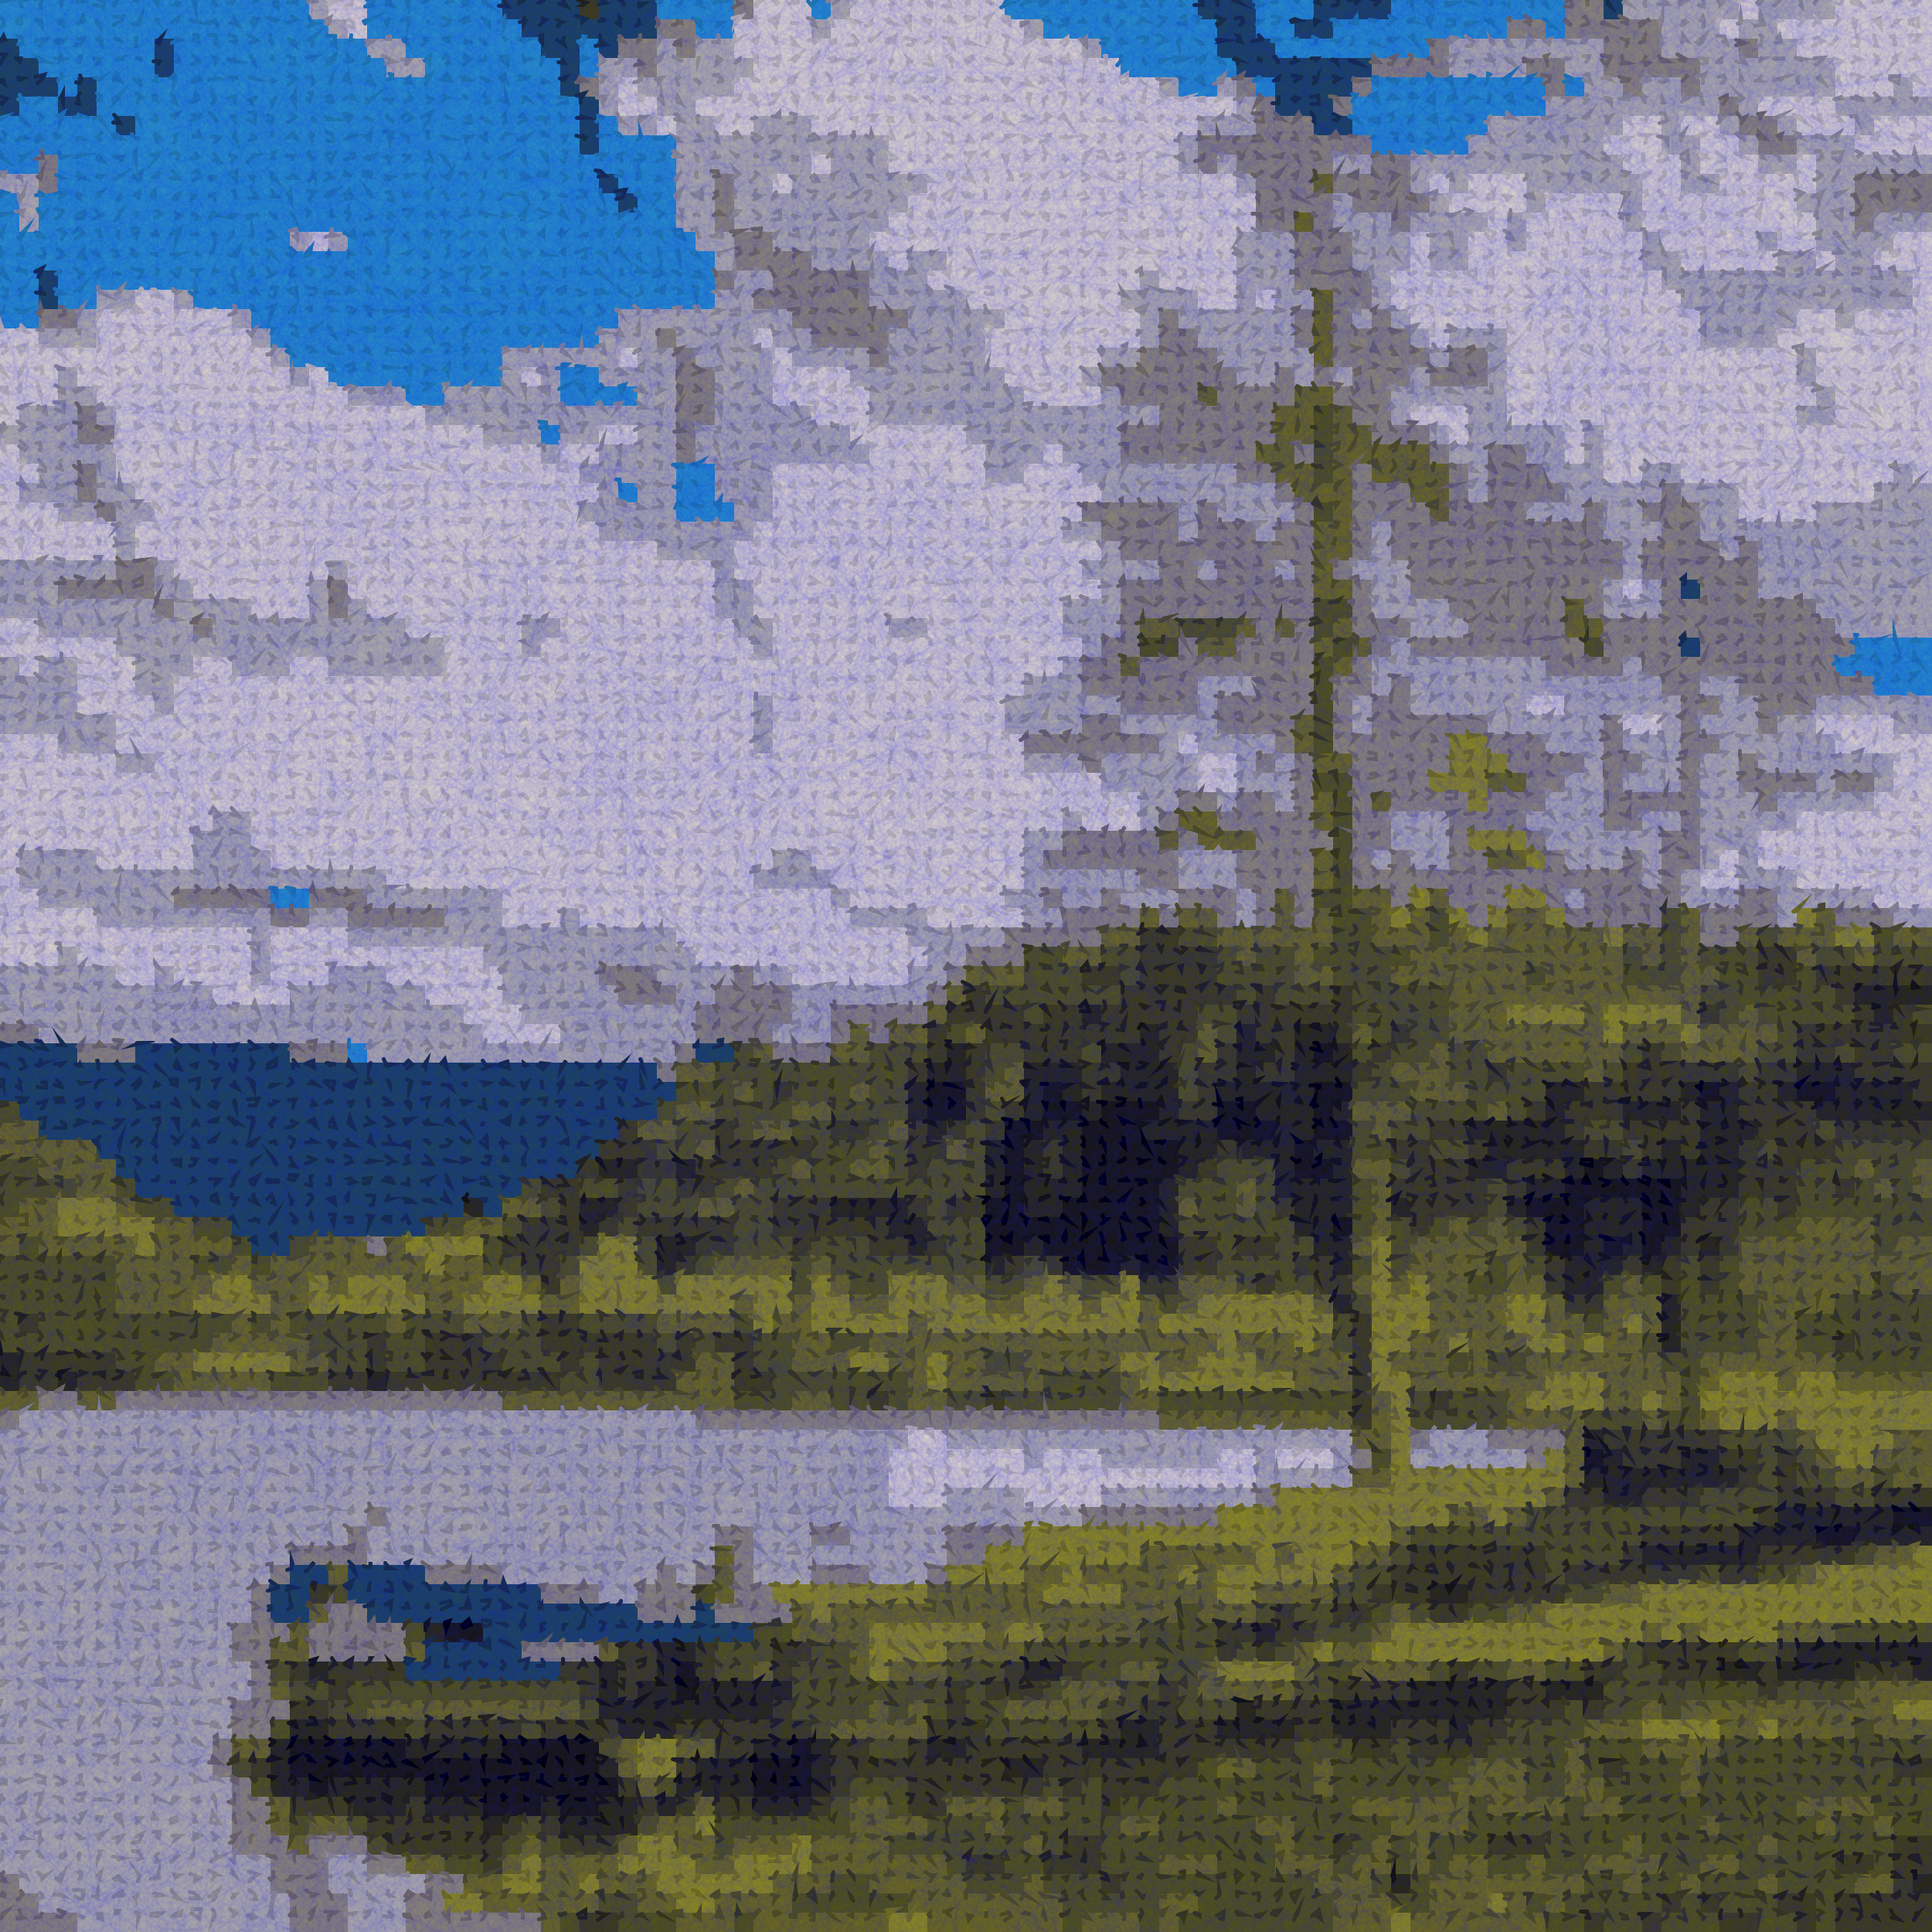
Texturing Images
Here is what the result looks like. Below is a sketch I uploaded recently attempting to recreate the feel of a needlepoint painting. This is the original image to which we’ll apply our overlay textures.
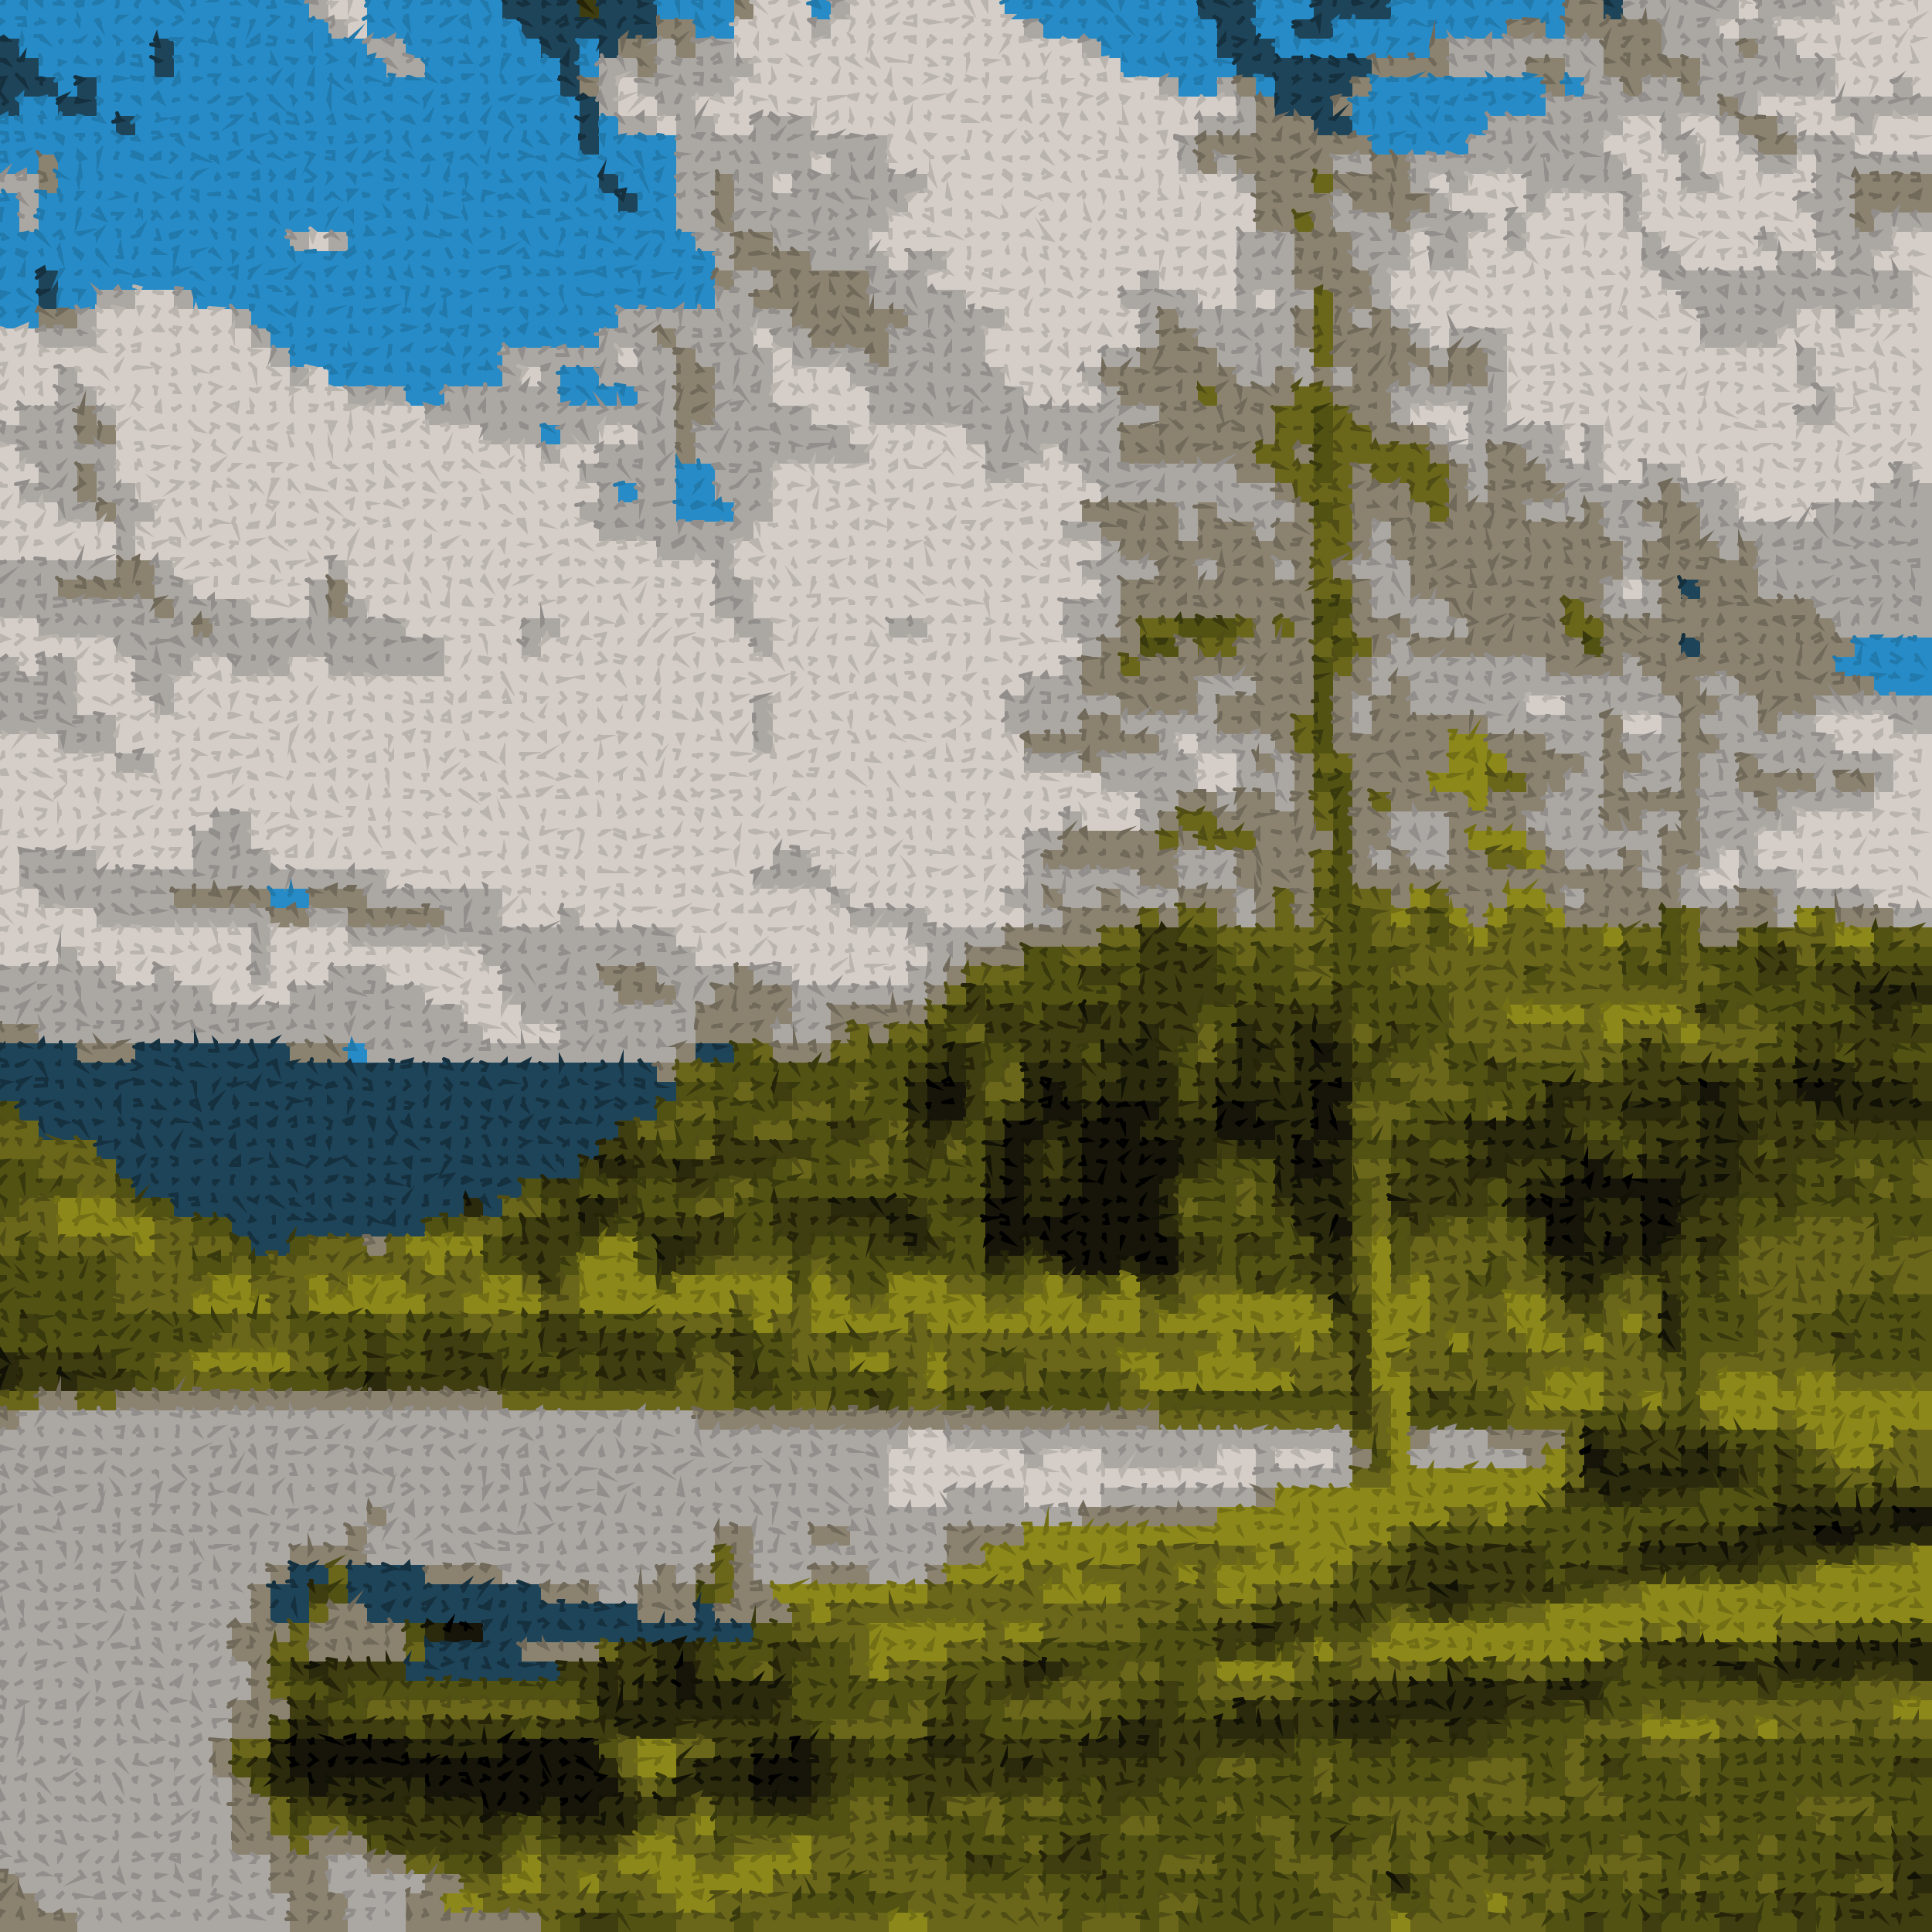
Here is a version of the above image with the first, canvas-style pattern:

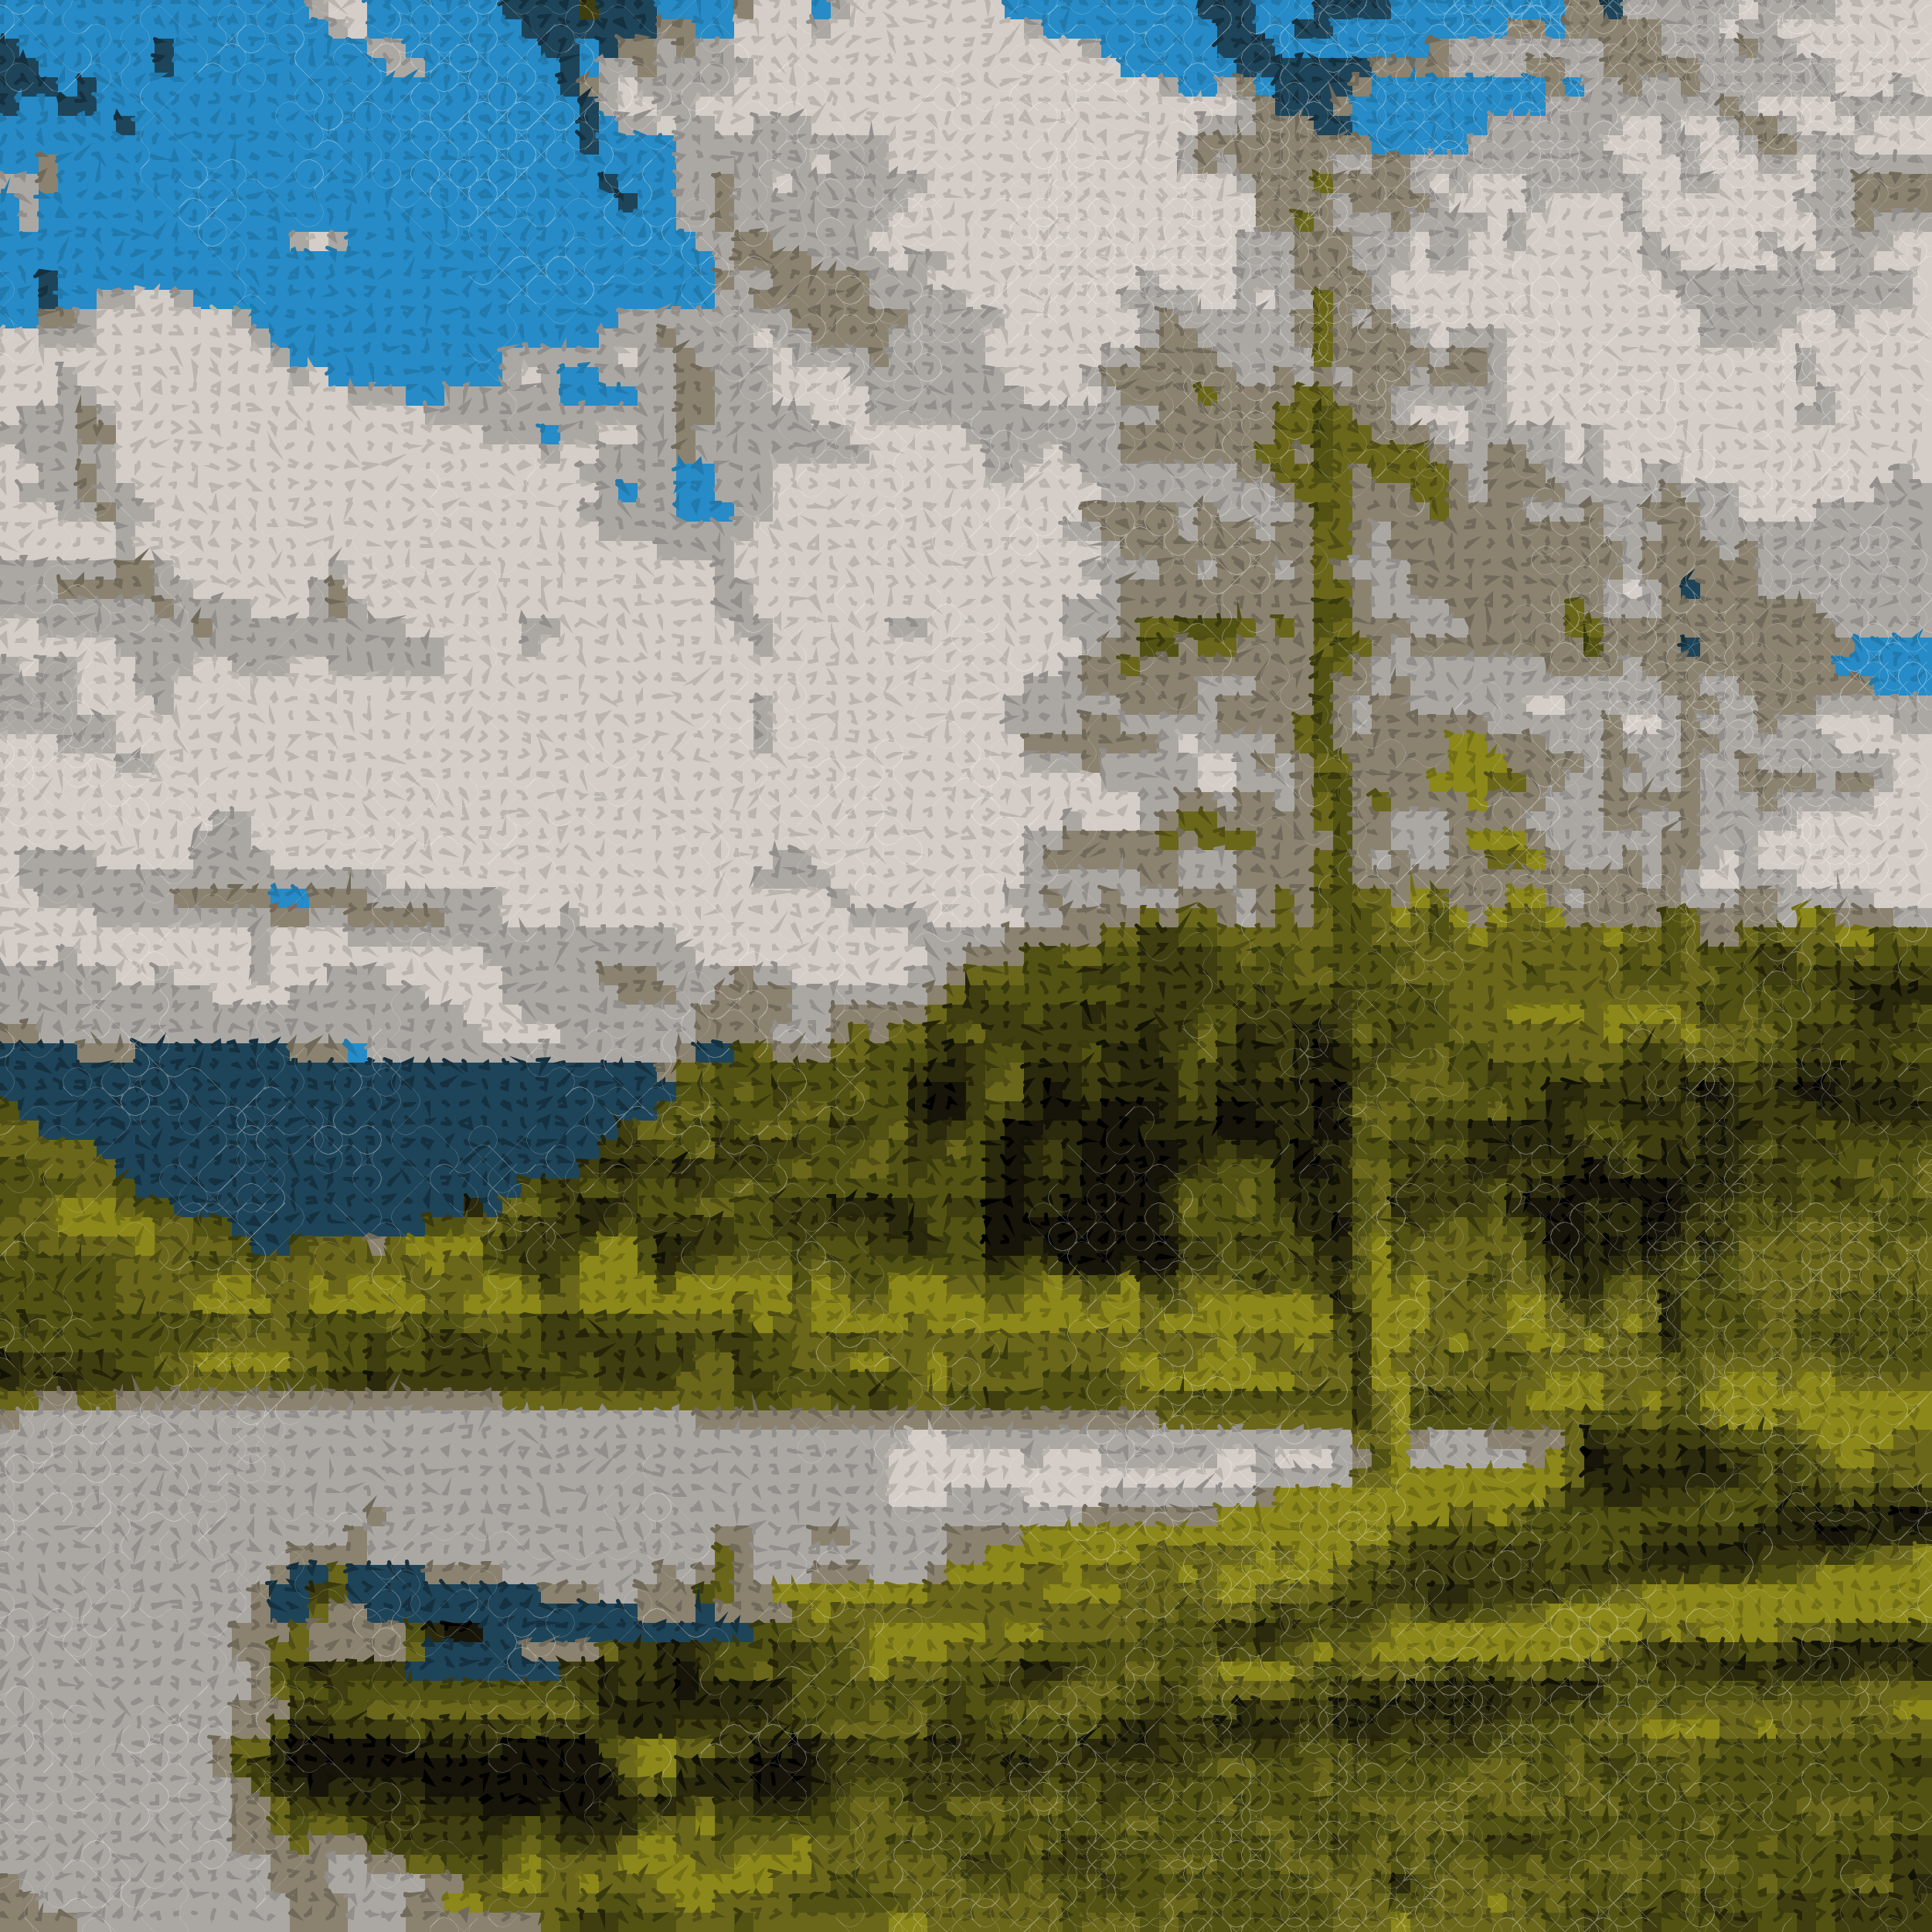
Here is what it looks like with the Chaikin curve:

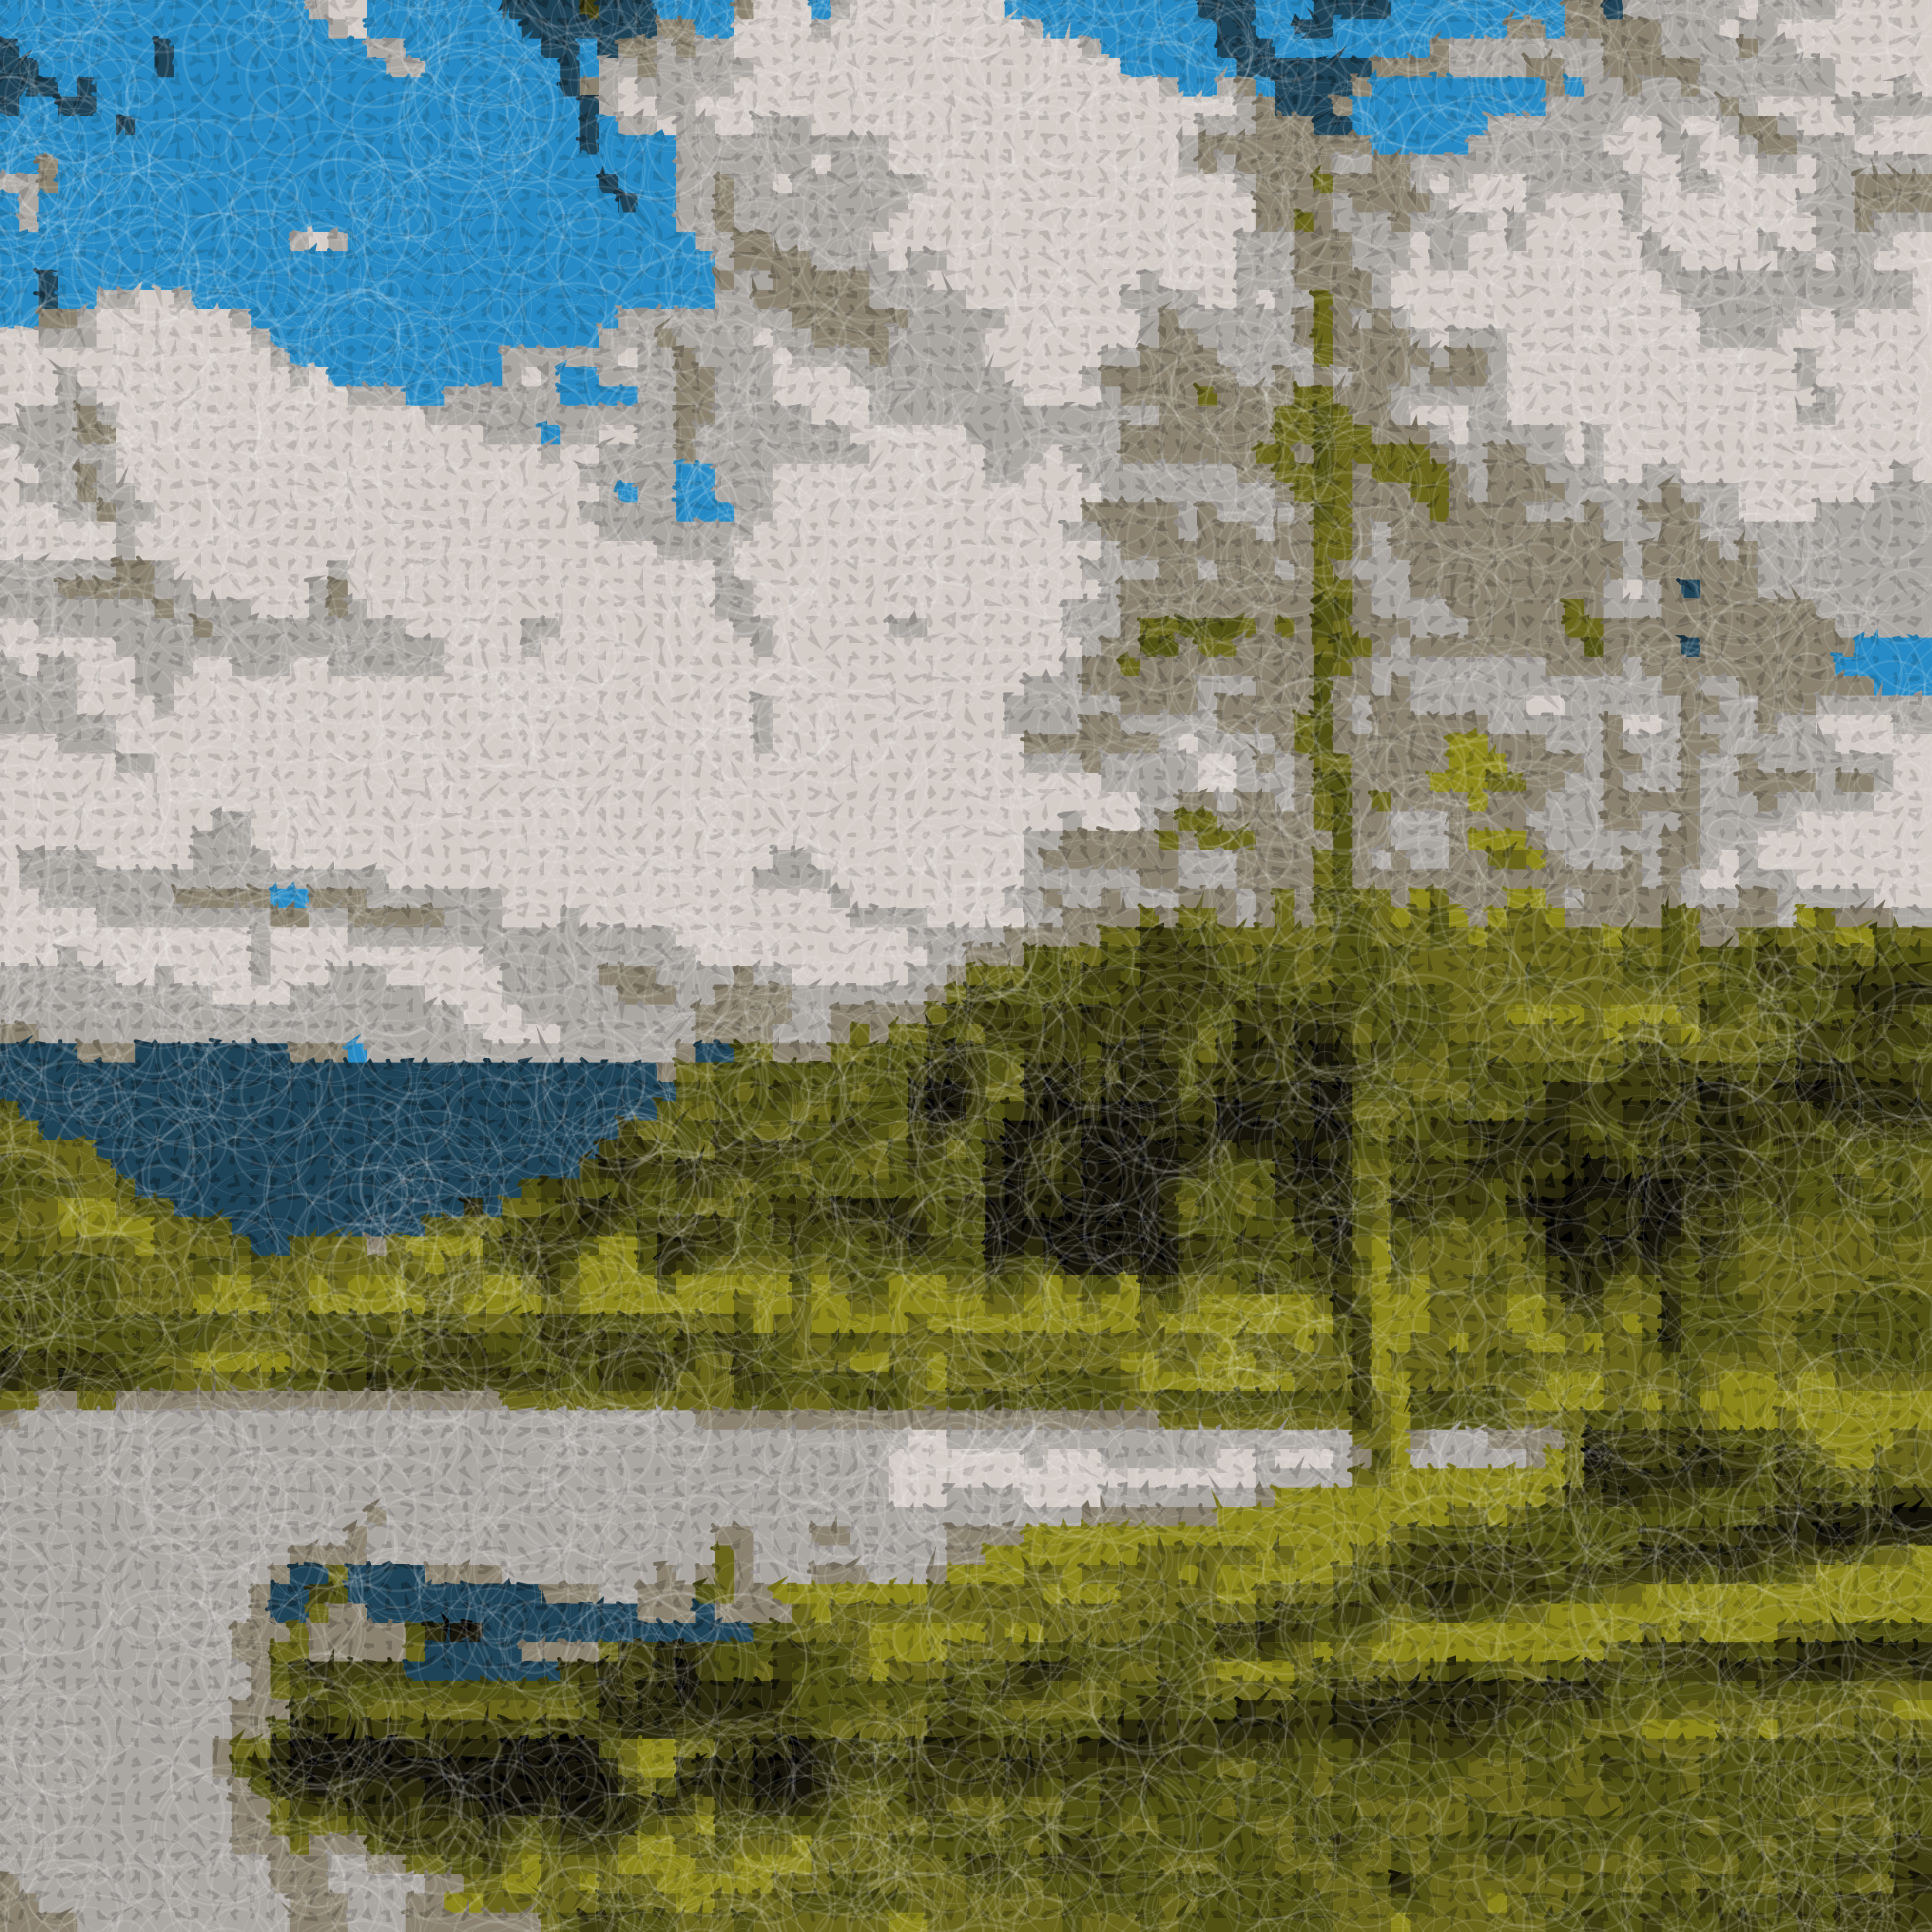
This is the result with the restricted Chaikin curve (diagonals only):
And finally, with the random circles:
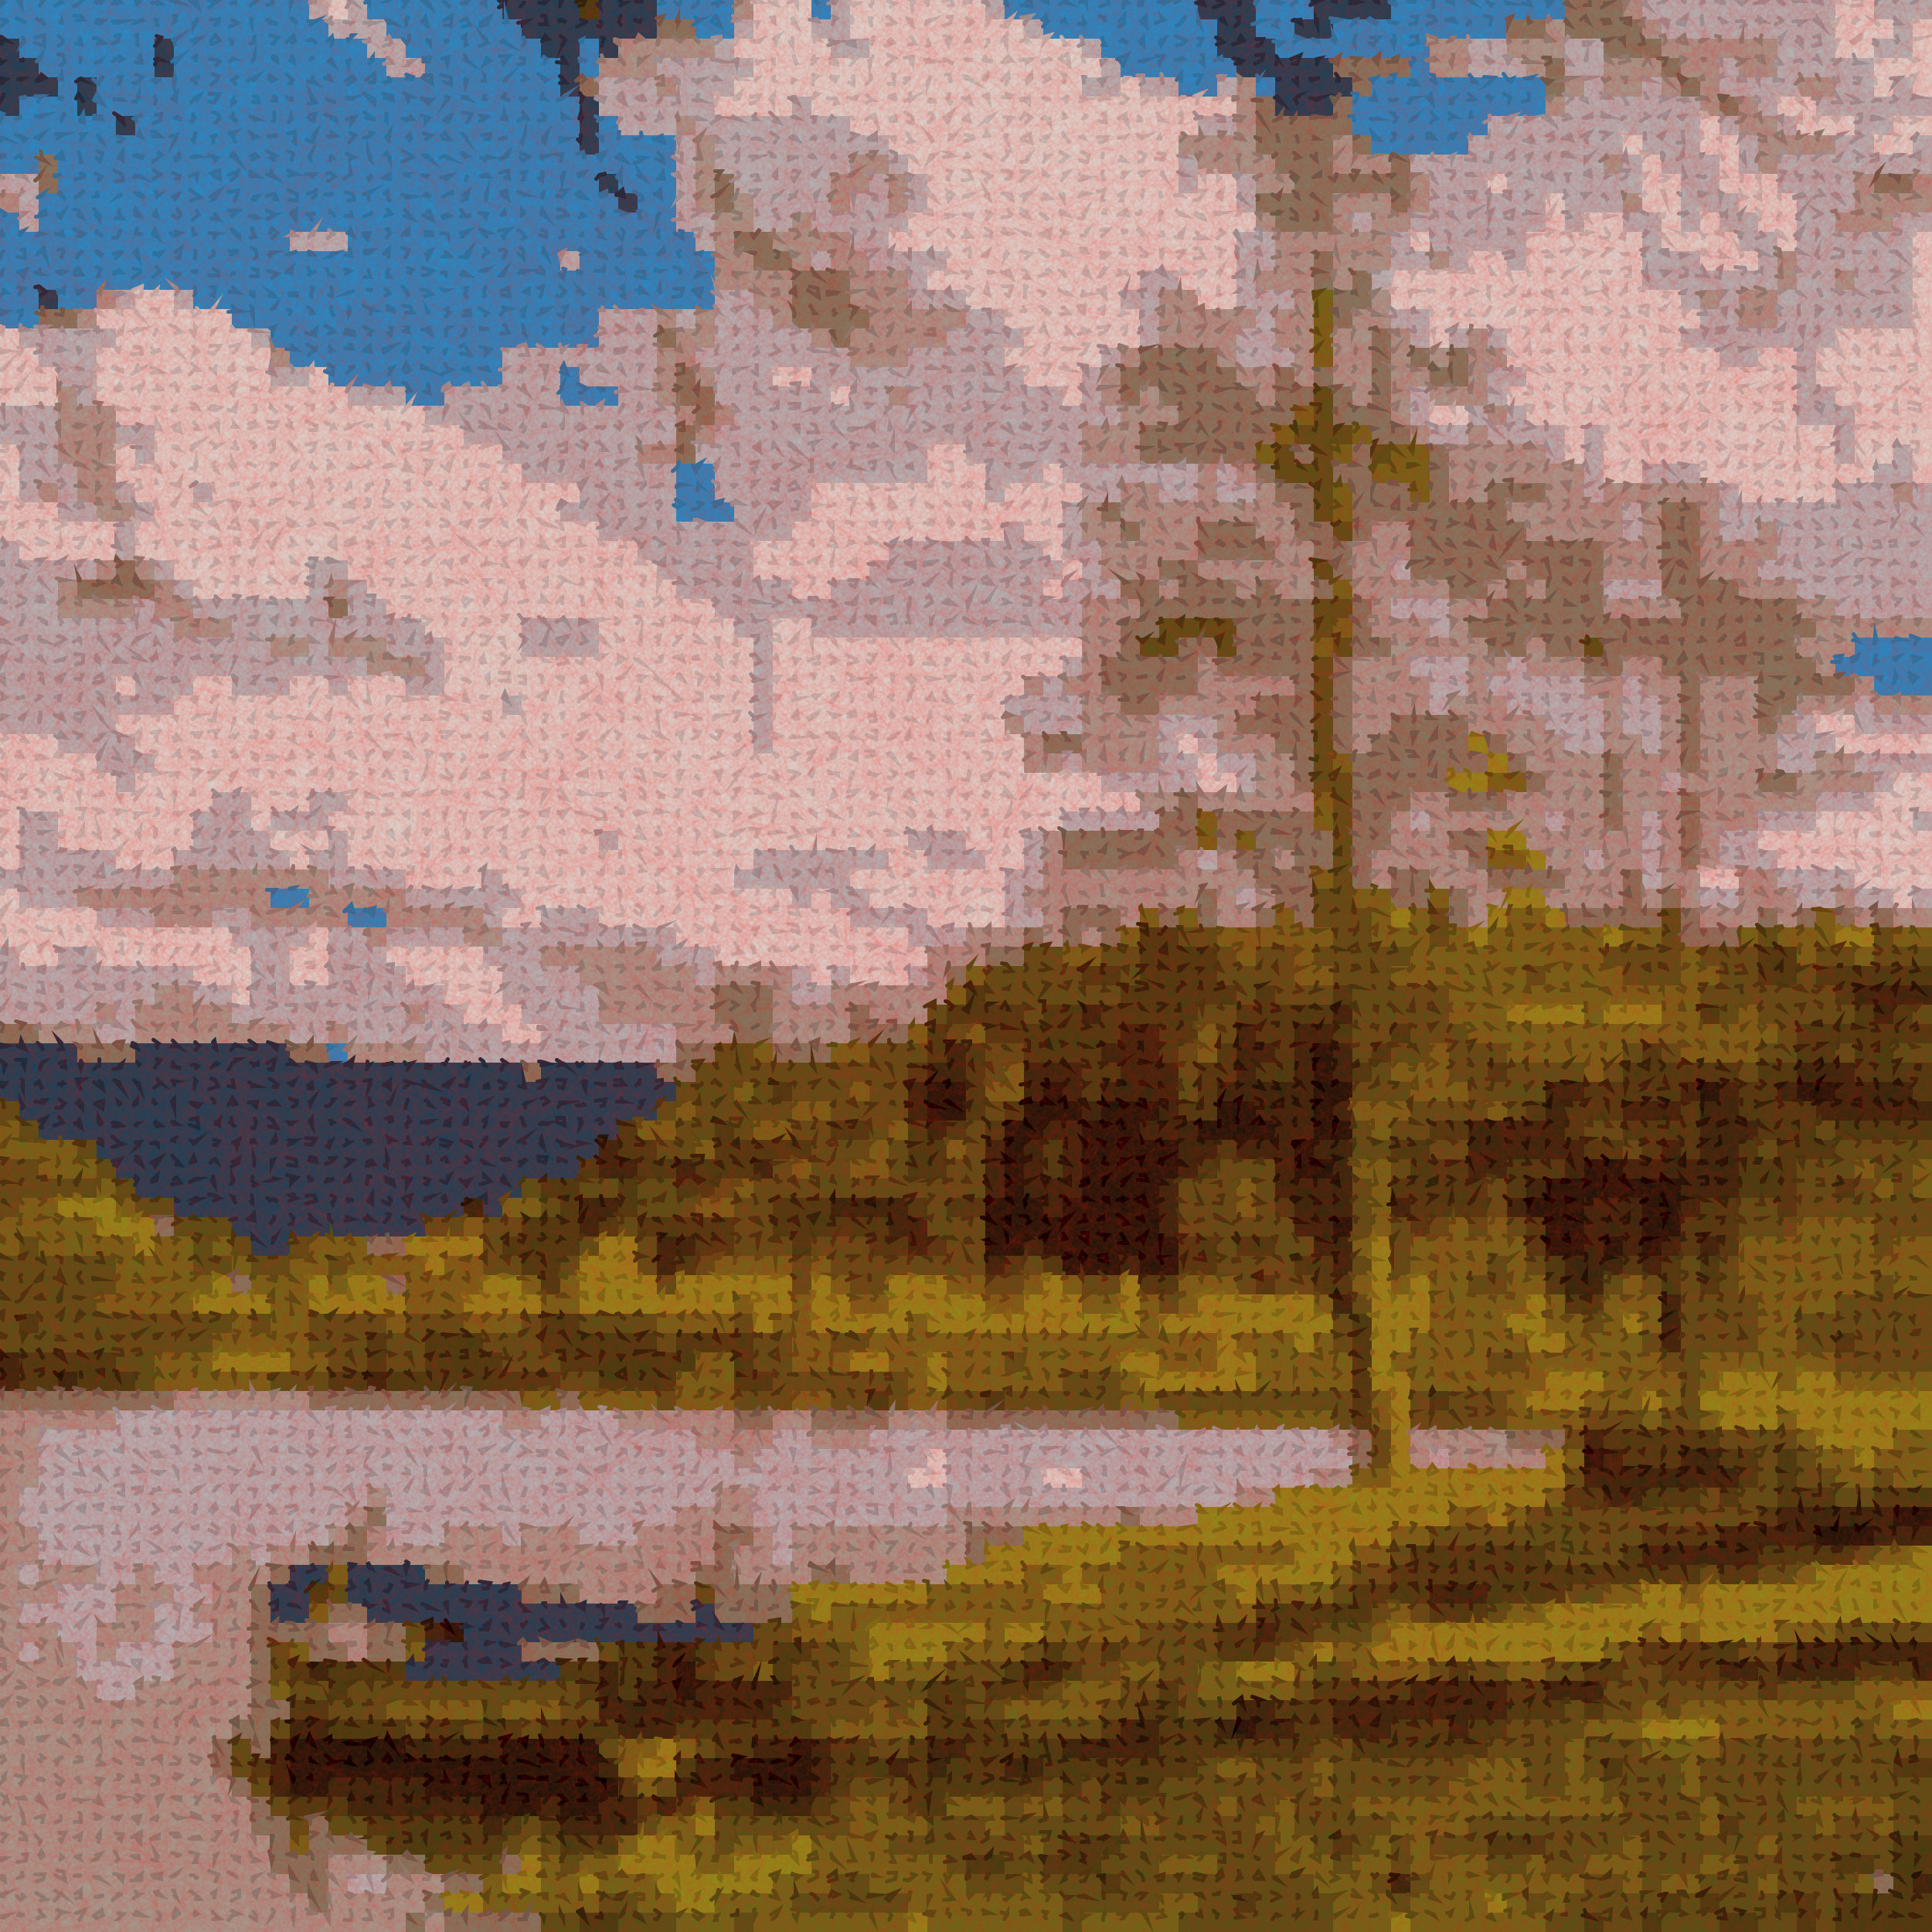
This approach is of course not limited to white only. By giving the overlay texture a color, we can tint our images since, by using a low opacity, the colors get alpha blended.
Here is a version with a red overlay:
Here is a version with a green overlay:

And finally, with a blue overlay:
Hope that gives you some ideas! Enjoy!