Programmatically Creating Seamless Patterns
TL;DR: recently, I was trying to programmatically create seamless patterns and, seeing a lack of a clear tutorial on how to achieve the effect, decided to write this up.
This is a quick tutorial on how to generate seamless patterns programmatically. Below, I explain how to do this in Processing but the approach is language-agnostic and can be extended to any language. What’s important is to understand the basic underlying concept.
High-Level Overview
The challenge with building seamless patterns is correctly drawing around the edges of the canvas. Any drawn shape that crosses the edge of the canvas must somehow be made to bleed in from the opposite one.
The simplest approach I’ve found to achieving this consistently is to imagine the canvas as the center tile in a 3x3 grid of similar canvases.
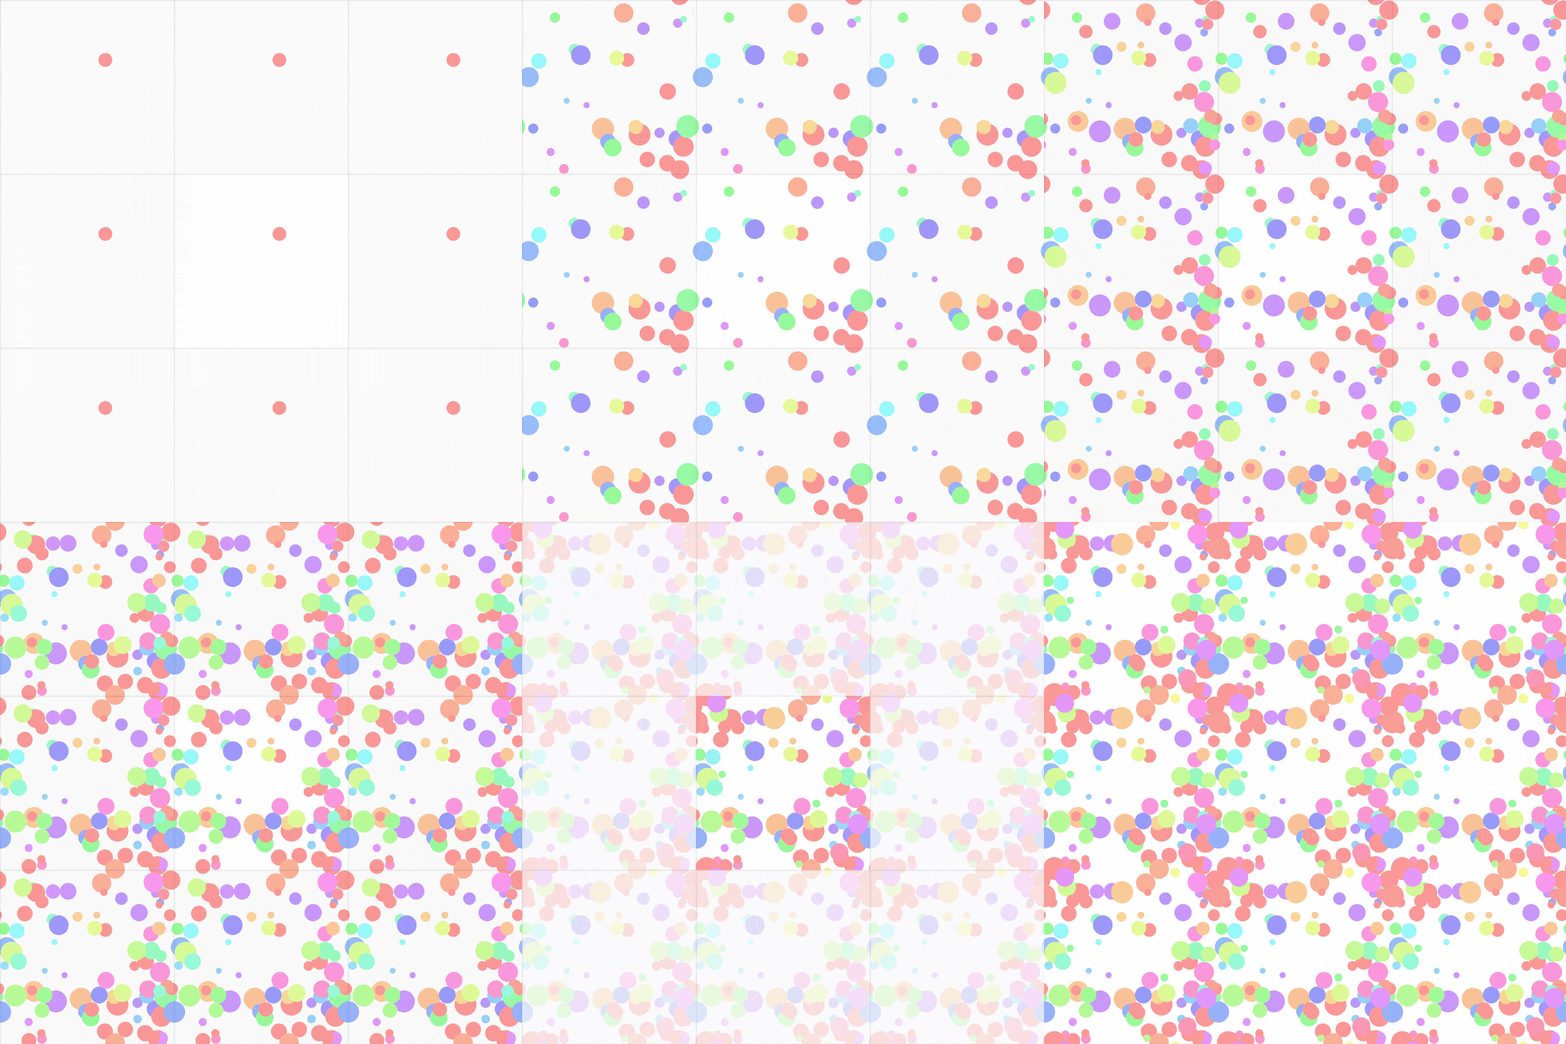
With this in mind, the seamless effect can be achieved by ensuring that any shape that is drawn is drawn across all nine of the canvases in the 3x3 grid. The image below demonstrates this technique.

Caveat: Of course, this is not the most efficient way to achieve the seamless look. In particular, for shapes that don’t cross the edges of the canvas, we end up unnecessarily drawing eight other copies of it, and for complex shapes, this can get slow.
A more efficient, but complex approach would be to check if a shape is going to bleed over any edge and if so replicate it only across the canvases corresponding to those edges. However, I have found the approach outlined in this post to be the easiest to implement and picture in your head; properties whose importance should never be underestimated!
Implementing It
Having understood the high-level overview, it should be easy to understand how to implement this. The image below shows the key coordinates in our imaginary 3x3 grid of canvases.
In the above image, the orange-colored coordinates show the extents of our
actual canvas; (0, 0) is at the upper-left corner of the middle tile, and the
lower-right corner of the middle tile is the point (width, height).
With that in mind, given any arbitrary point on our canvas (x, y), we can
easily locate it within the other eight tiles using the canvas’ width and height, as shown by the pink
coordinates in the image above.
So for example, to draw a circle seamlessly, we simply draw it using a custom function as shown below.
void tiled_circle(float x, float y, float r) {
  /* Vary the X-axis offset from [-width, 0, width] */
  for (int xoff = -width; xoff <= width; xoff += width)
    /* Vary the Y-axis offset from [-height, 0, height] */
    for (int yoff = -height; yoff <= height; yoff += height)
      /* Draw a circle with offset-ed X/Y values */
      ellipse(x + xoff, y + yoff, r, r);
}
In the above code,
the outer loop varies the X-axis offset (stored in the variable xoff) through three values, -width, 0, and width.
Similarly, the inner loop varies the Y-axis offset (stored in the variable yoff) through the values -height, 0, and height.
In total, this results in nine calls of the inner-most code, where we modify
any X and Y coordinates by adding the offset variables. So any x becomes x + xoff and any y become y + yoff.
Simple!
While I’ve shown how to do this for circles, you can extend this to any shape you like, including more complex macro-shapes comprising many smaller elements. The important thing to remember is to modify all the X and Y coordinates in the body of the inner-most loop by adding the offsets.

