Flood-Fill Art Using Random Walks
Some of you might have seen this kind of (what I call) “flood-fill art” floating around the internet.
The technique used is simple but has a surprising result and a large number of possible variations. The idea is that of a random walk, which is a fancy way of saying you change something randomly each step, therefore simulating a random process. In this case, the random steps are taken in the color domain starting from a “seed” pixel, with neighboring pixels being colored with a slight perturbation in color.
In this post I show a visual exploration of tweaking some of the available parameters of my implementation of such flood-fill art in Processing.
Overview of the Approach
Here’s a quick summary of my approach to creating this kind of flood-fill art using random walks. First, we sprinkle one or more “seed” points around the canvas, give them an initial color, and add them to a list of points to be processed. Then, every iteration, a point is randomly picked from this list, it’s uncolored neighbors are colored with a slightly mutated color, and those points are then subsequently added to the list. Eventually, all points are colored and the list becomes empty, at which point we stop. In my implementation, instead of coloring individual pixels, I draw tiny lines from the “seed” pixel to its neighbors, with the appropriate stroke color. This allows me to scale up my images to arbitrary resolutions.
The approach is surprisingly flexible and serves as a good demonstration of the kinds of explorations I like to do.
So let’s go through a little gallery of permutations for this simple technique where I play around with one or more of the levers available to us.
Exploration
Let’s start tweaking the different parameters to see what’s possible with this simple algorithm. You can click any of the images below to view a higher resolution version.
Varying Perturbation Size
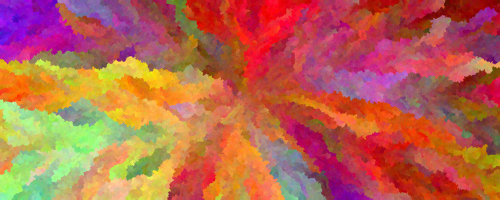
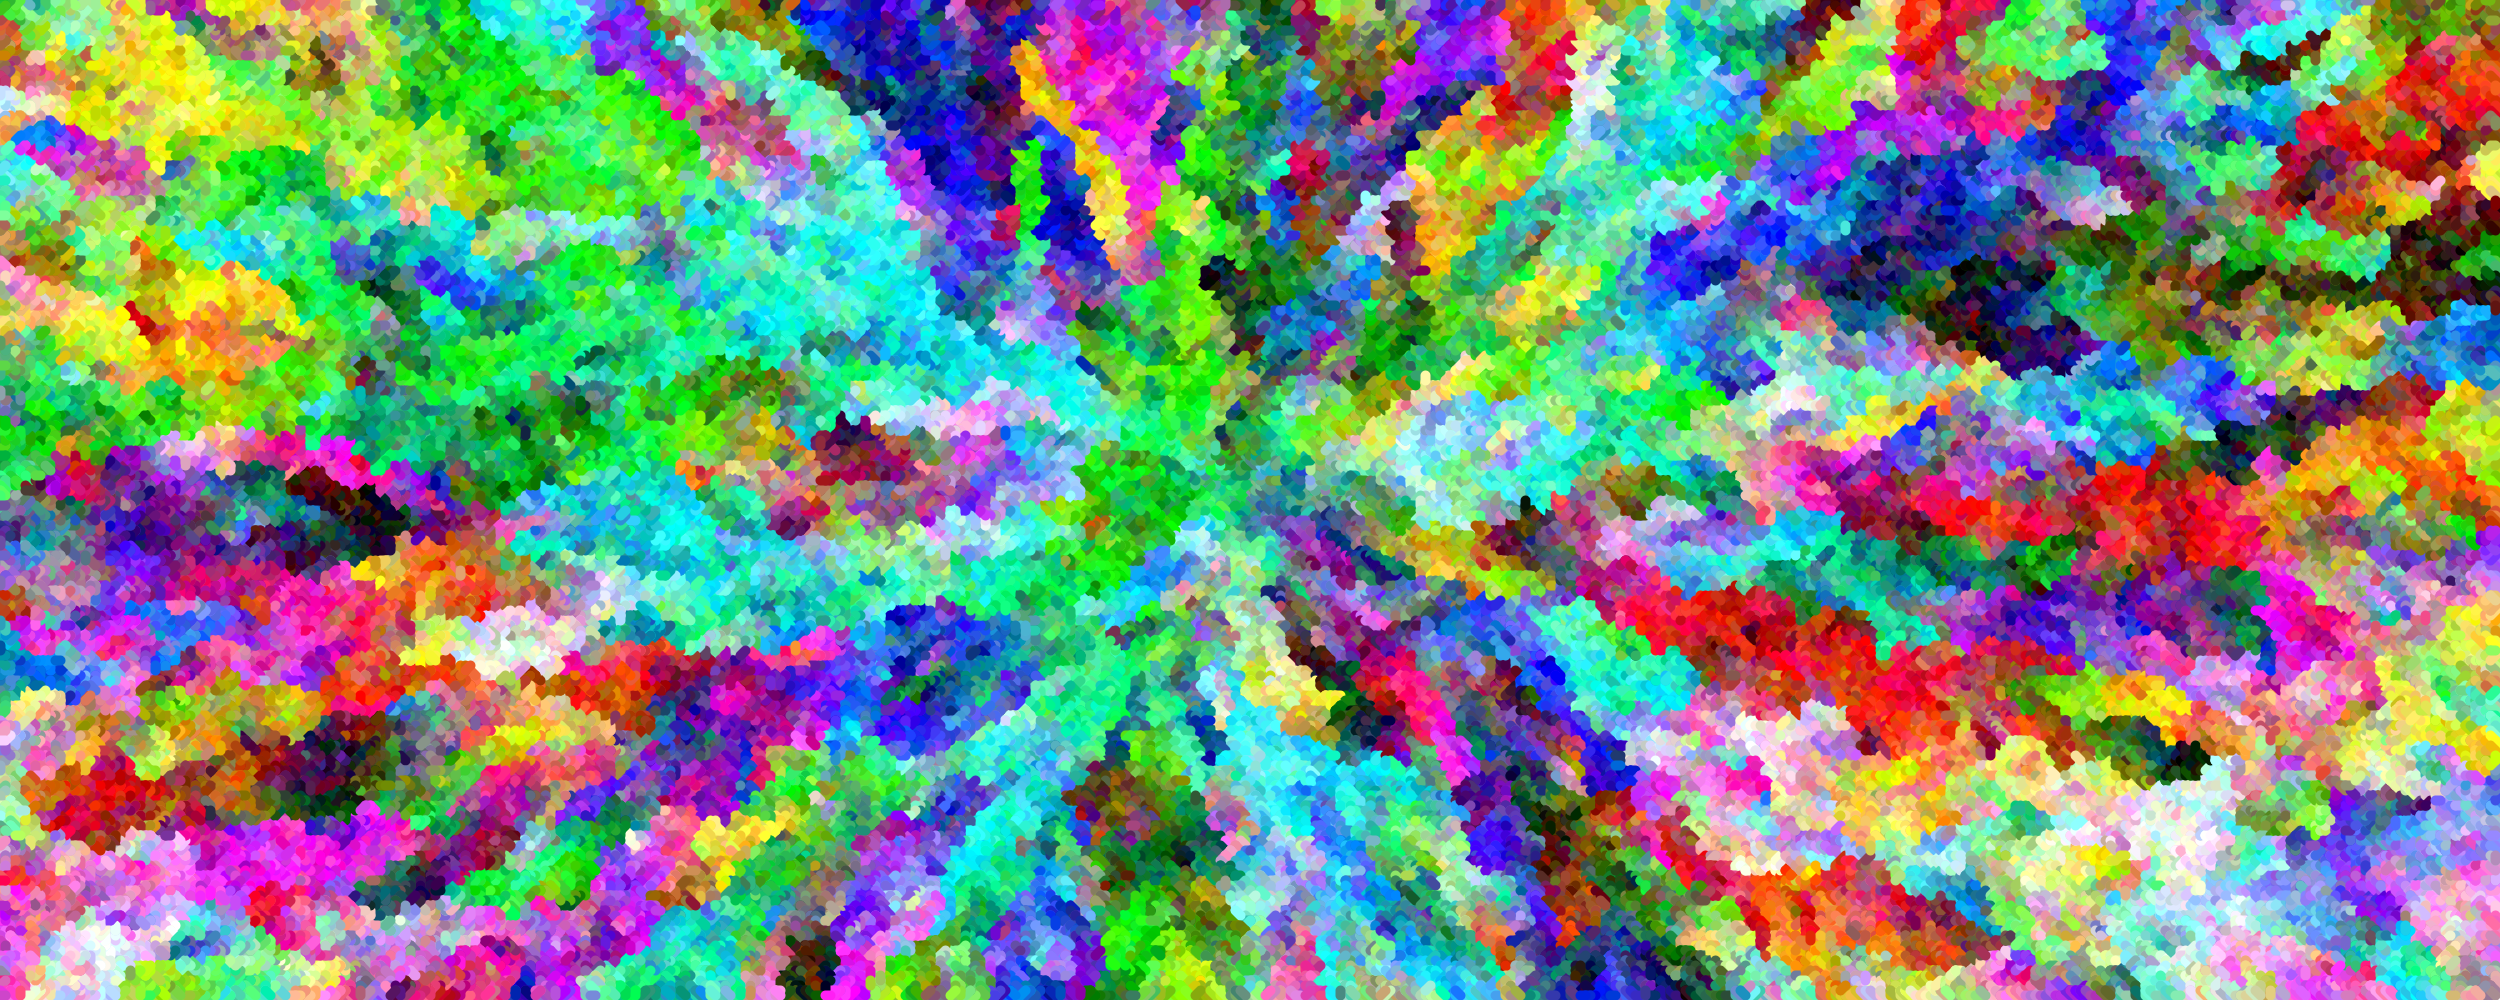
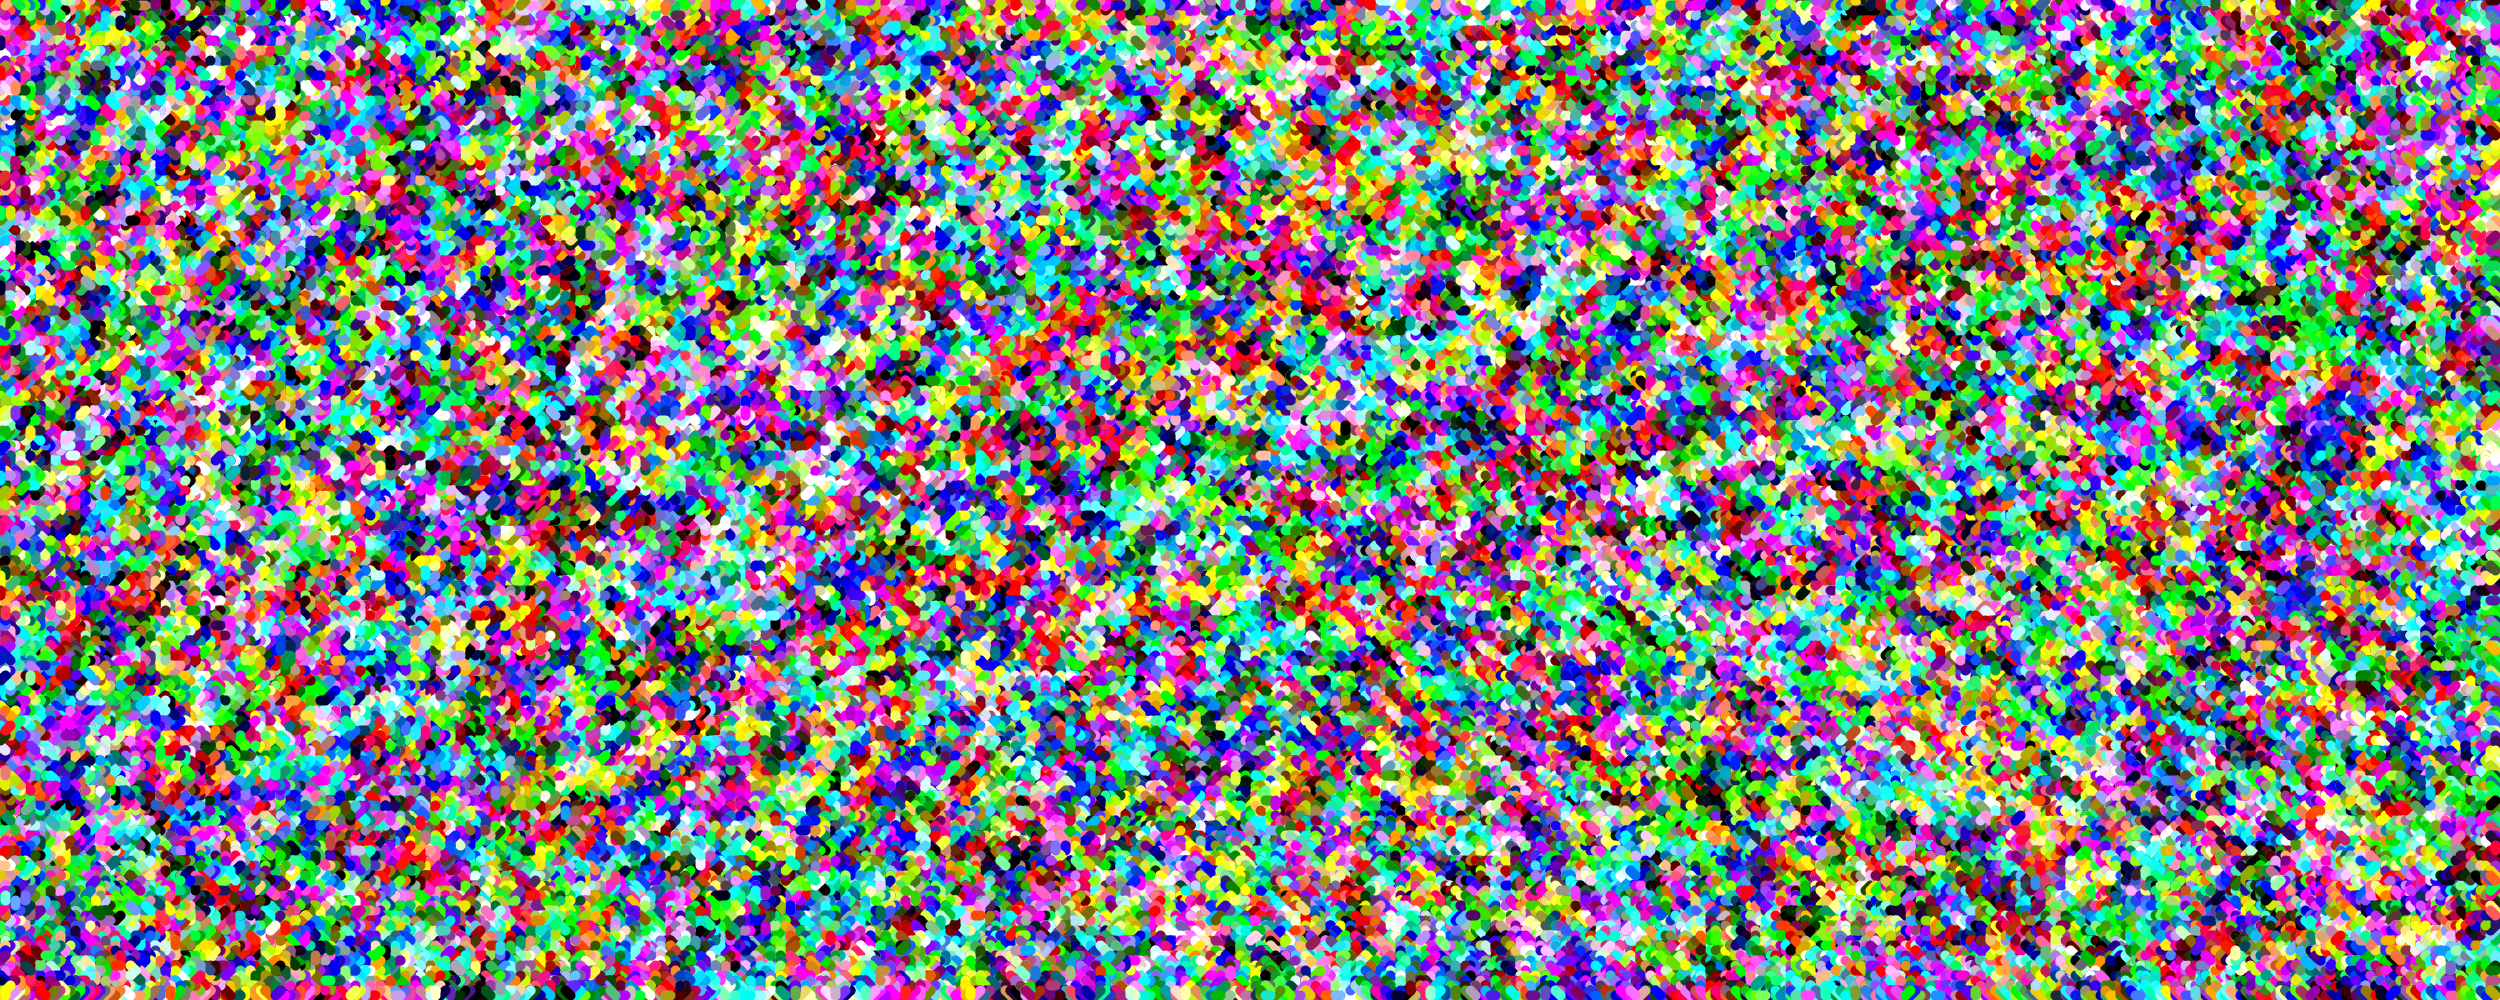
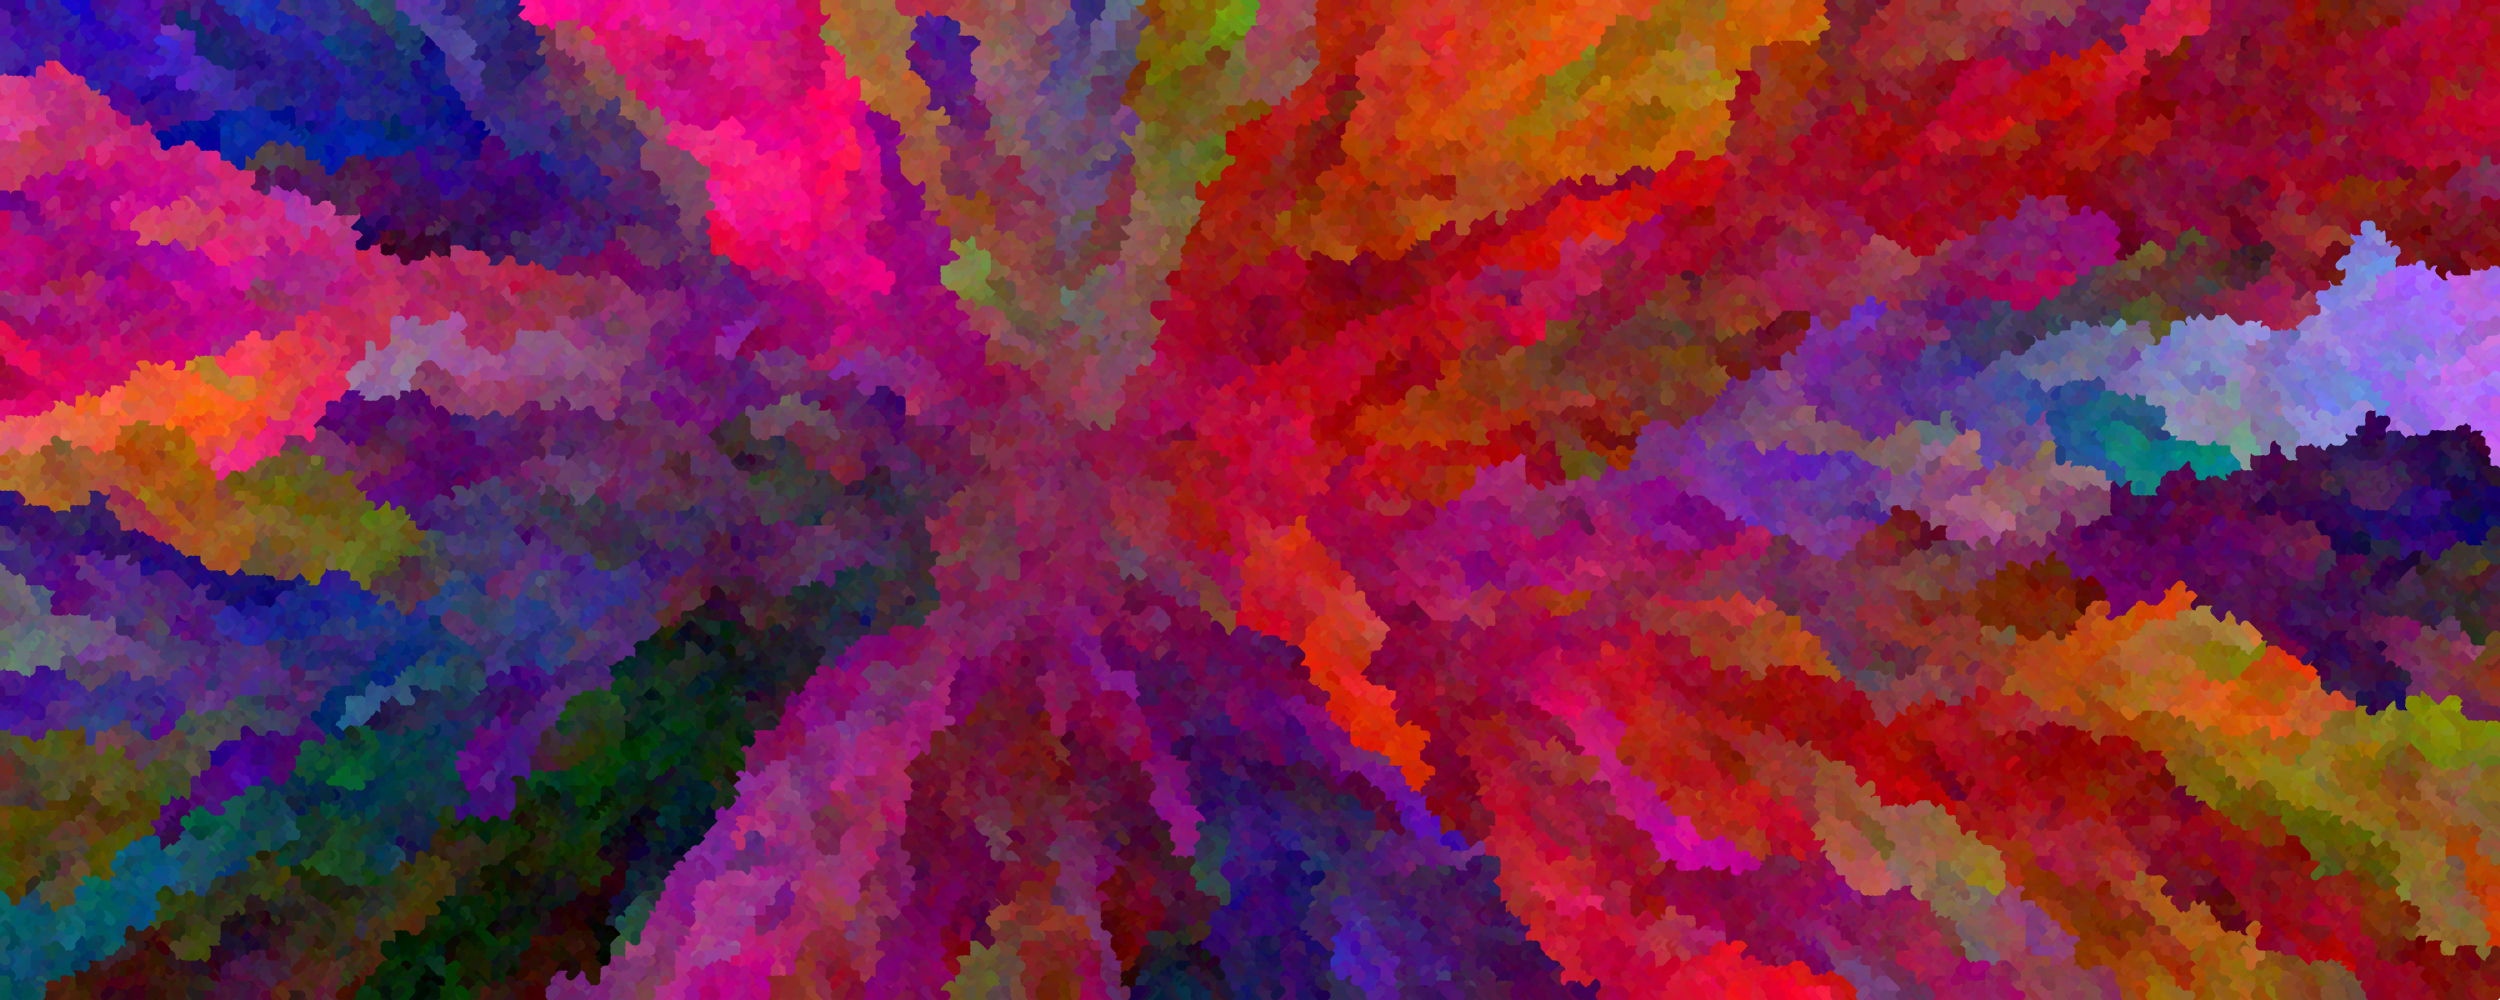
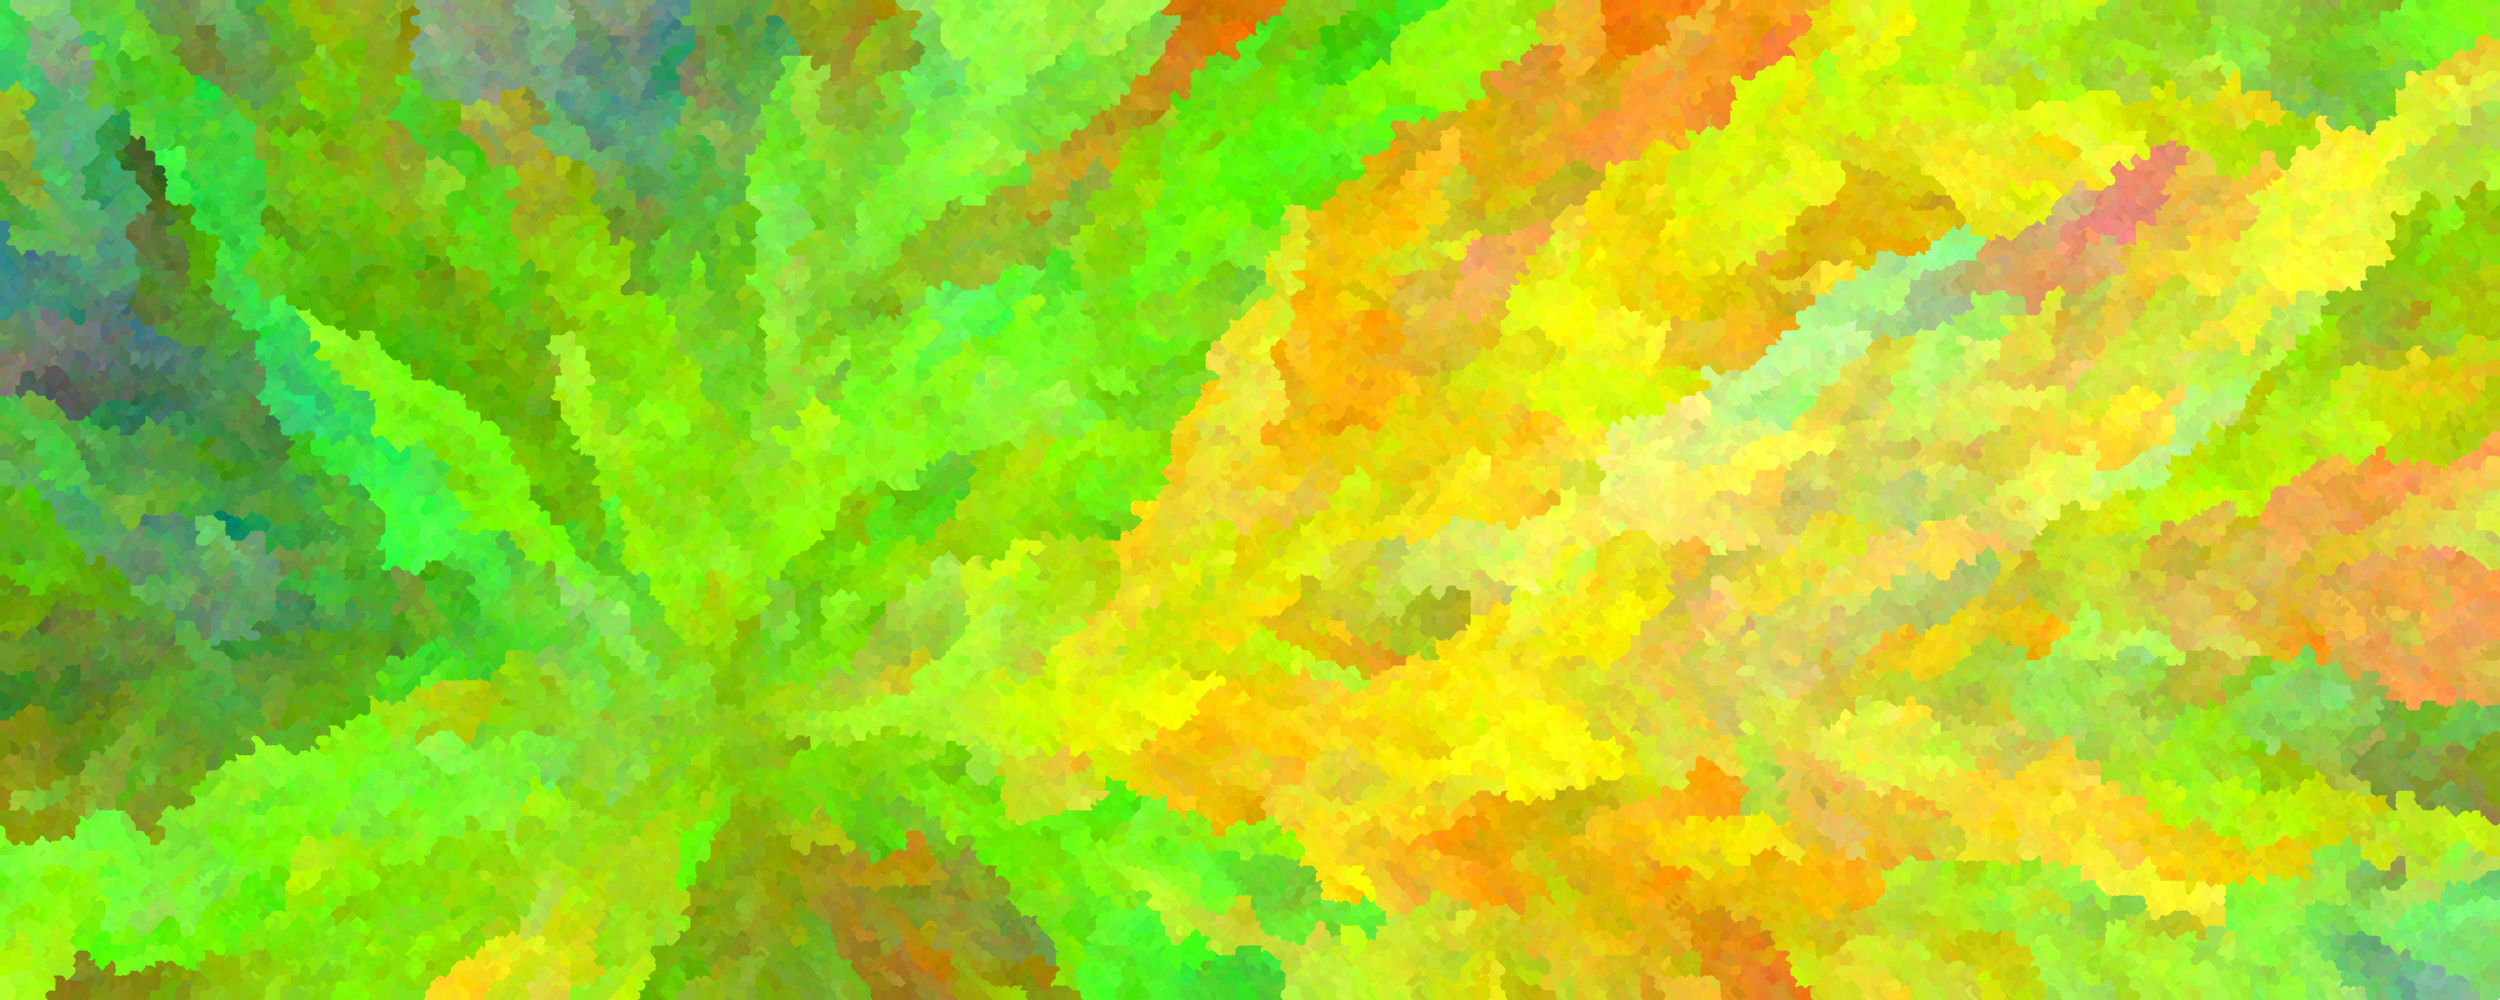
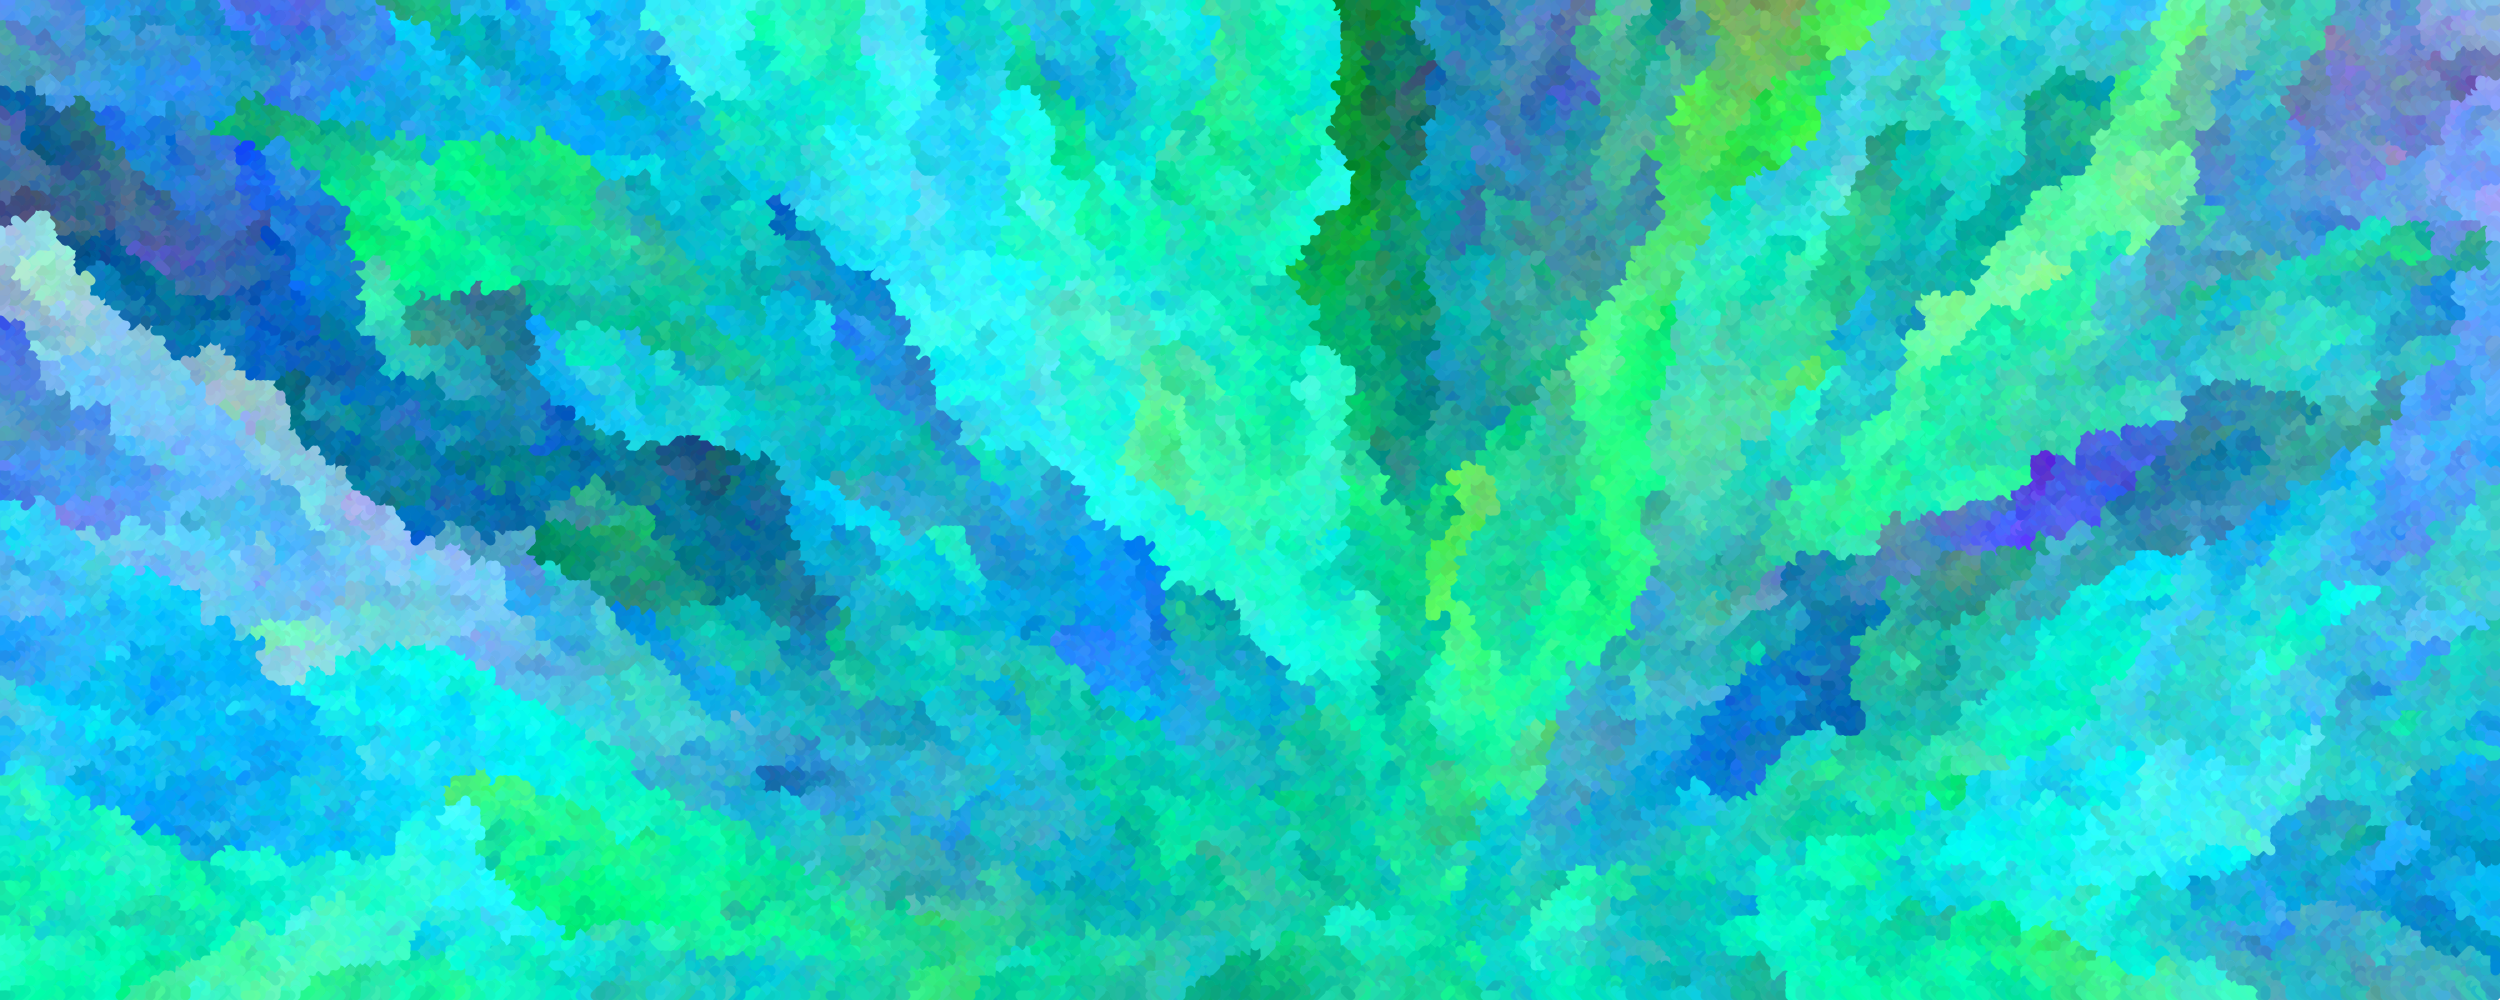
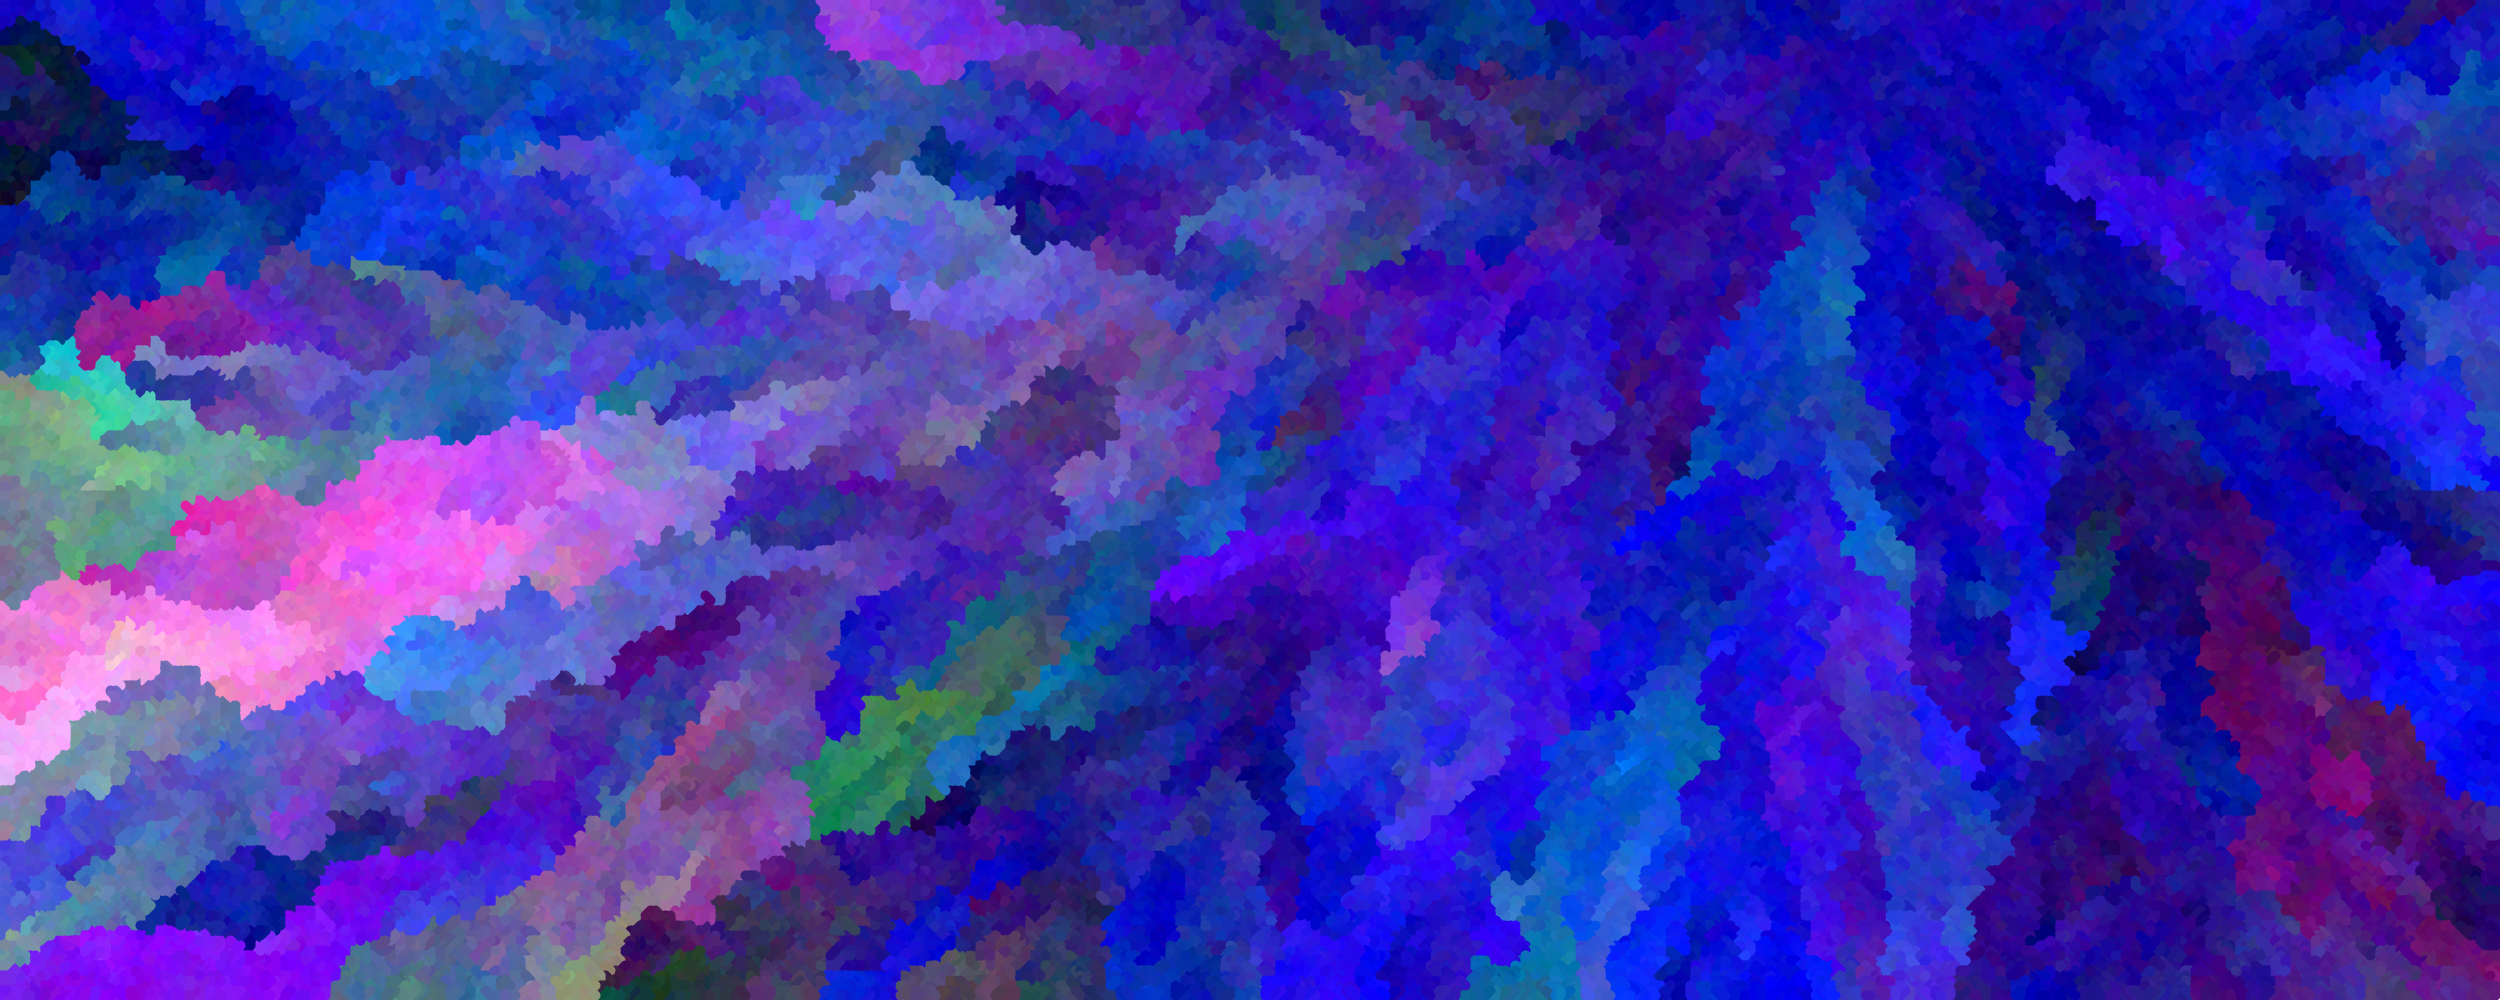
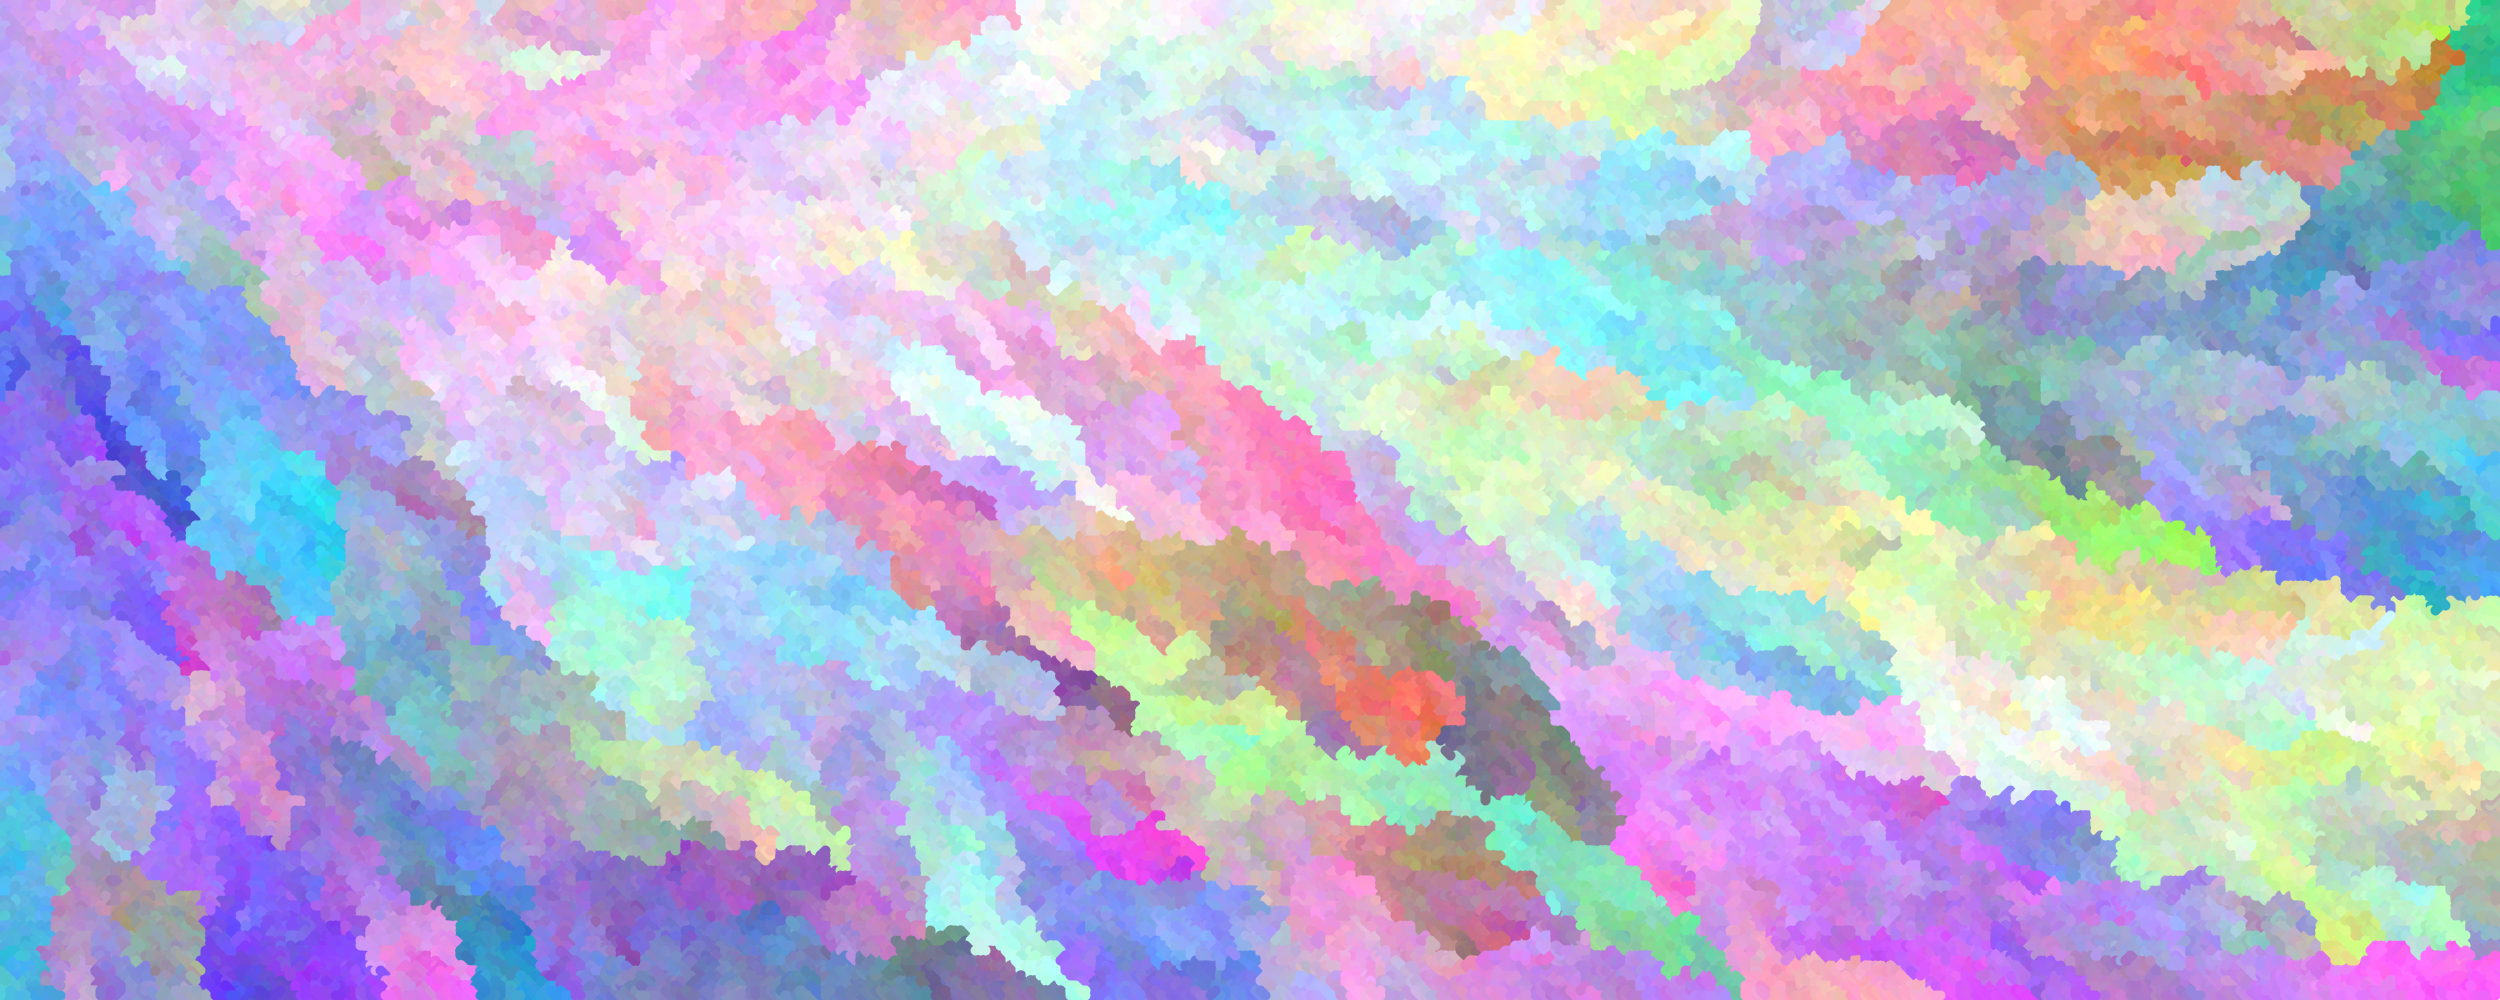
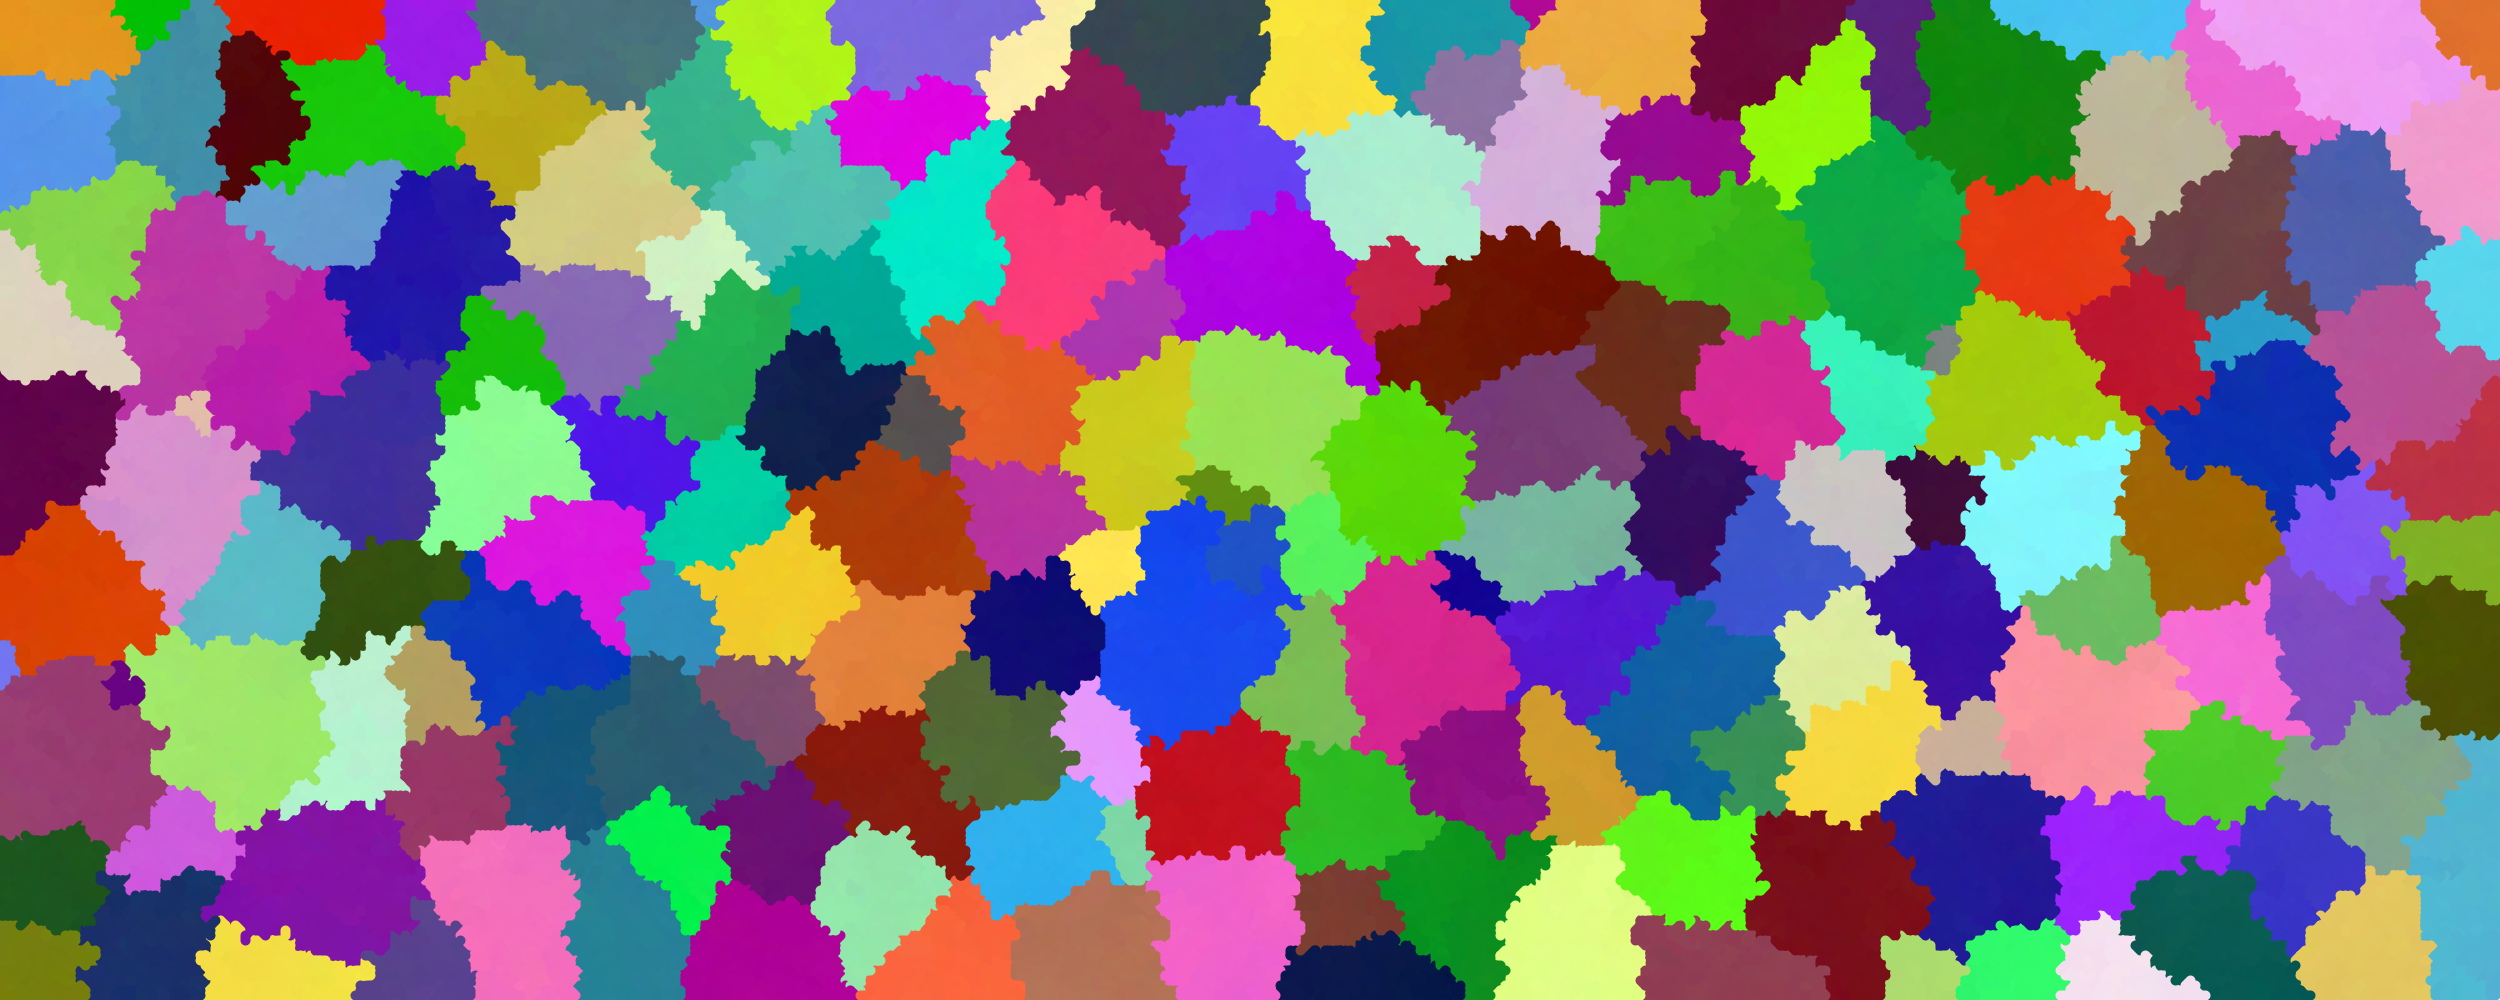
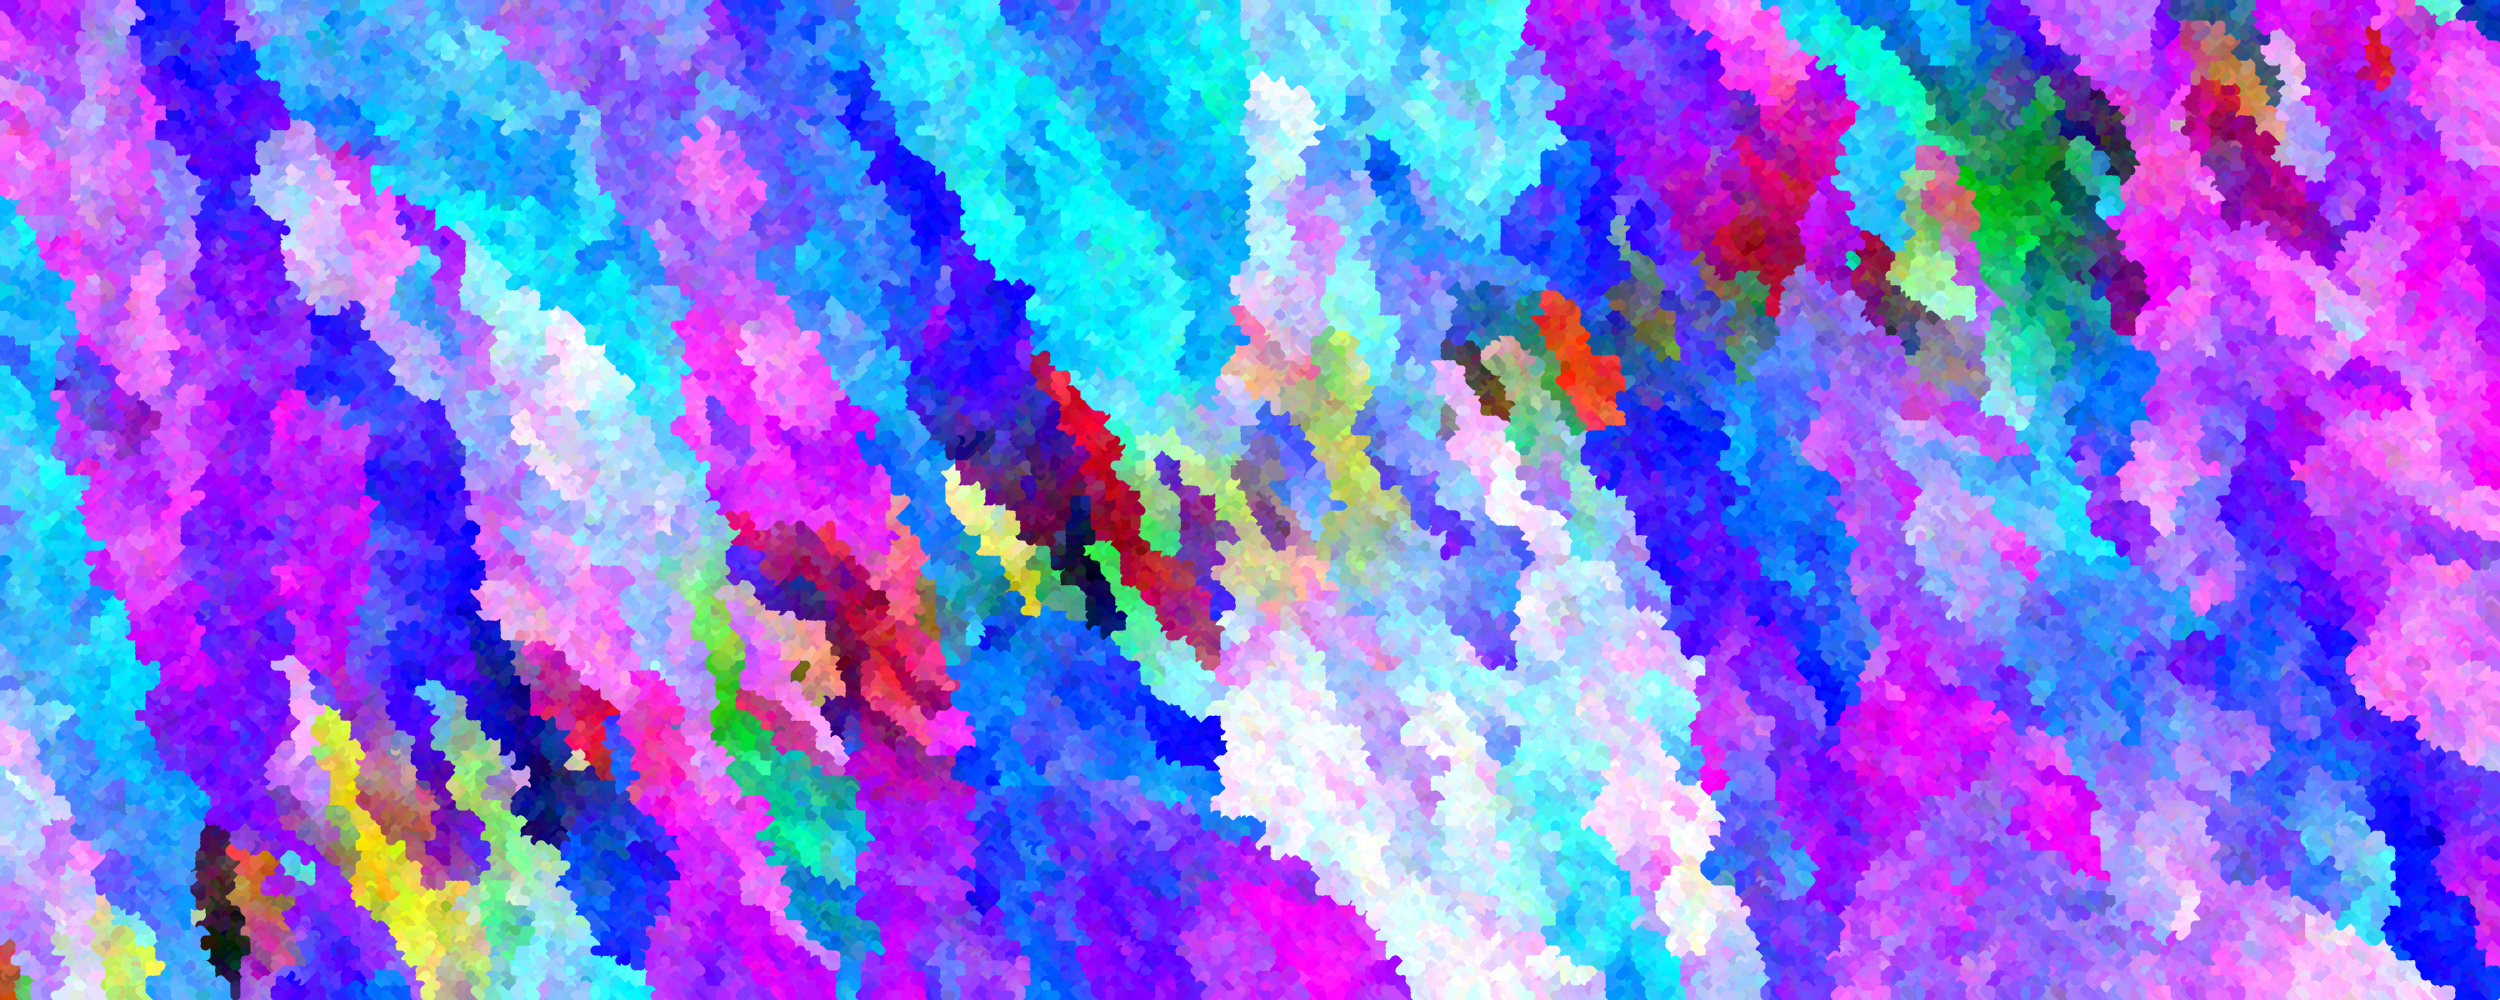
Let’s start with a simple version where we place a single seed point in the center that’s colored with a random RGB value, and do a random Gaussian perturbation in all three color channels (i.e., we modify red, green, and blue values). Below are the generated images for a perturbations value of 1.
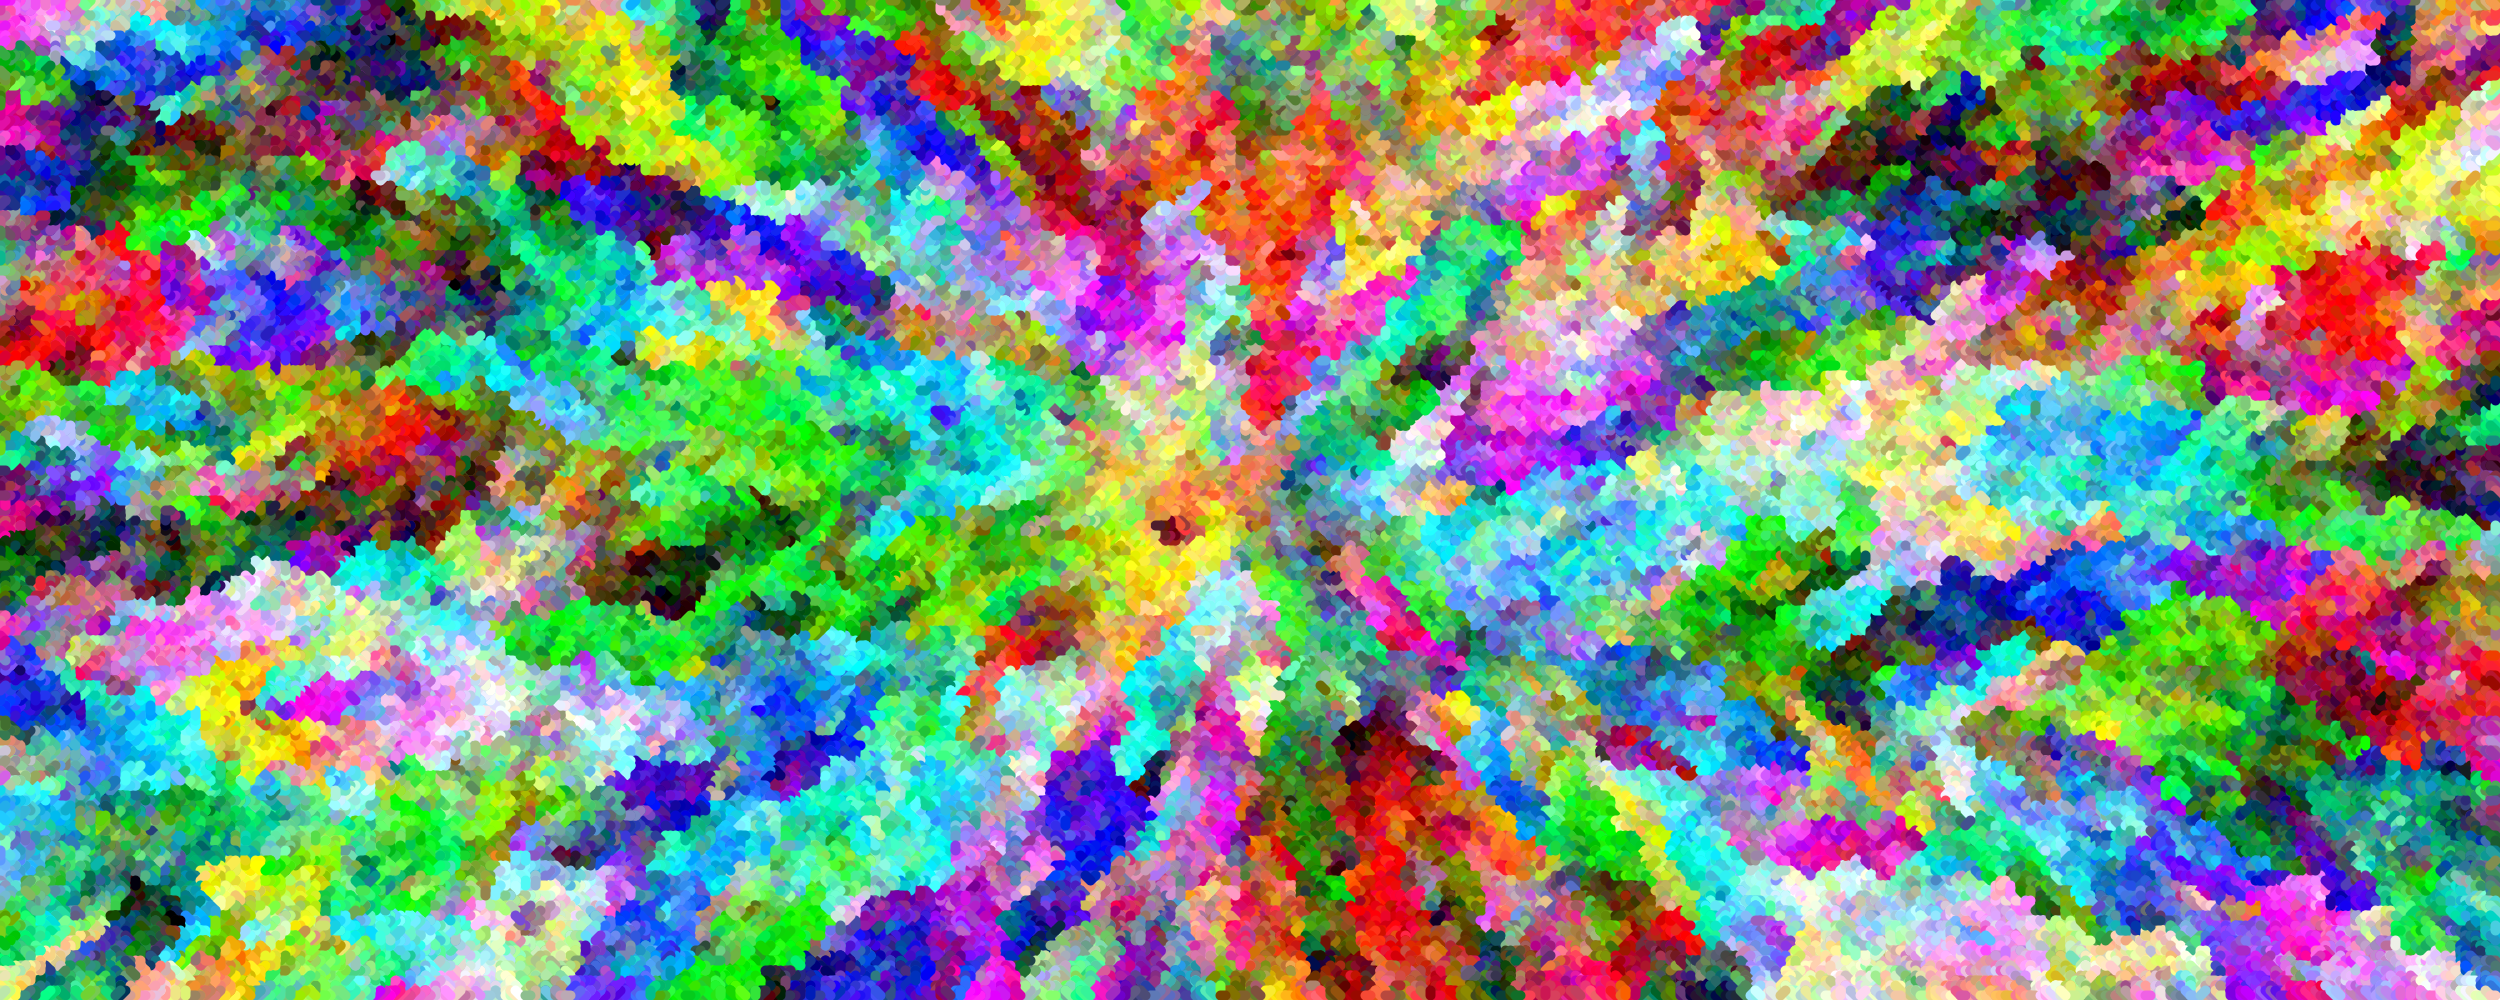
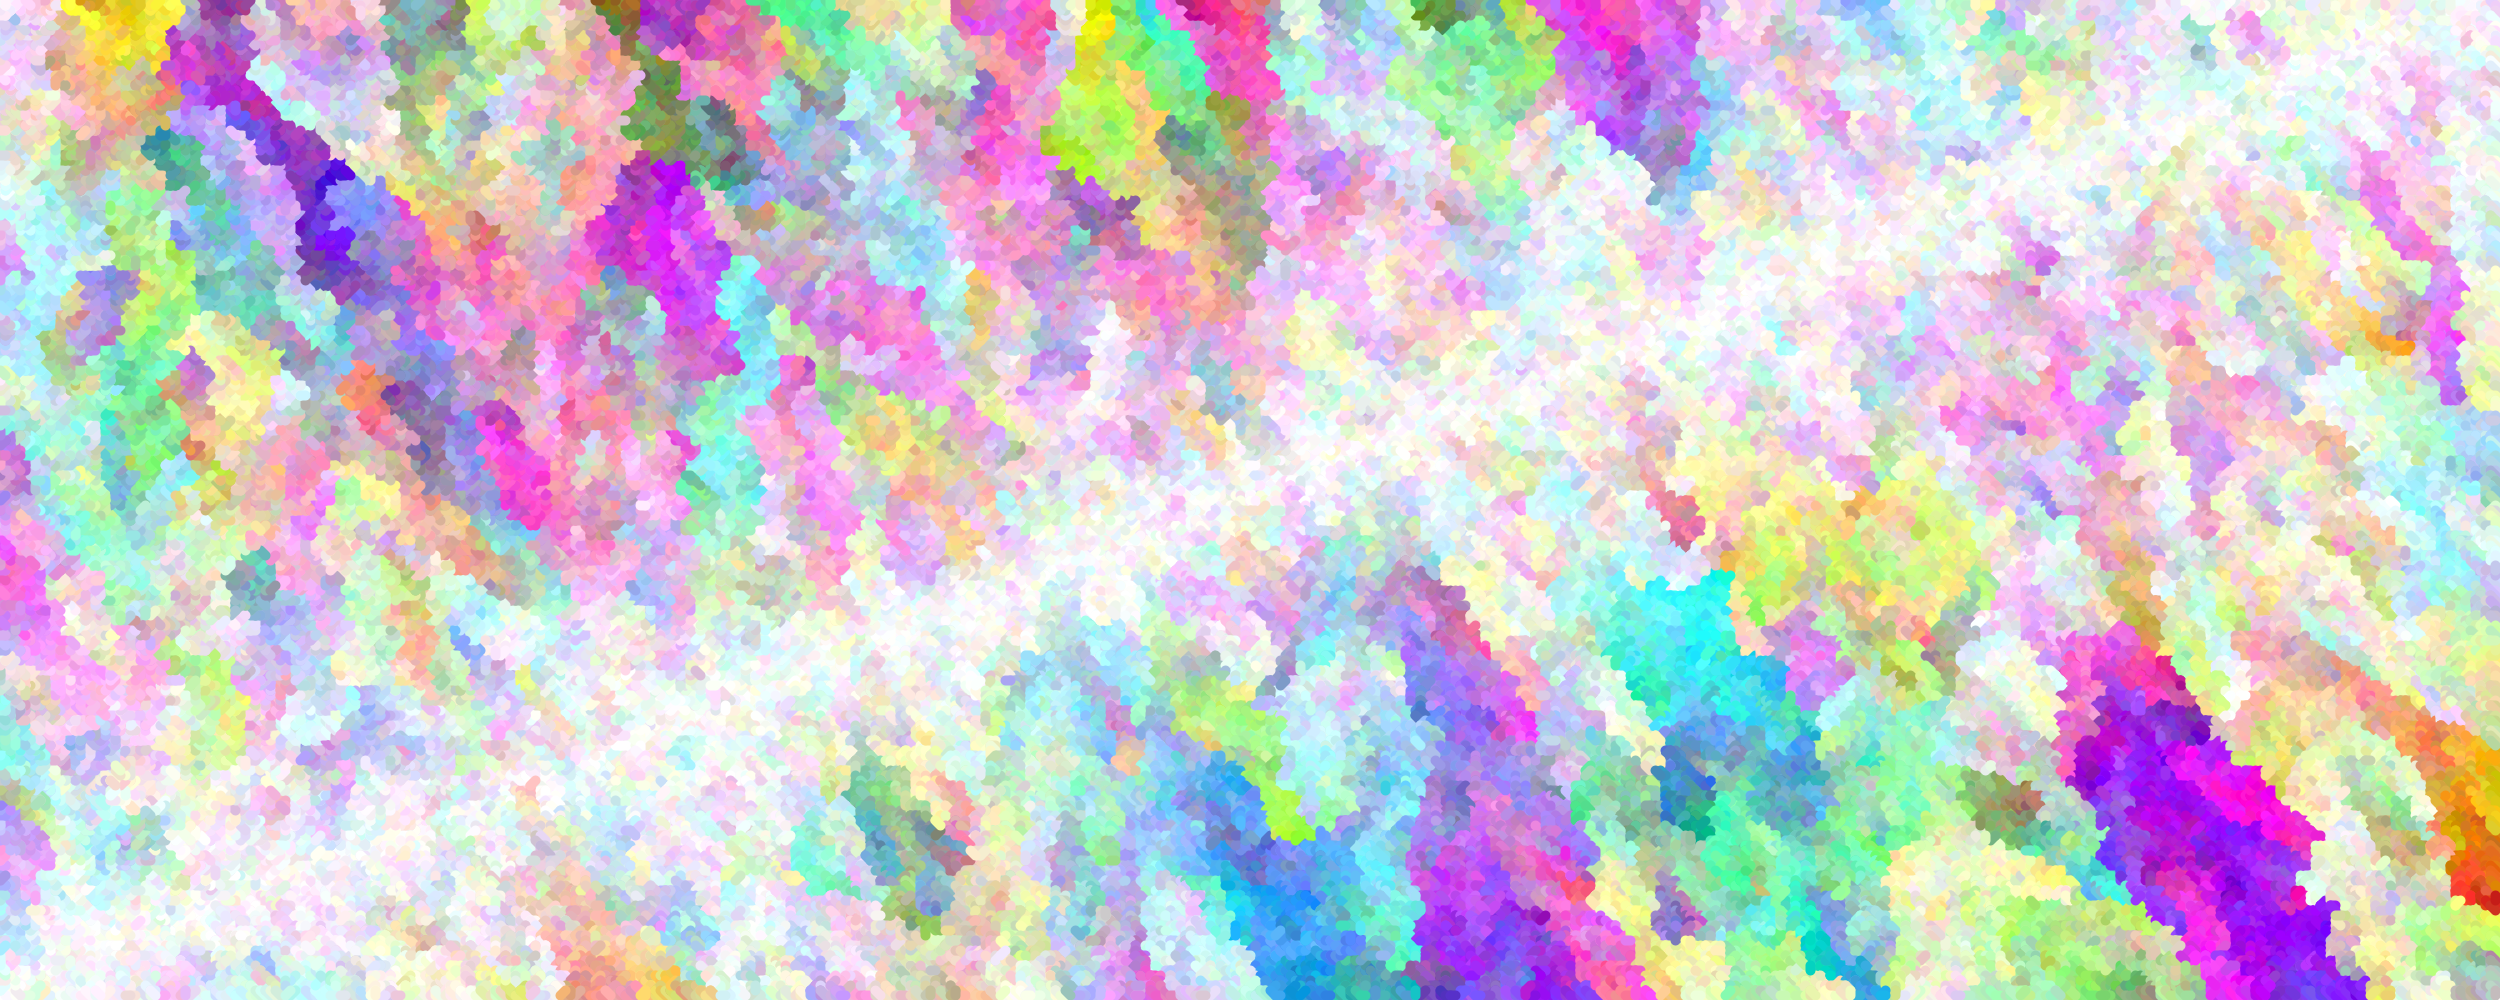
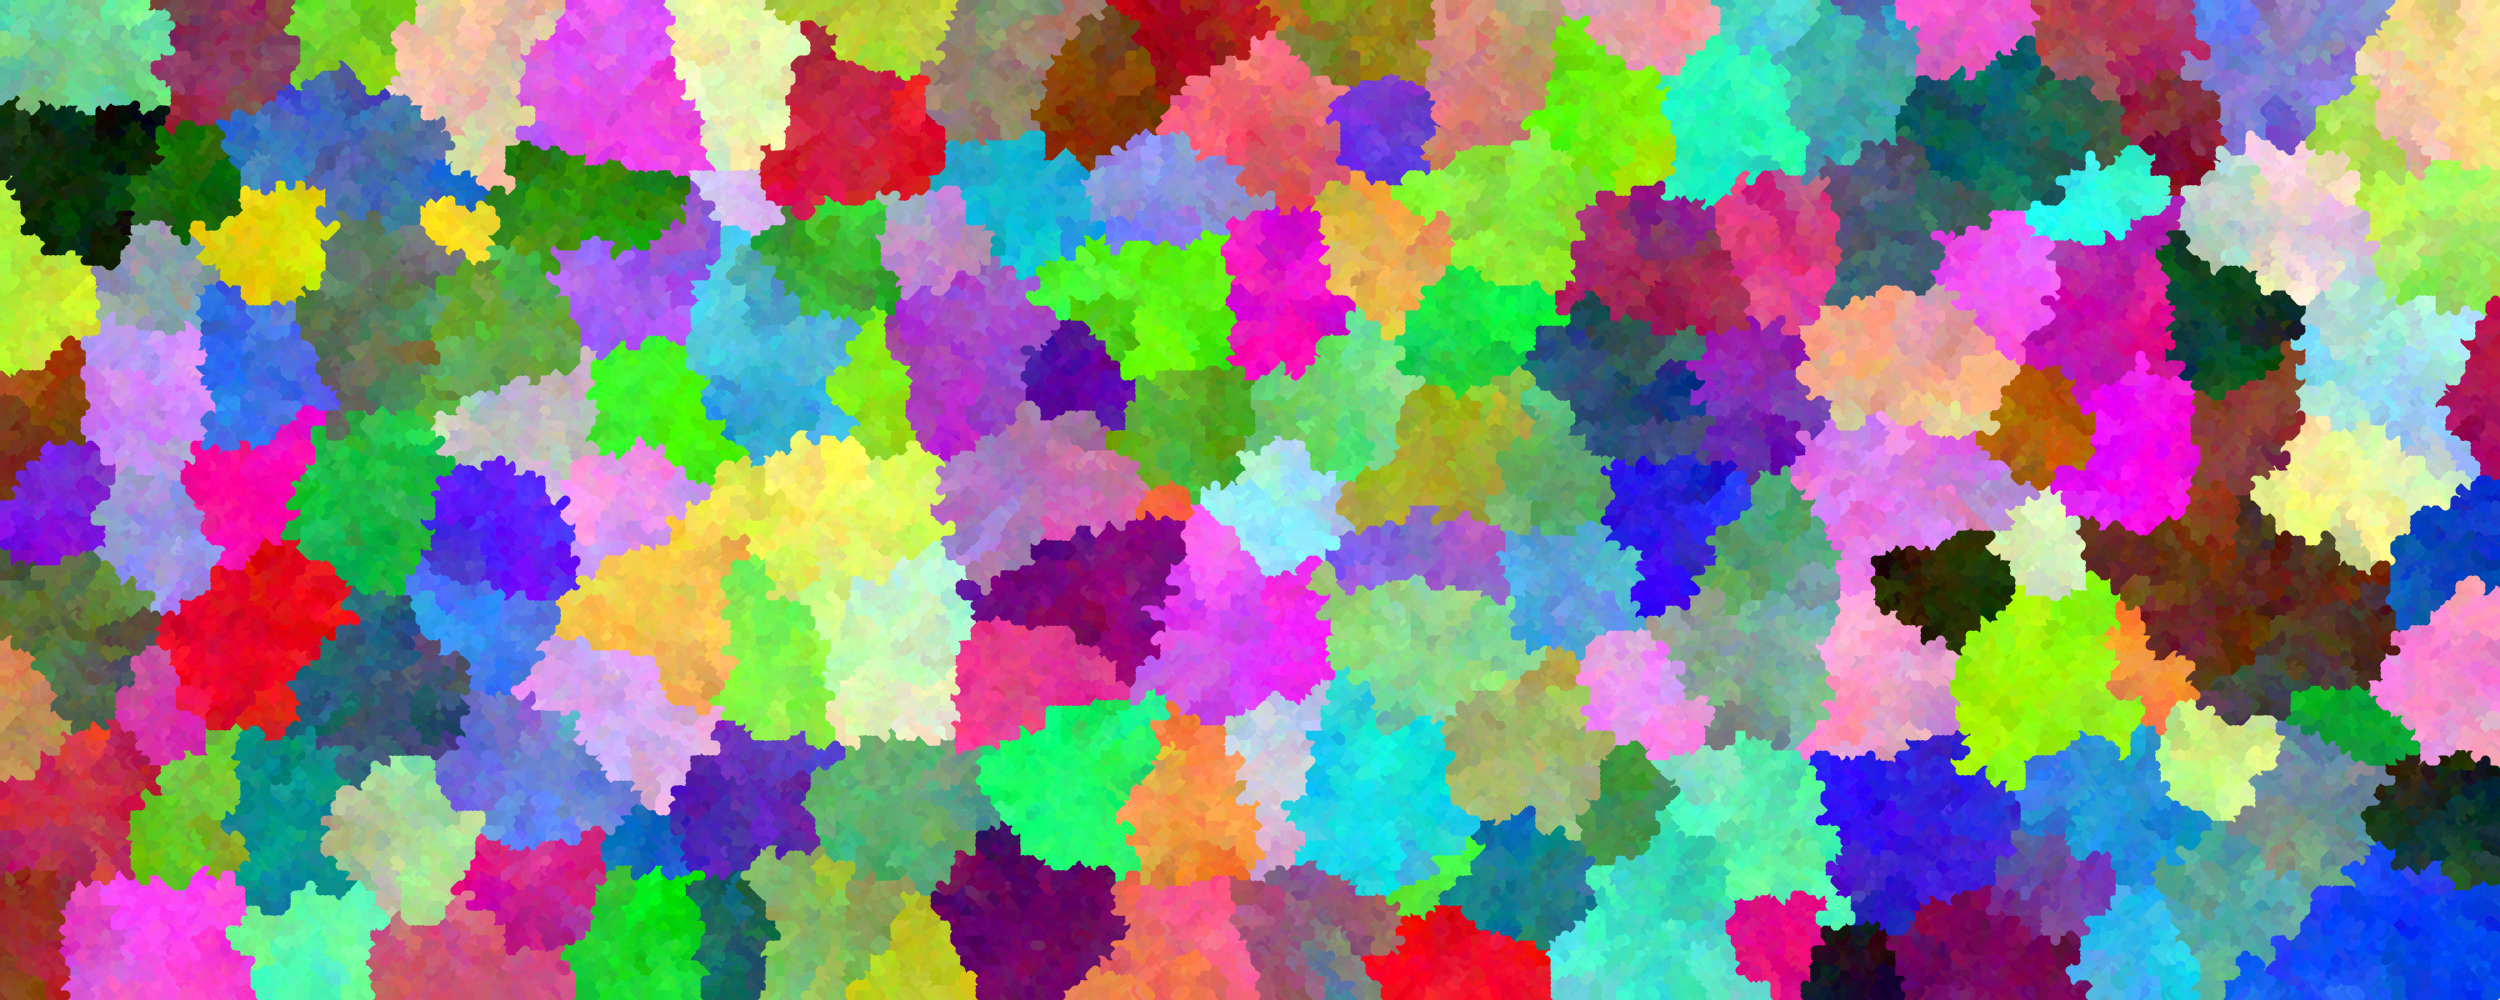
Here is the result for perturbations of size 5:
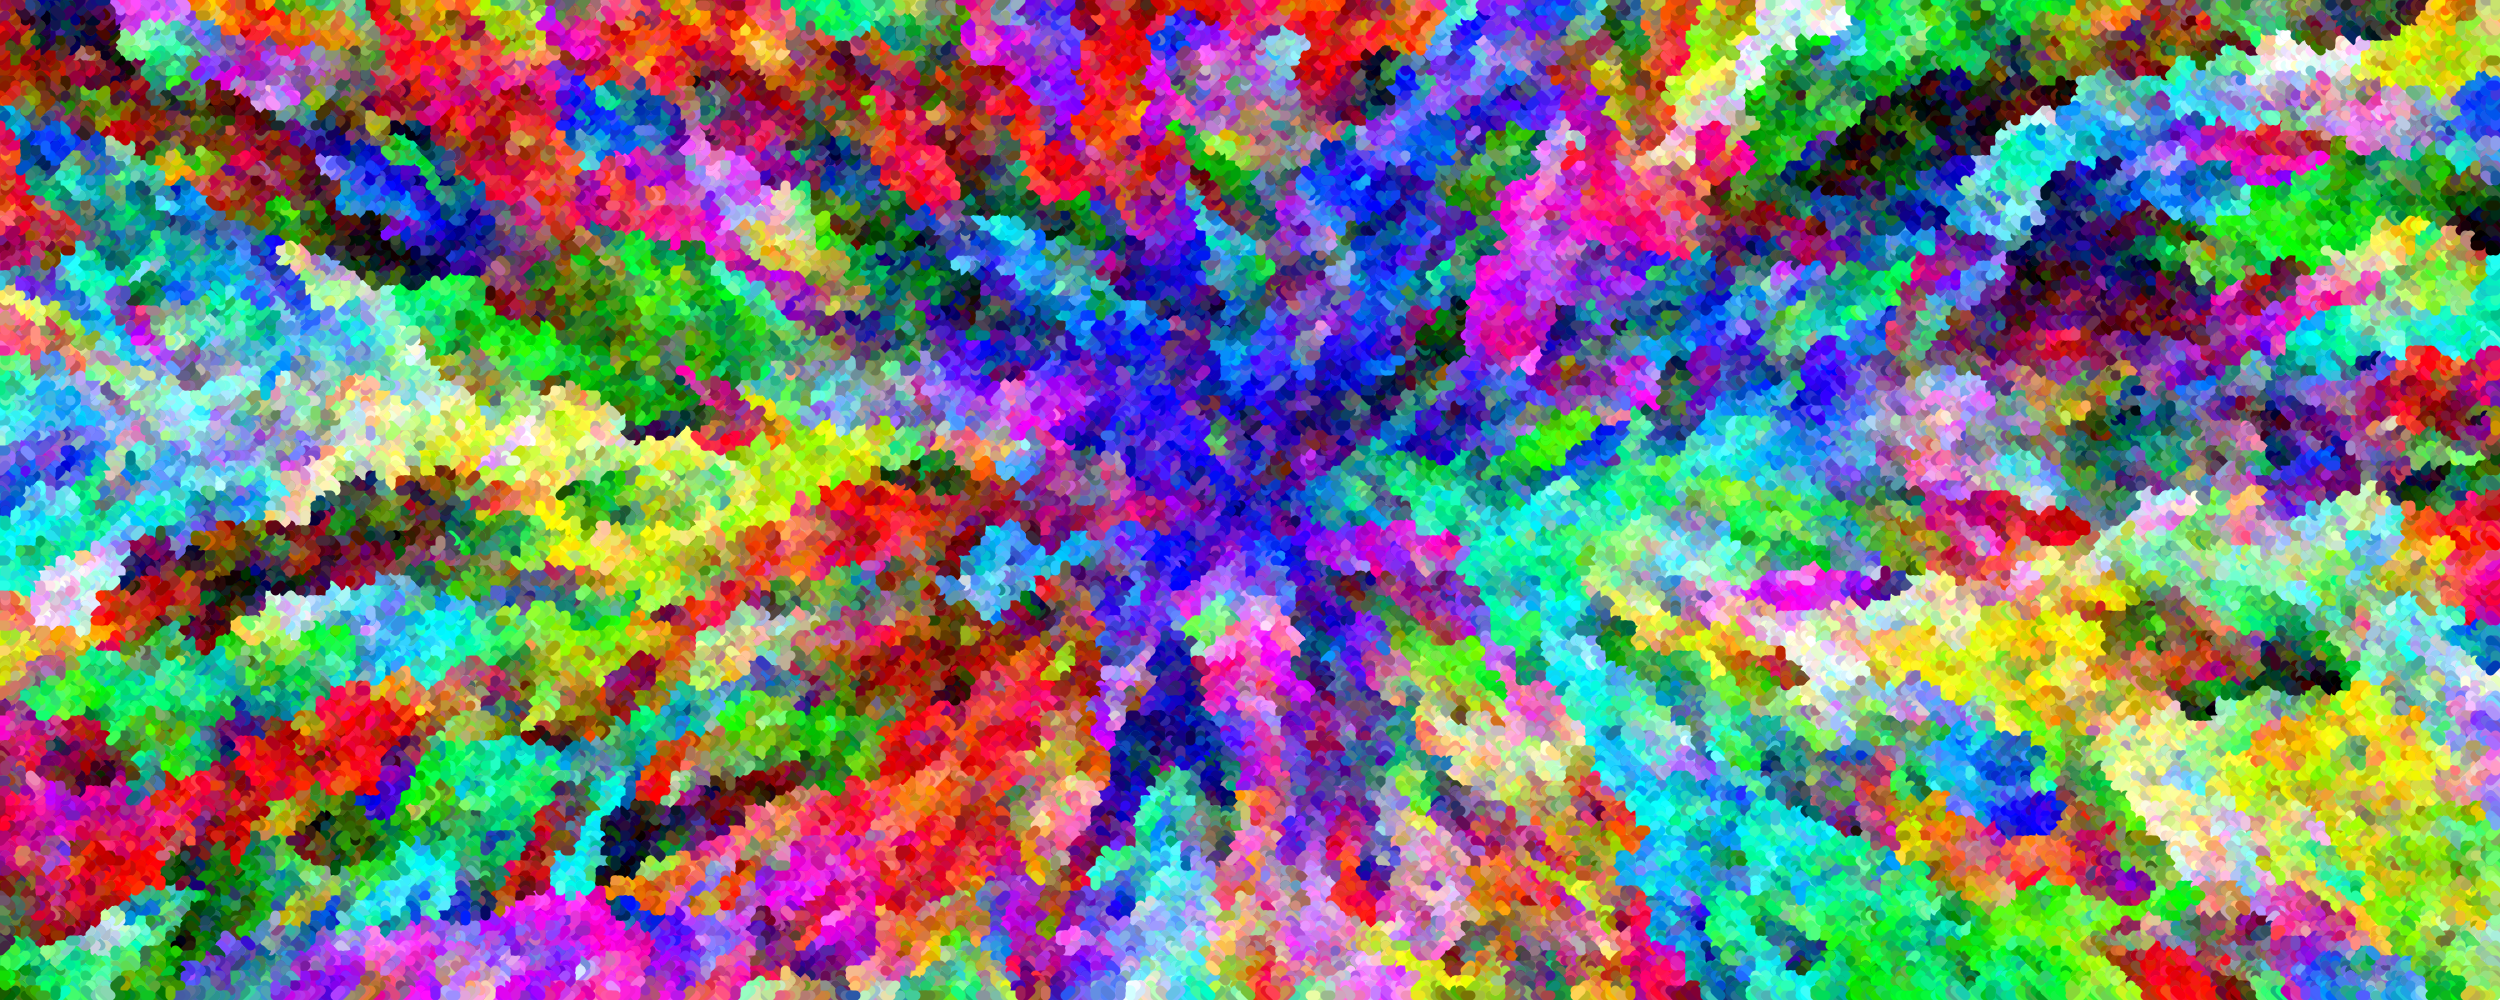
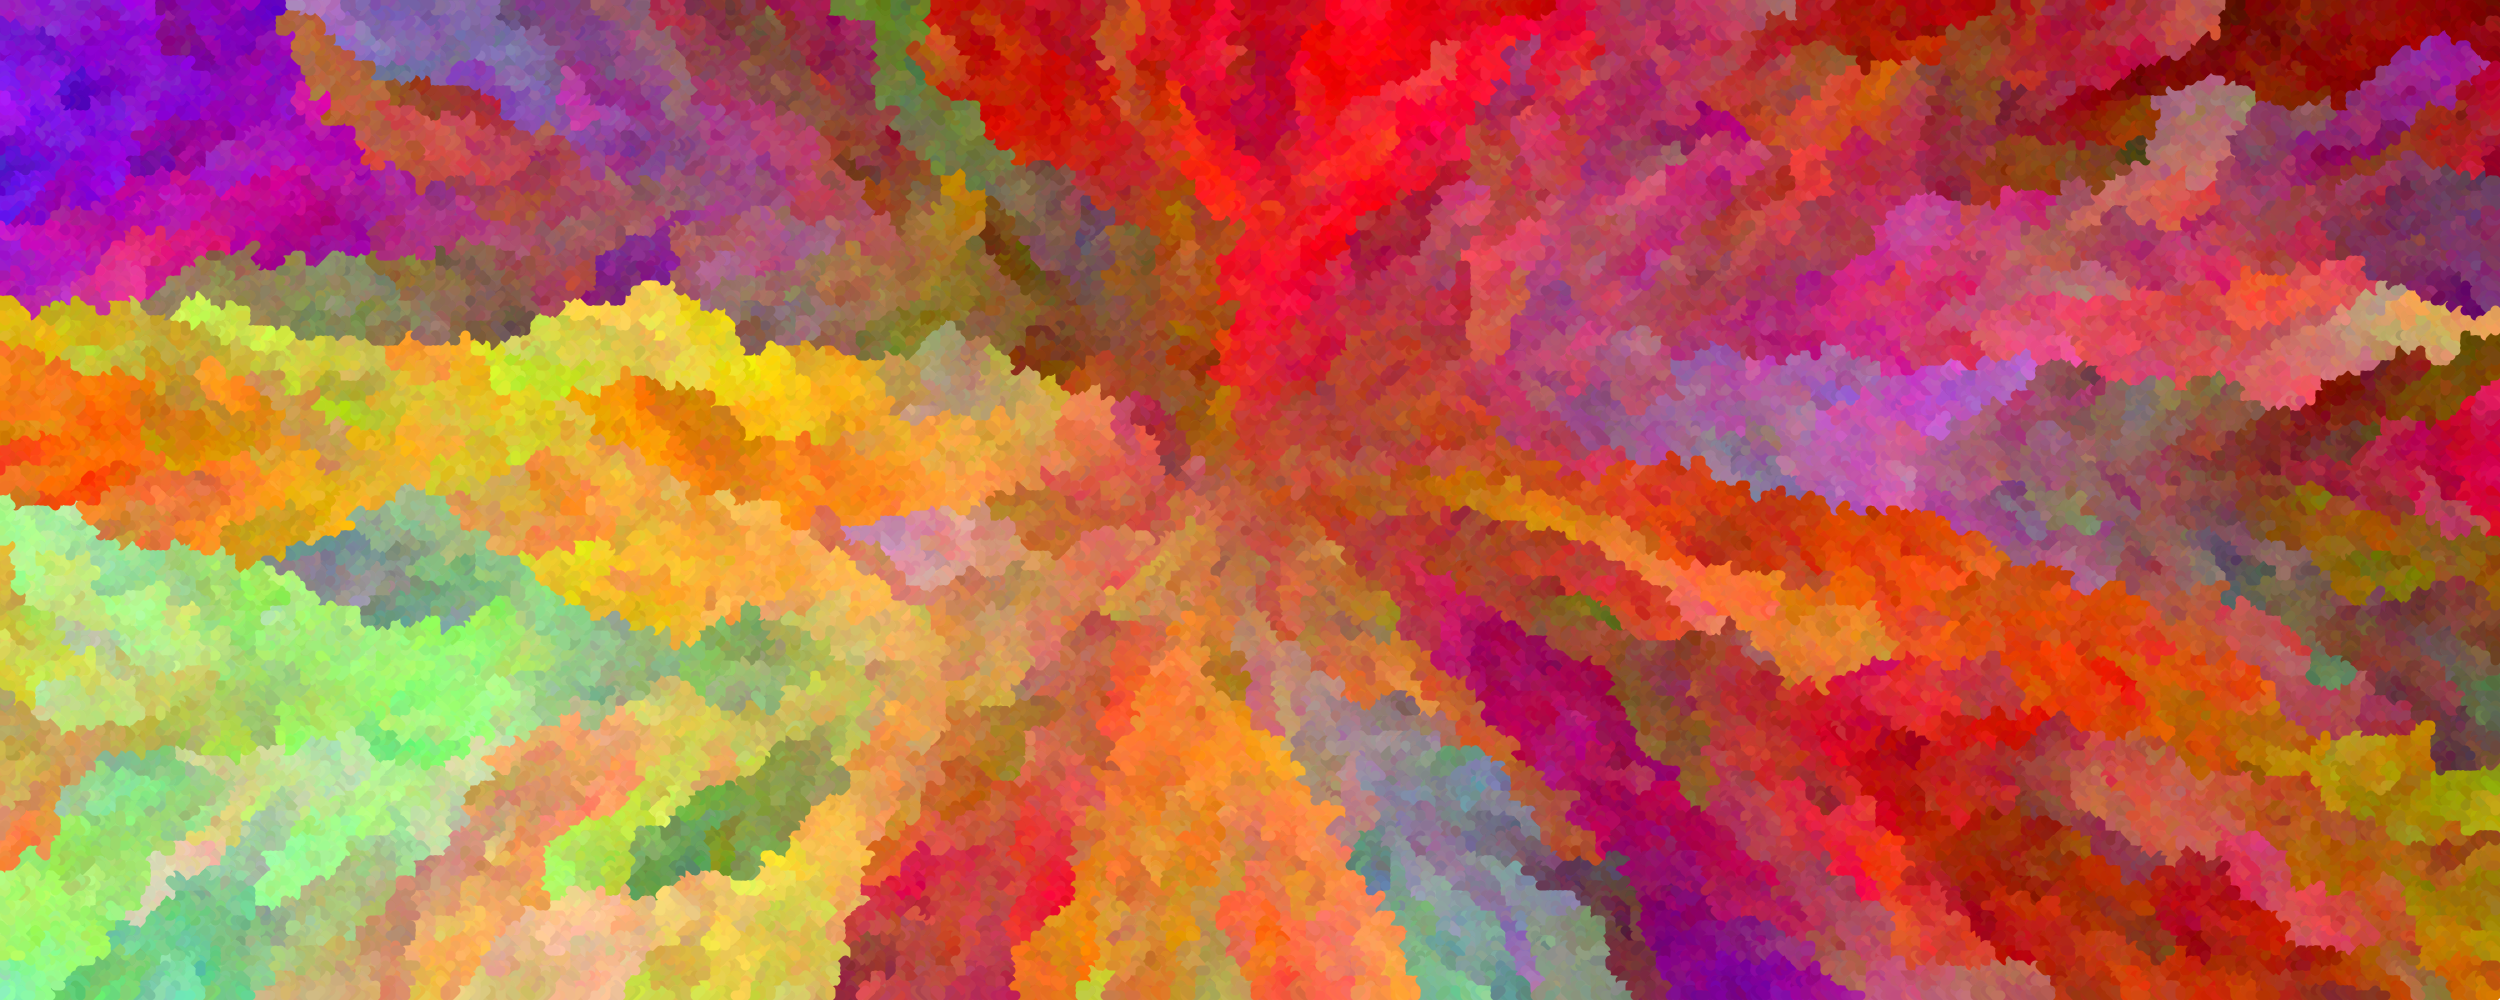
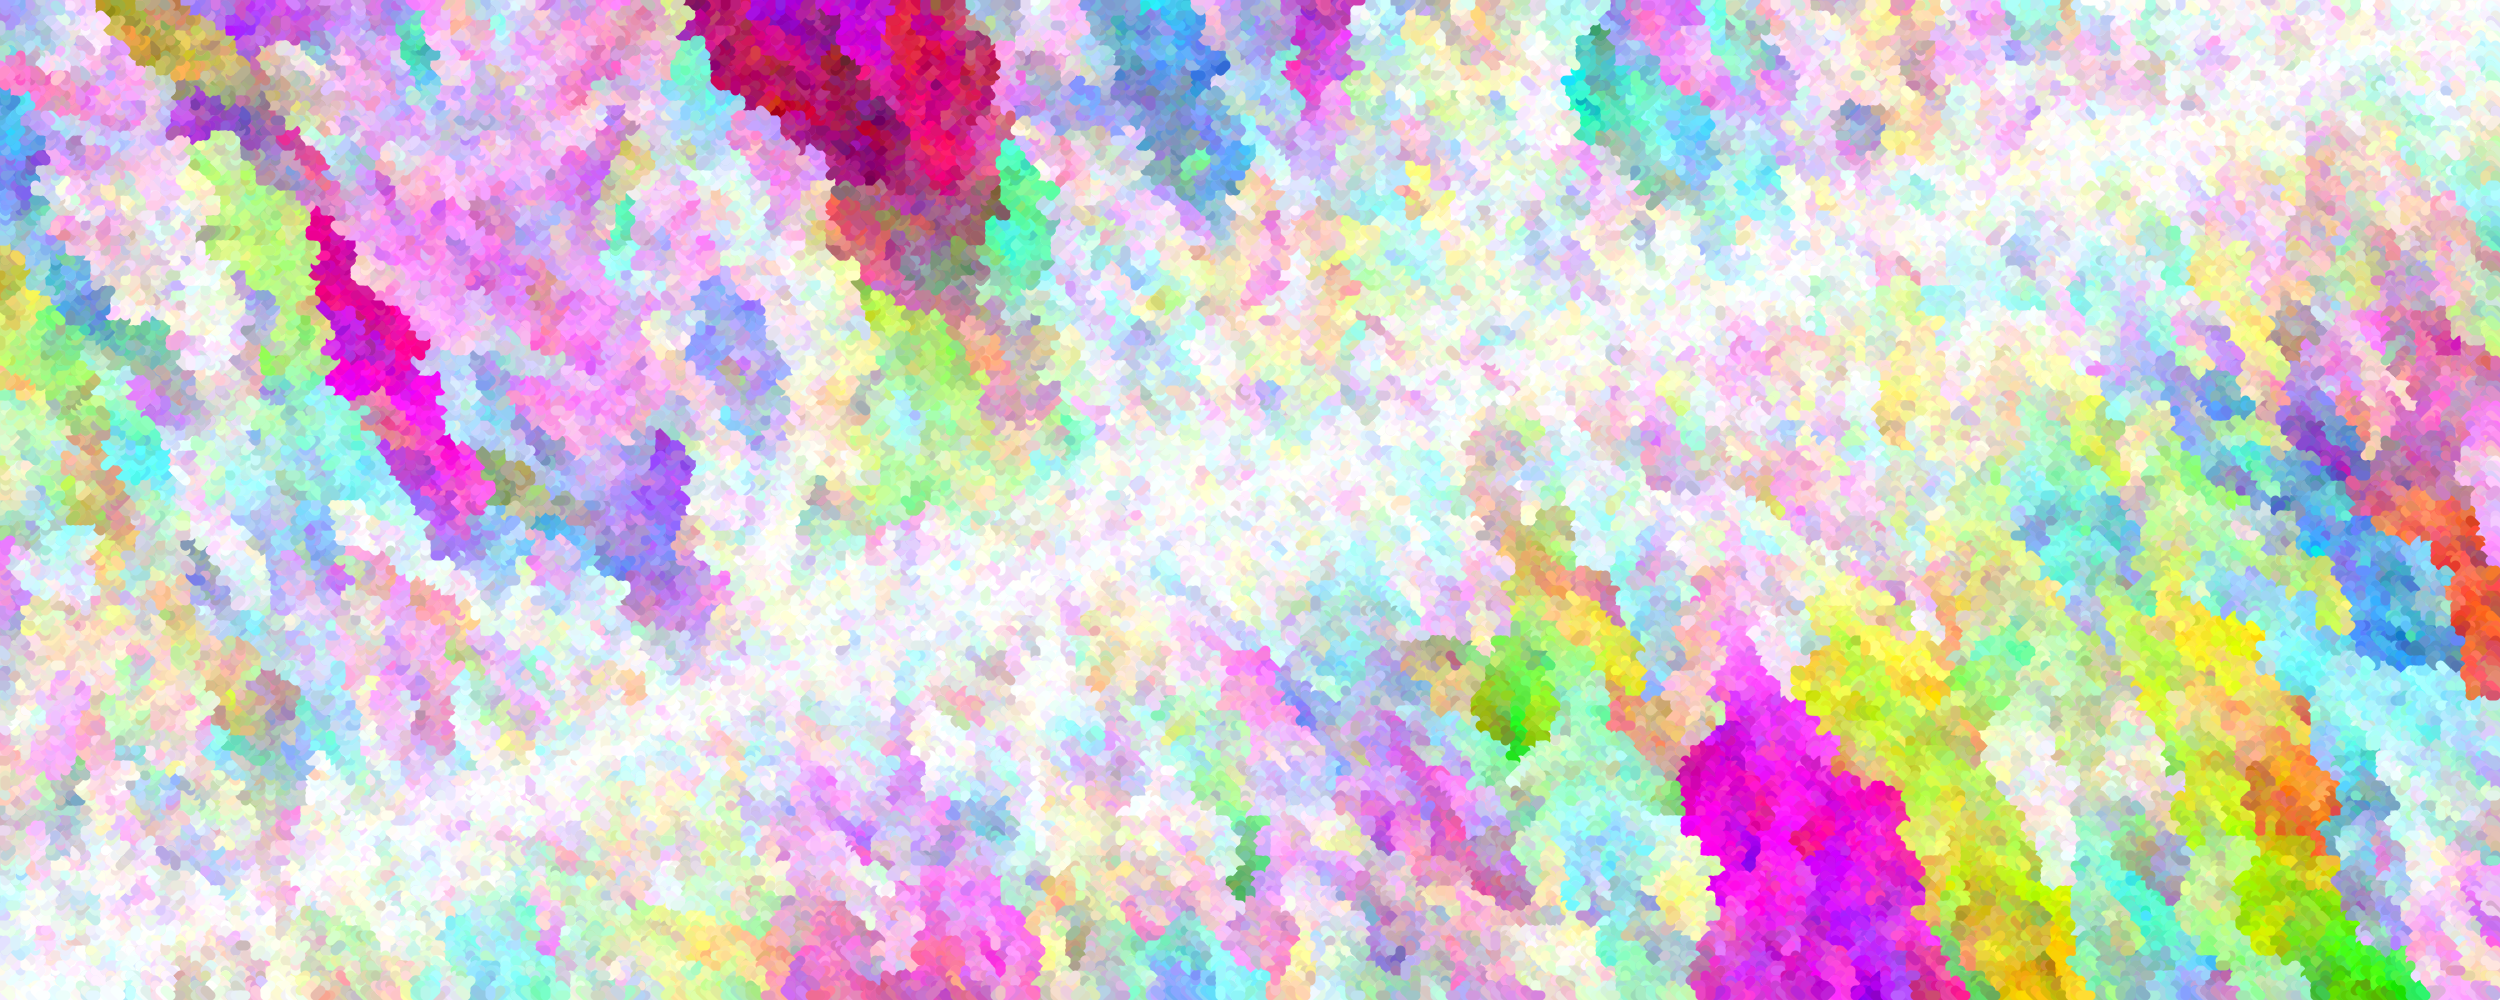
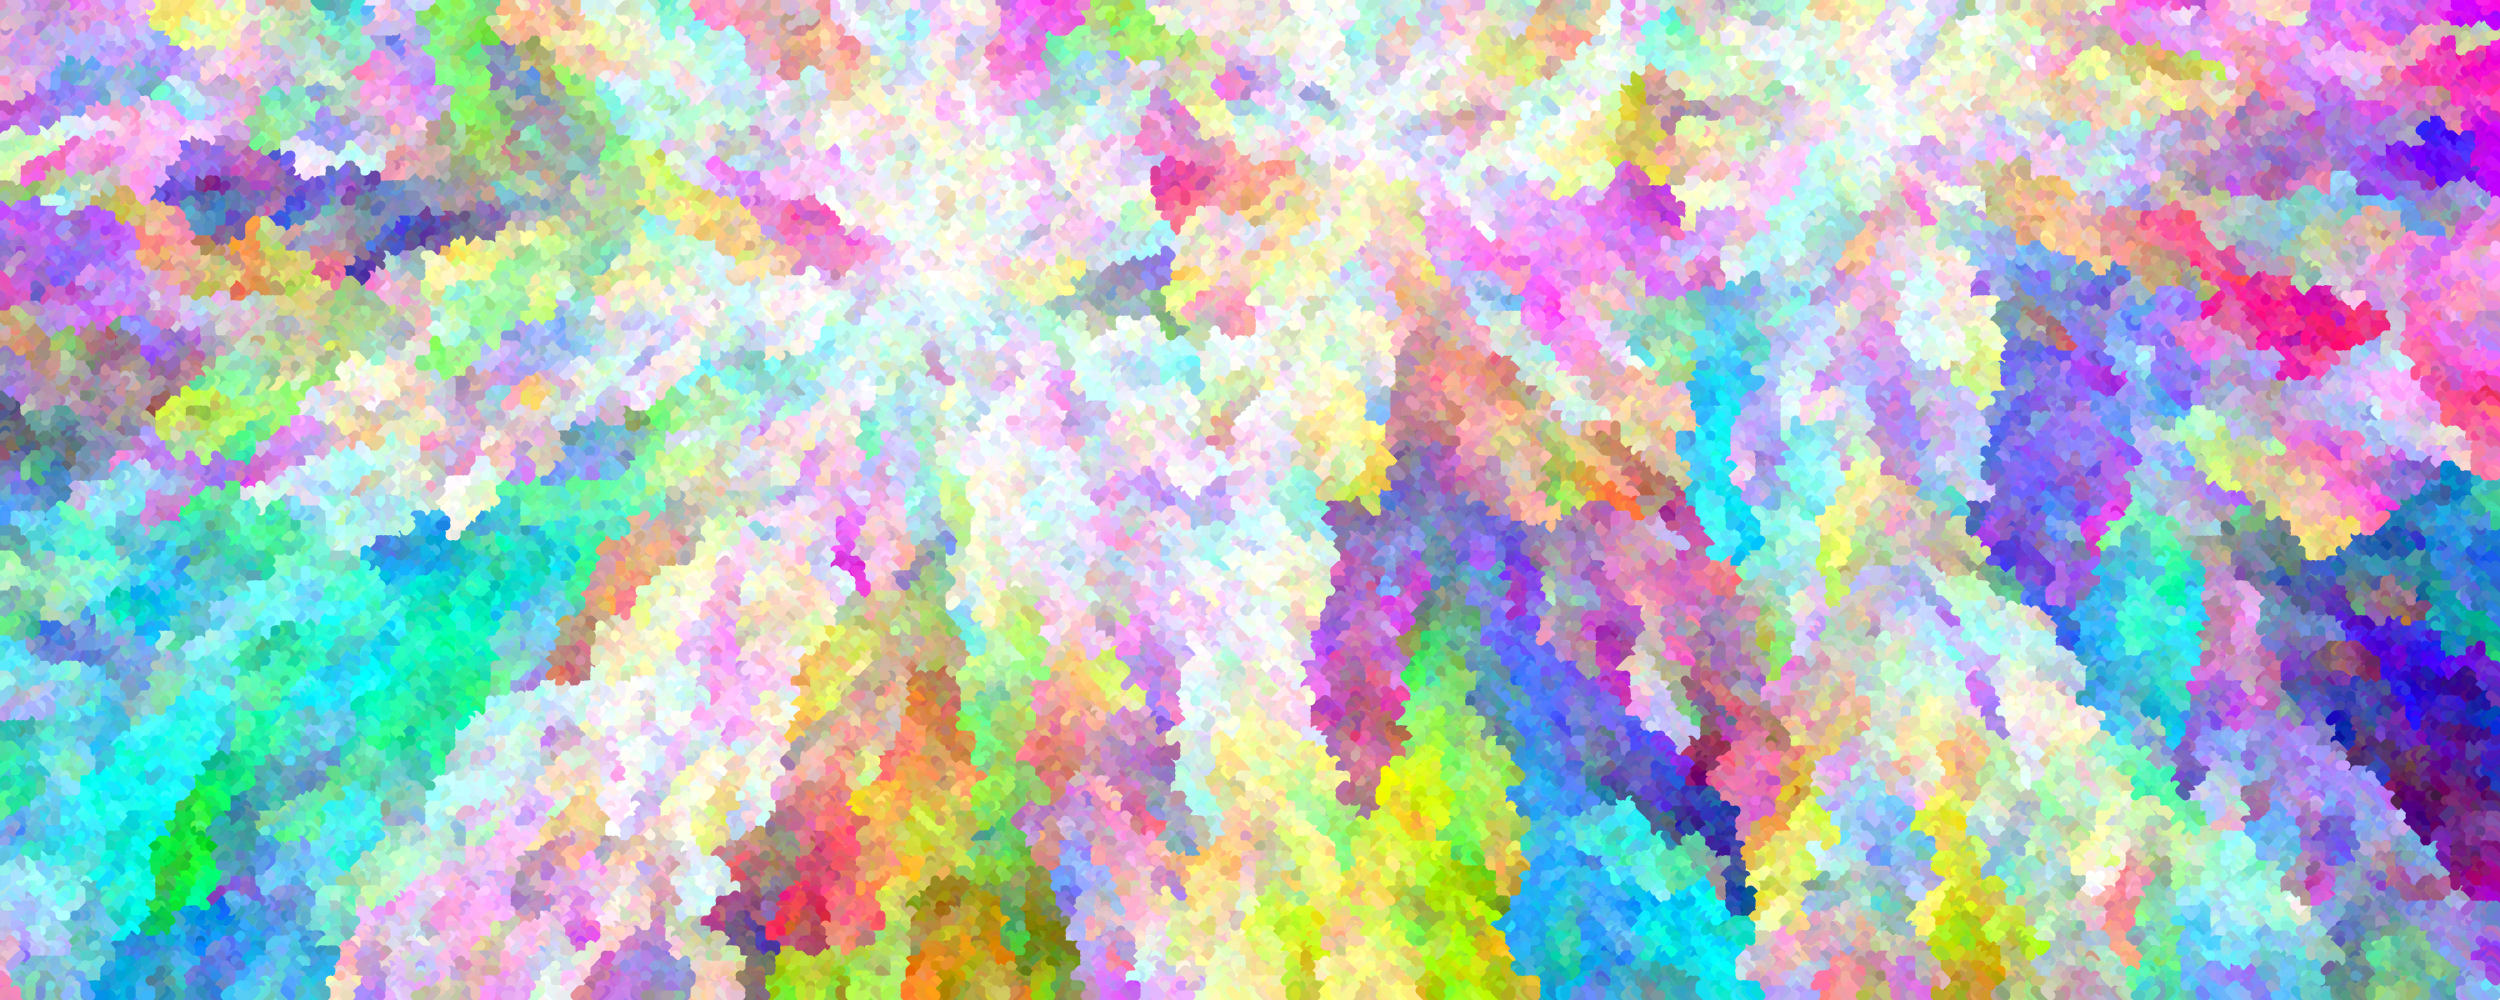
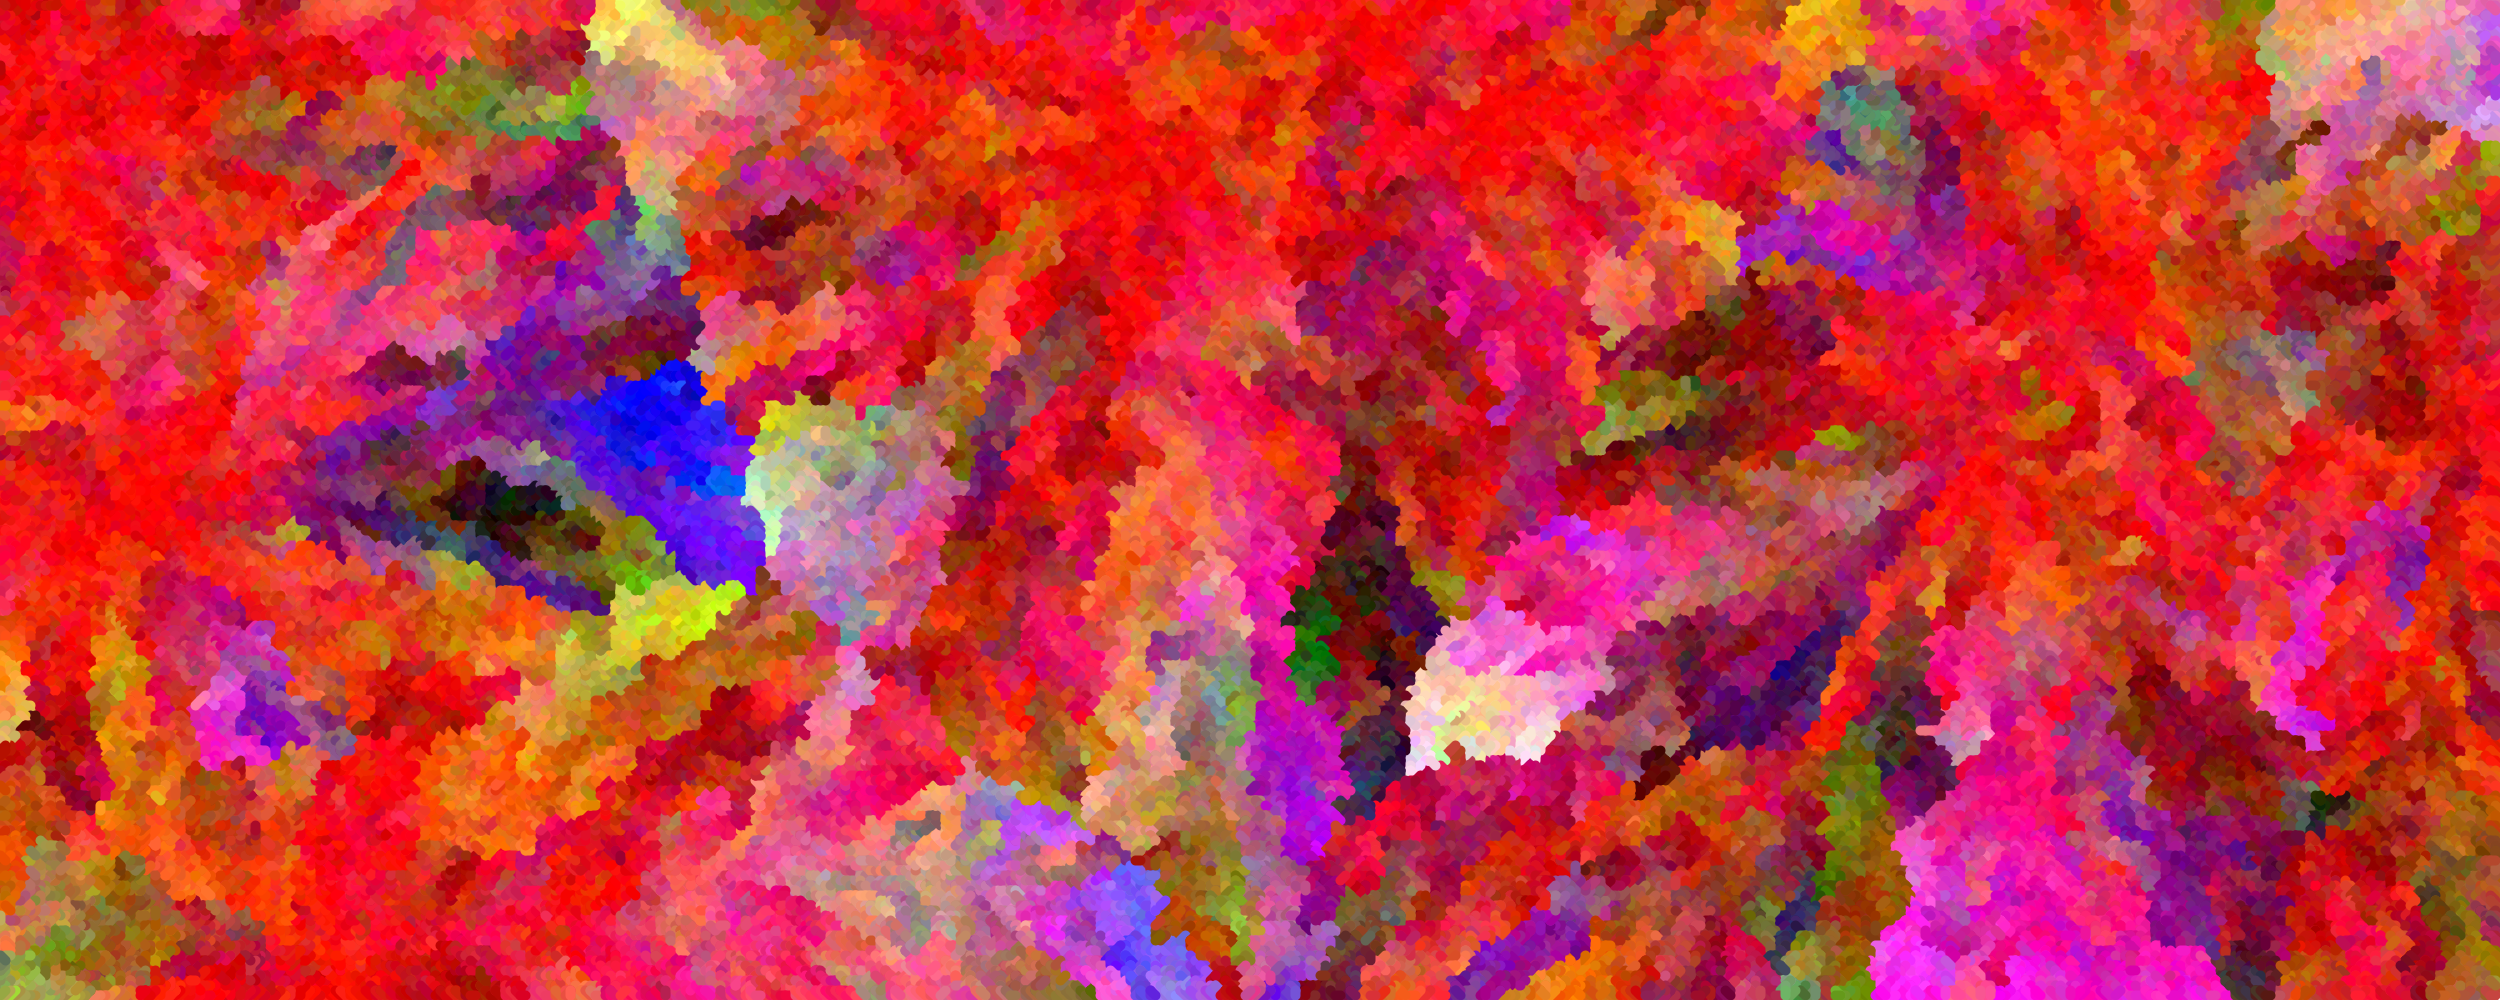
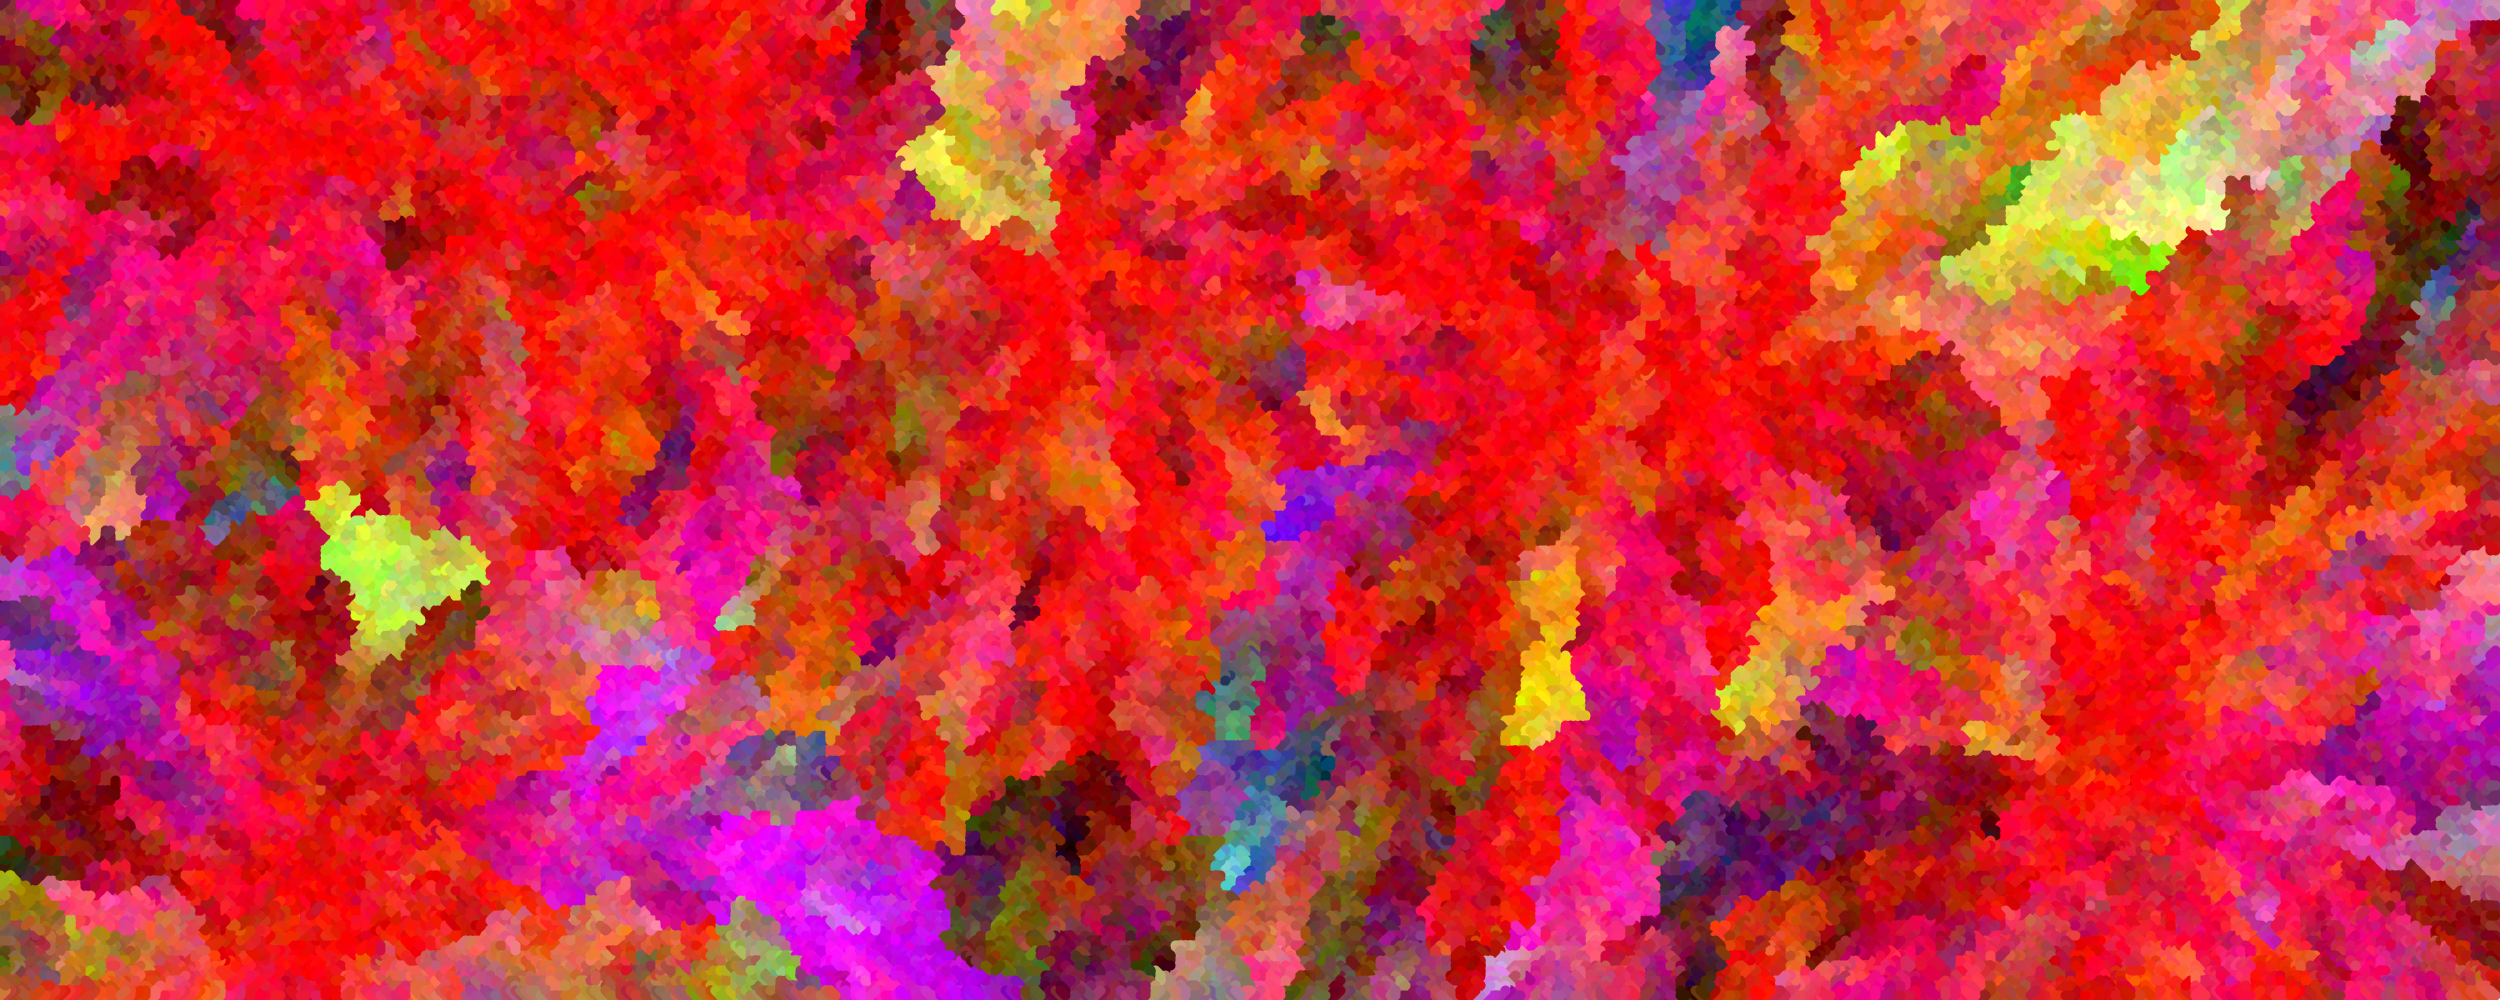
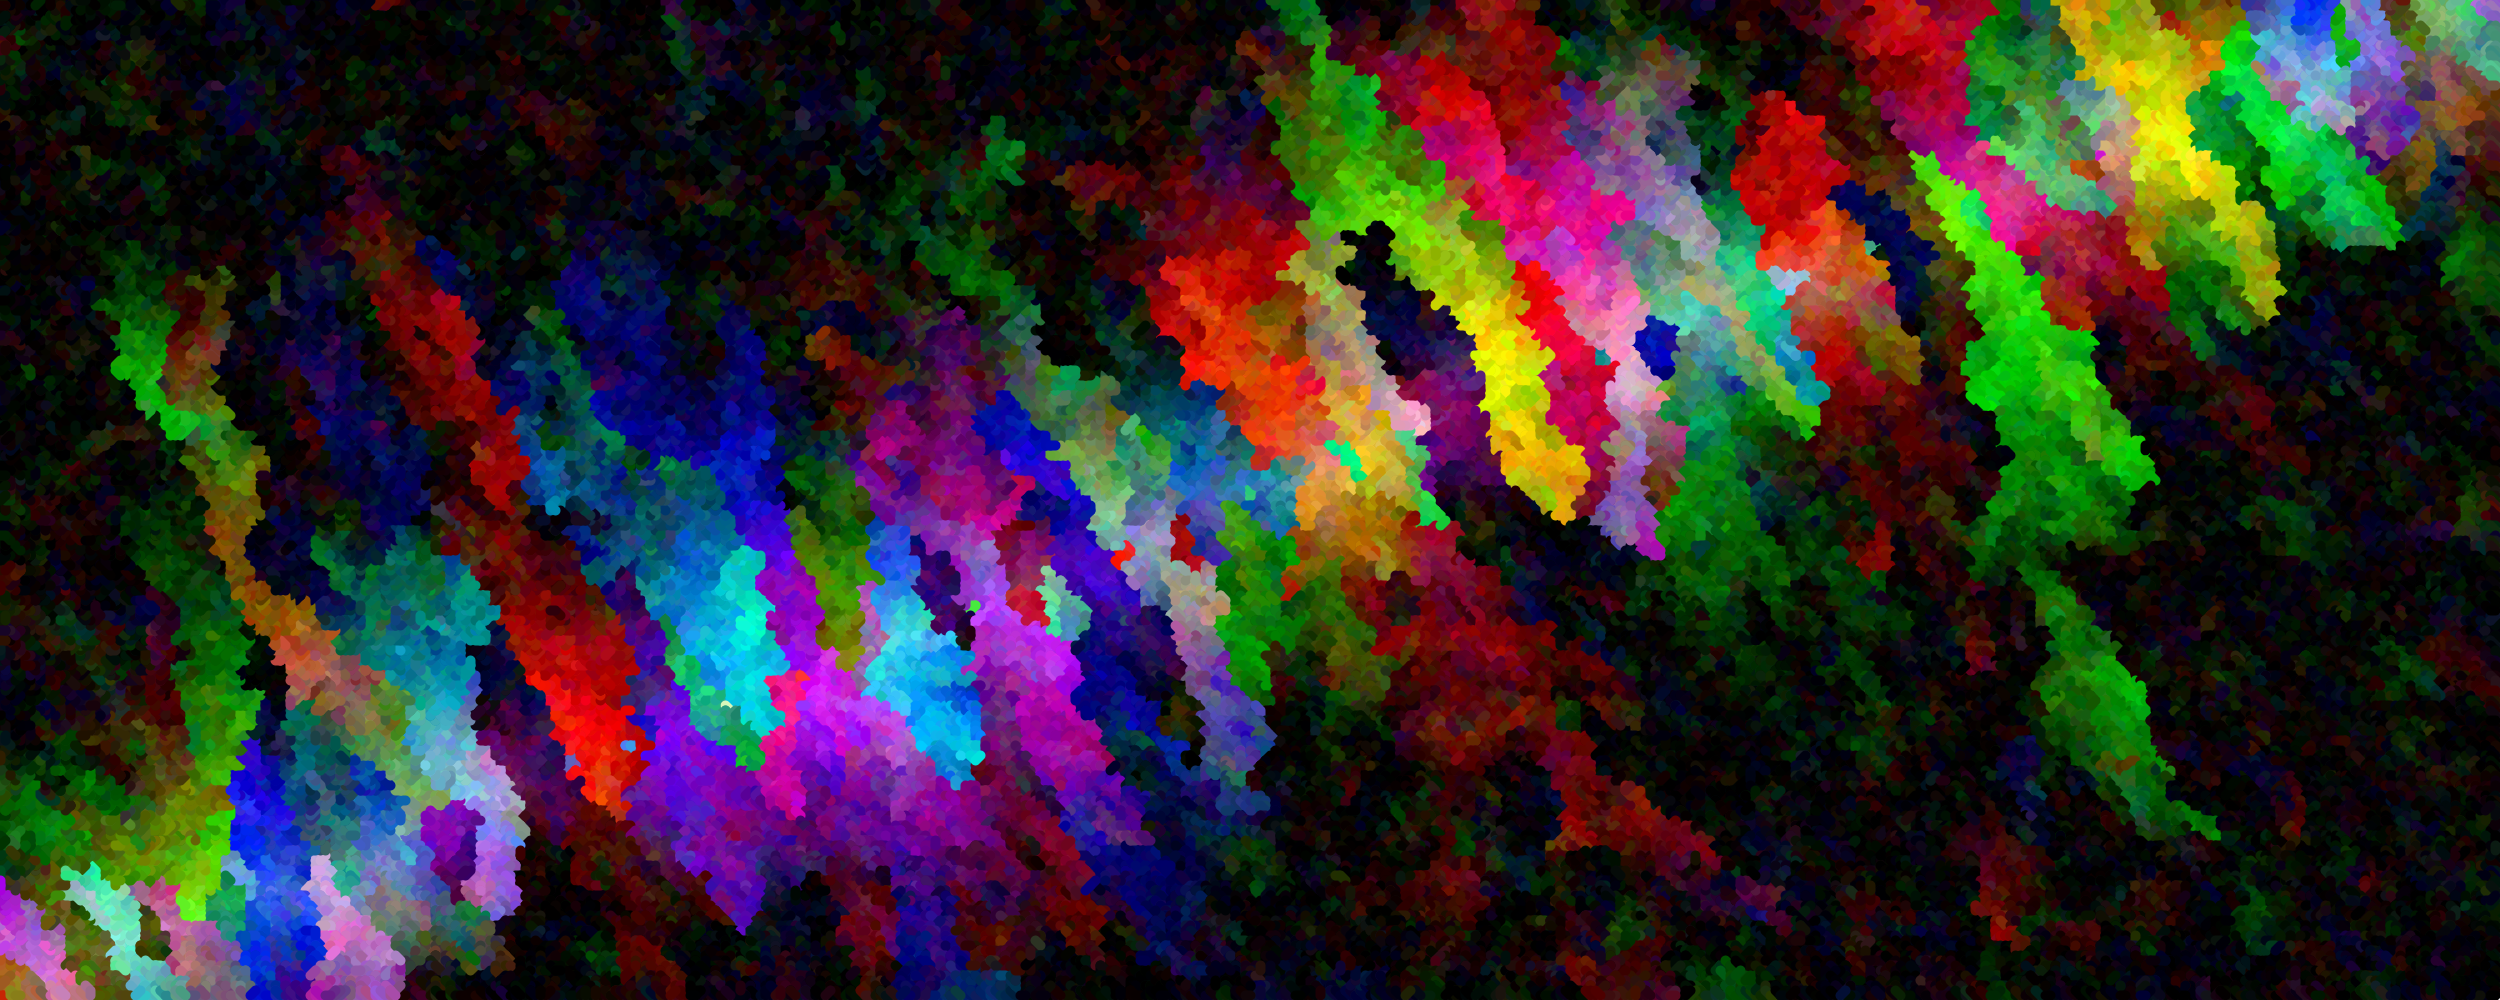
Here is the result for perturbations of size 20:
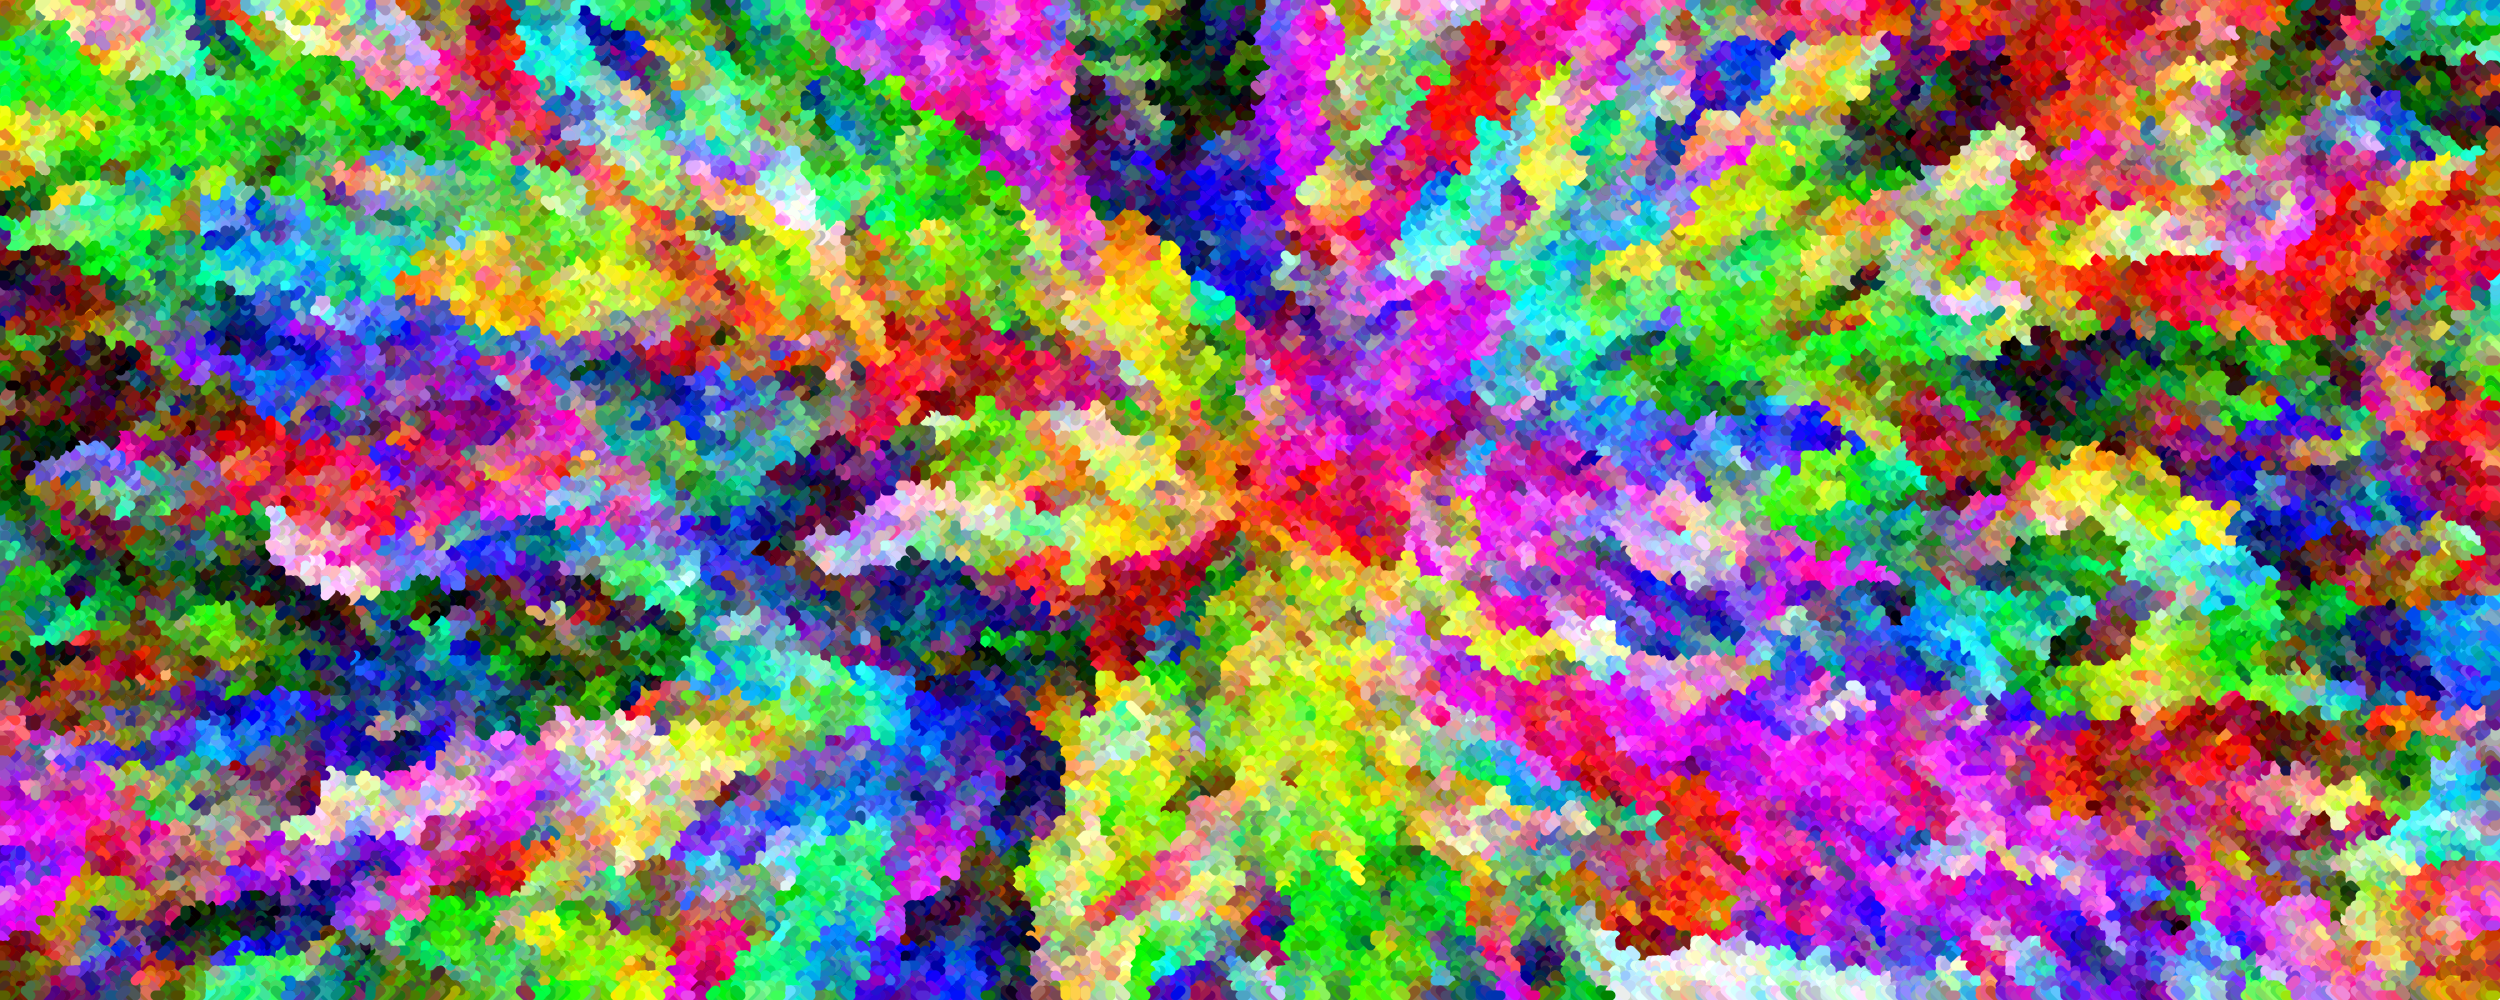
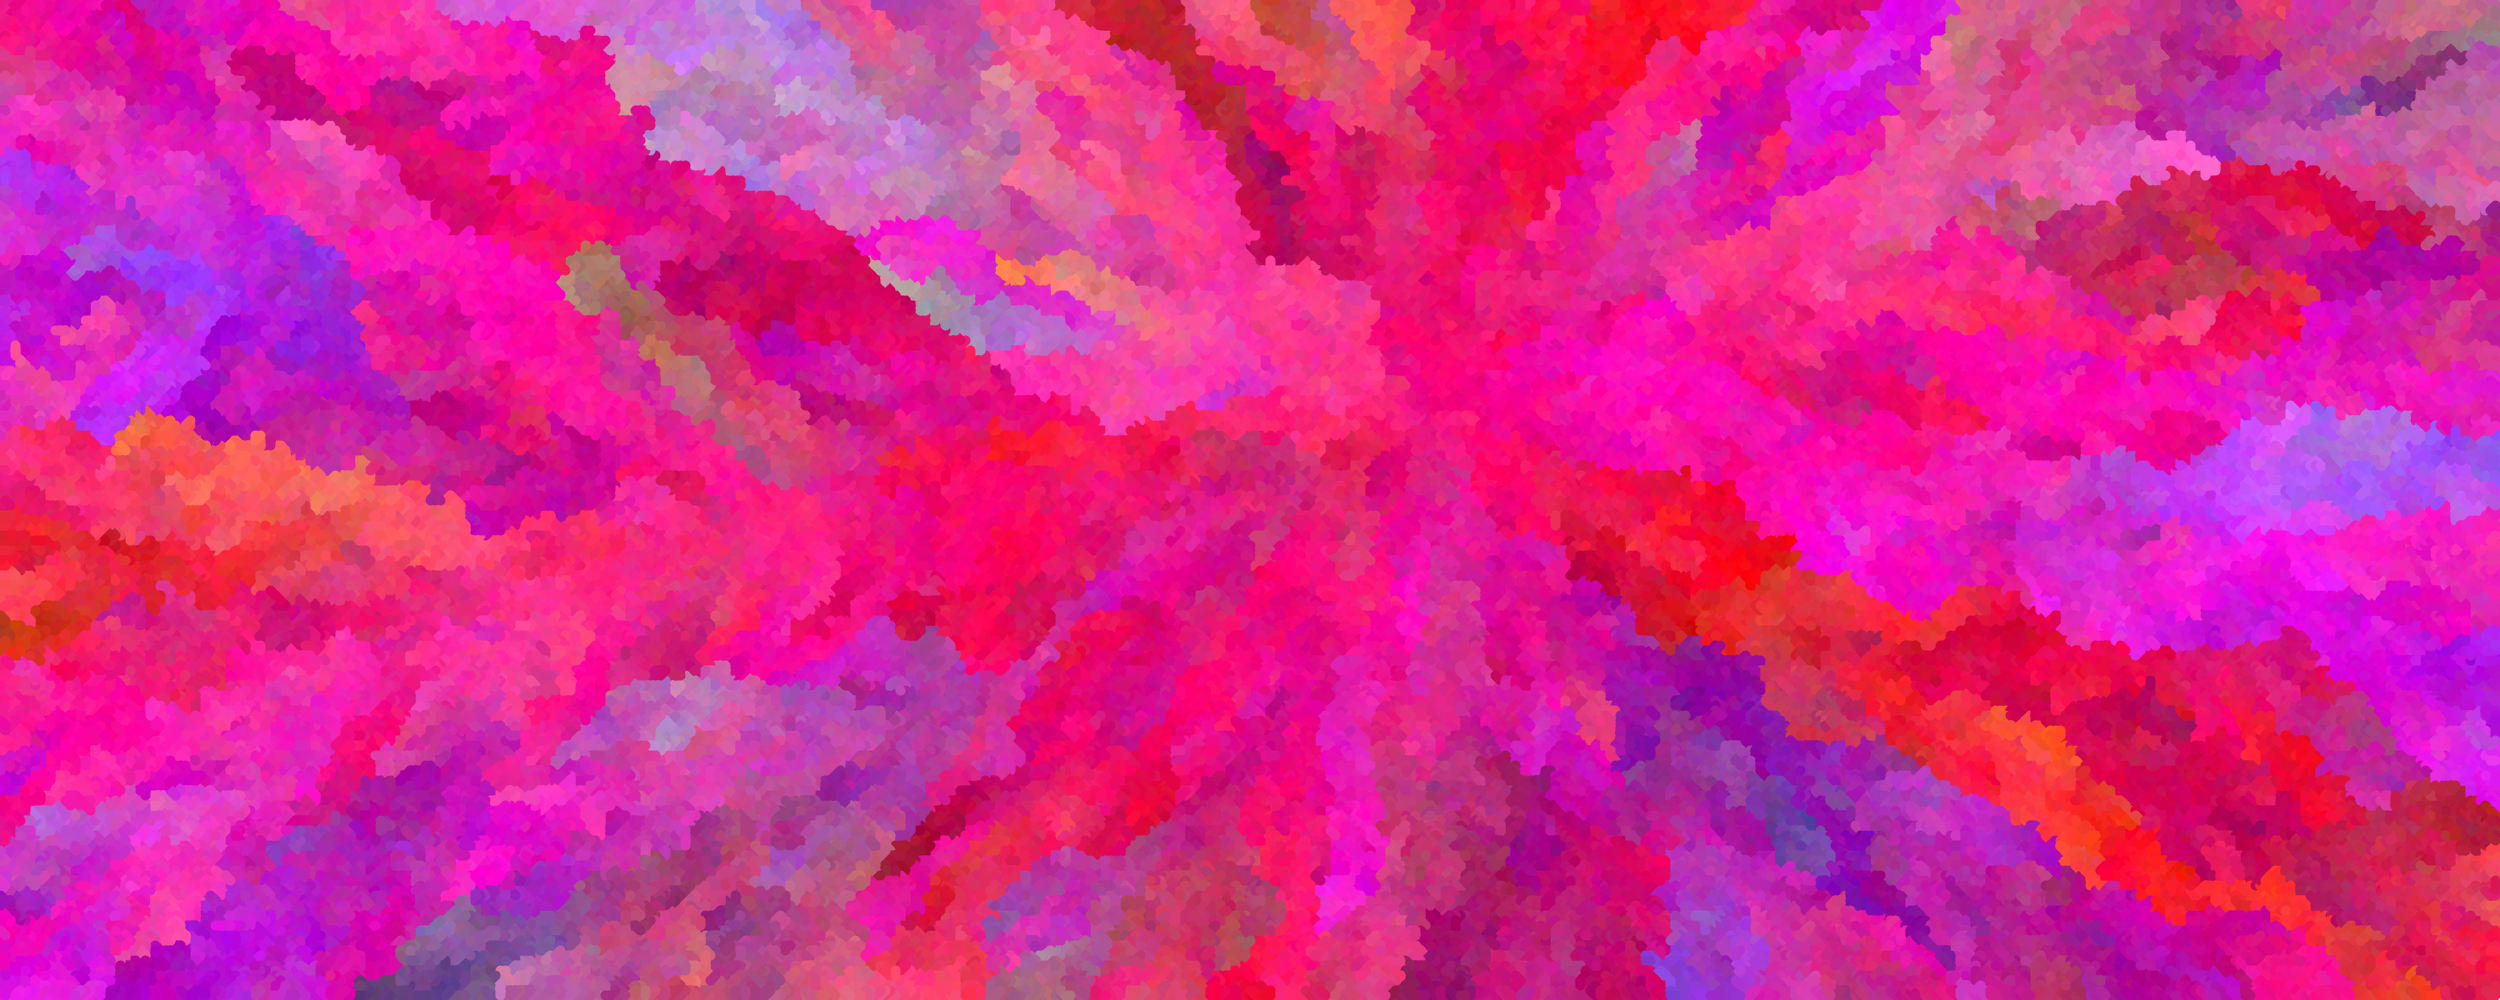
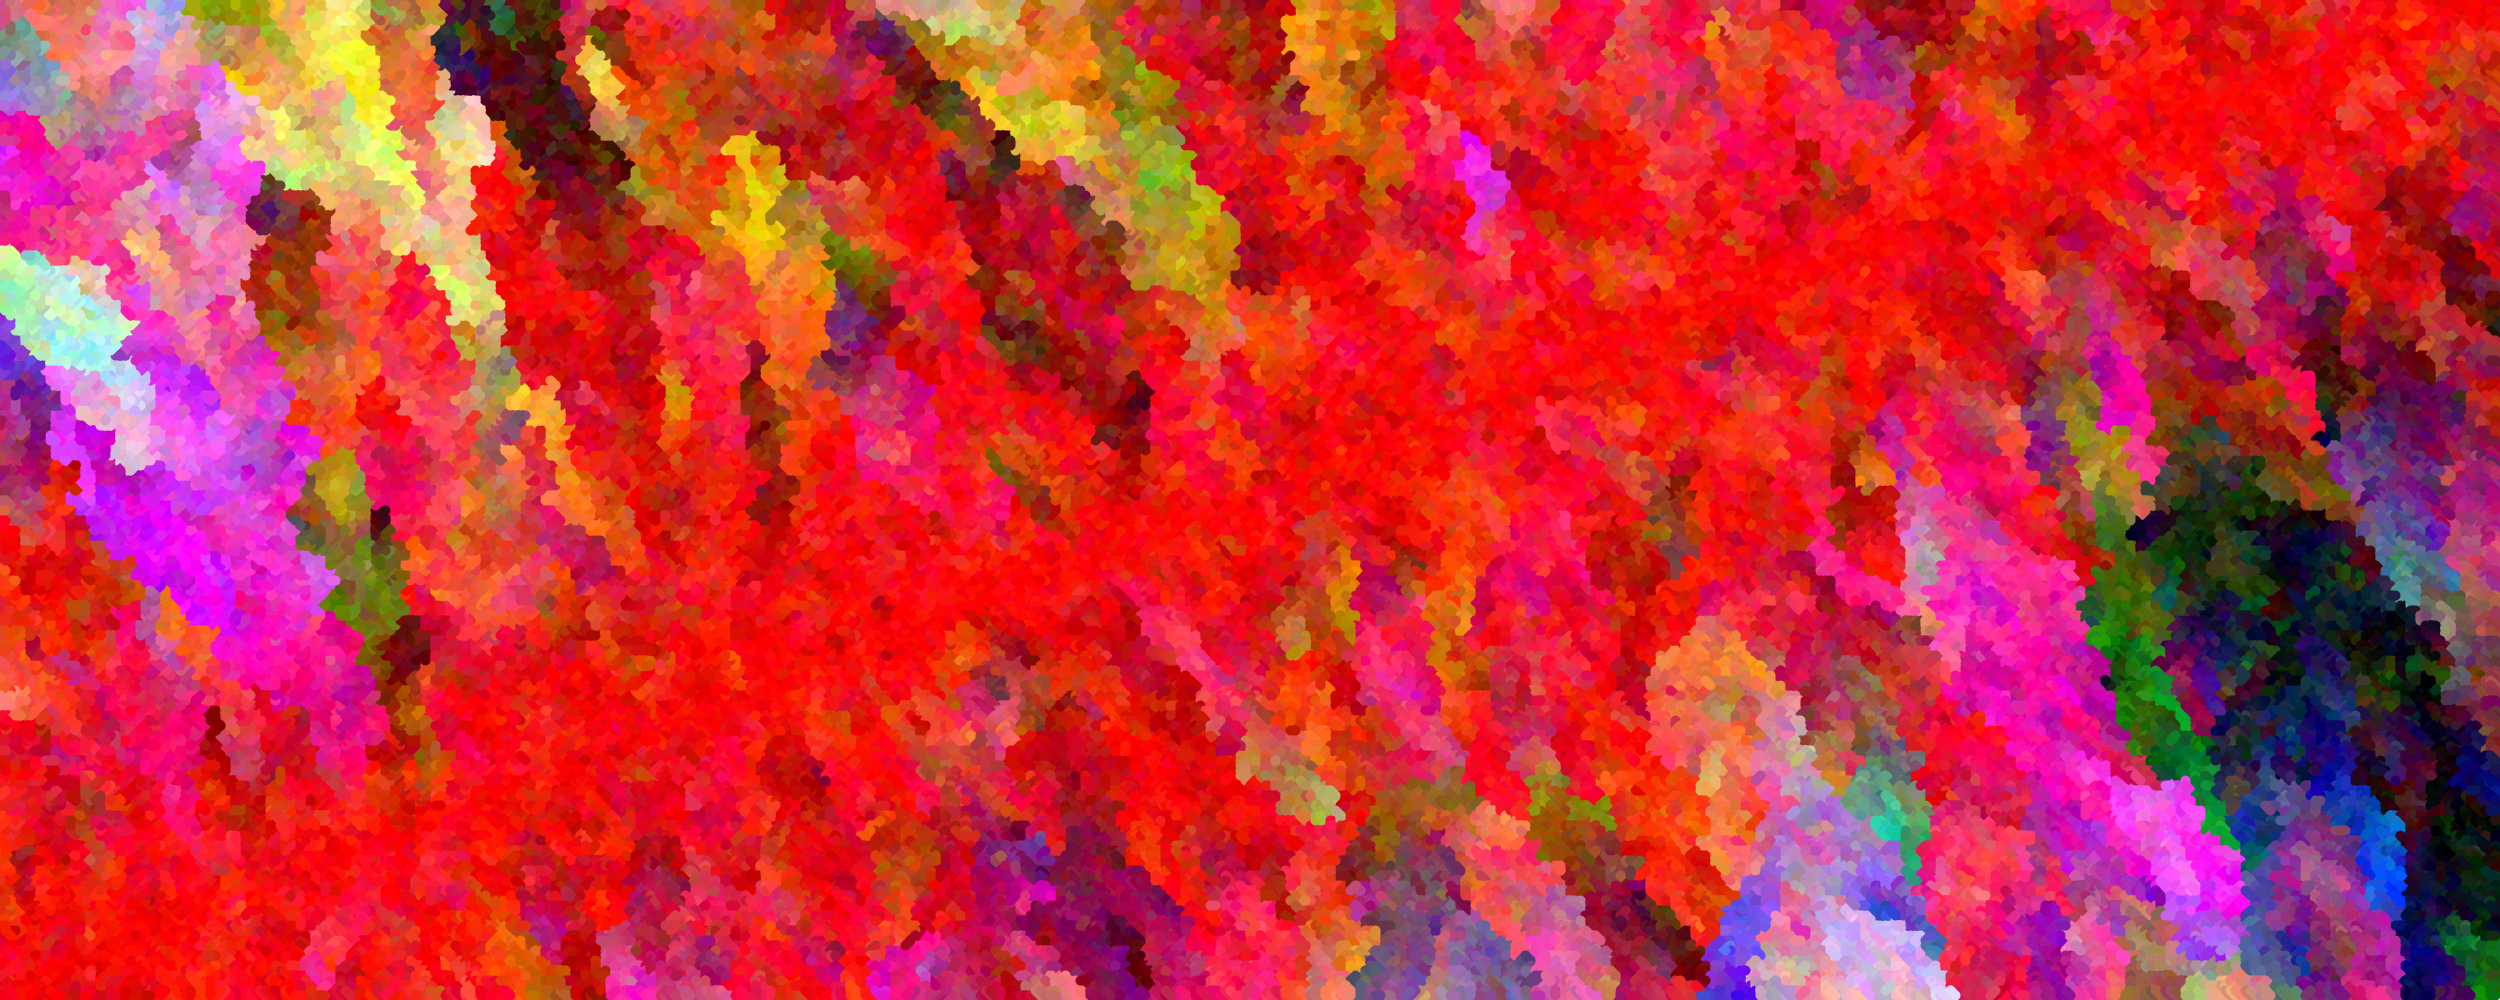
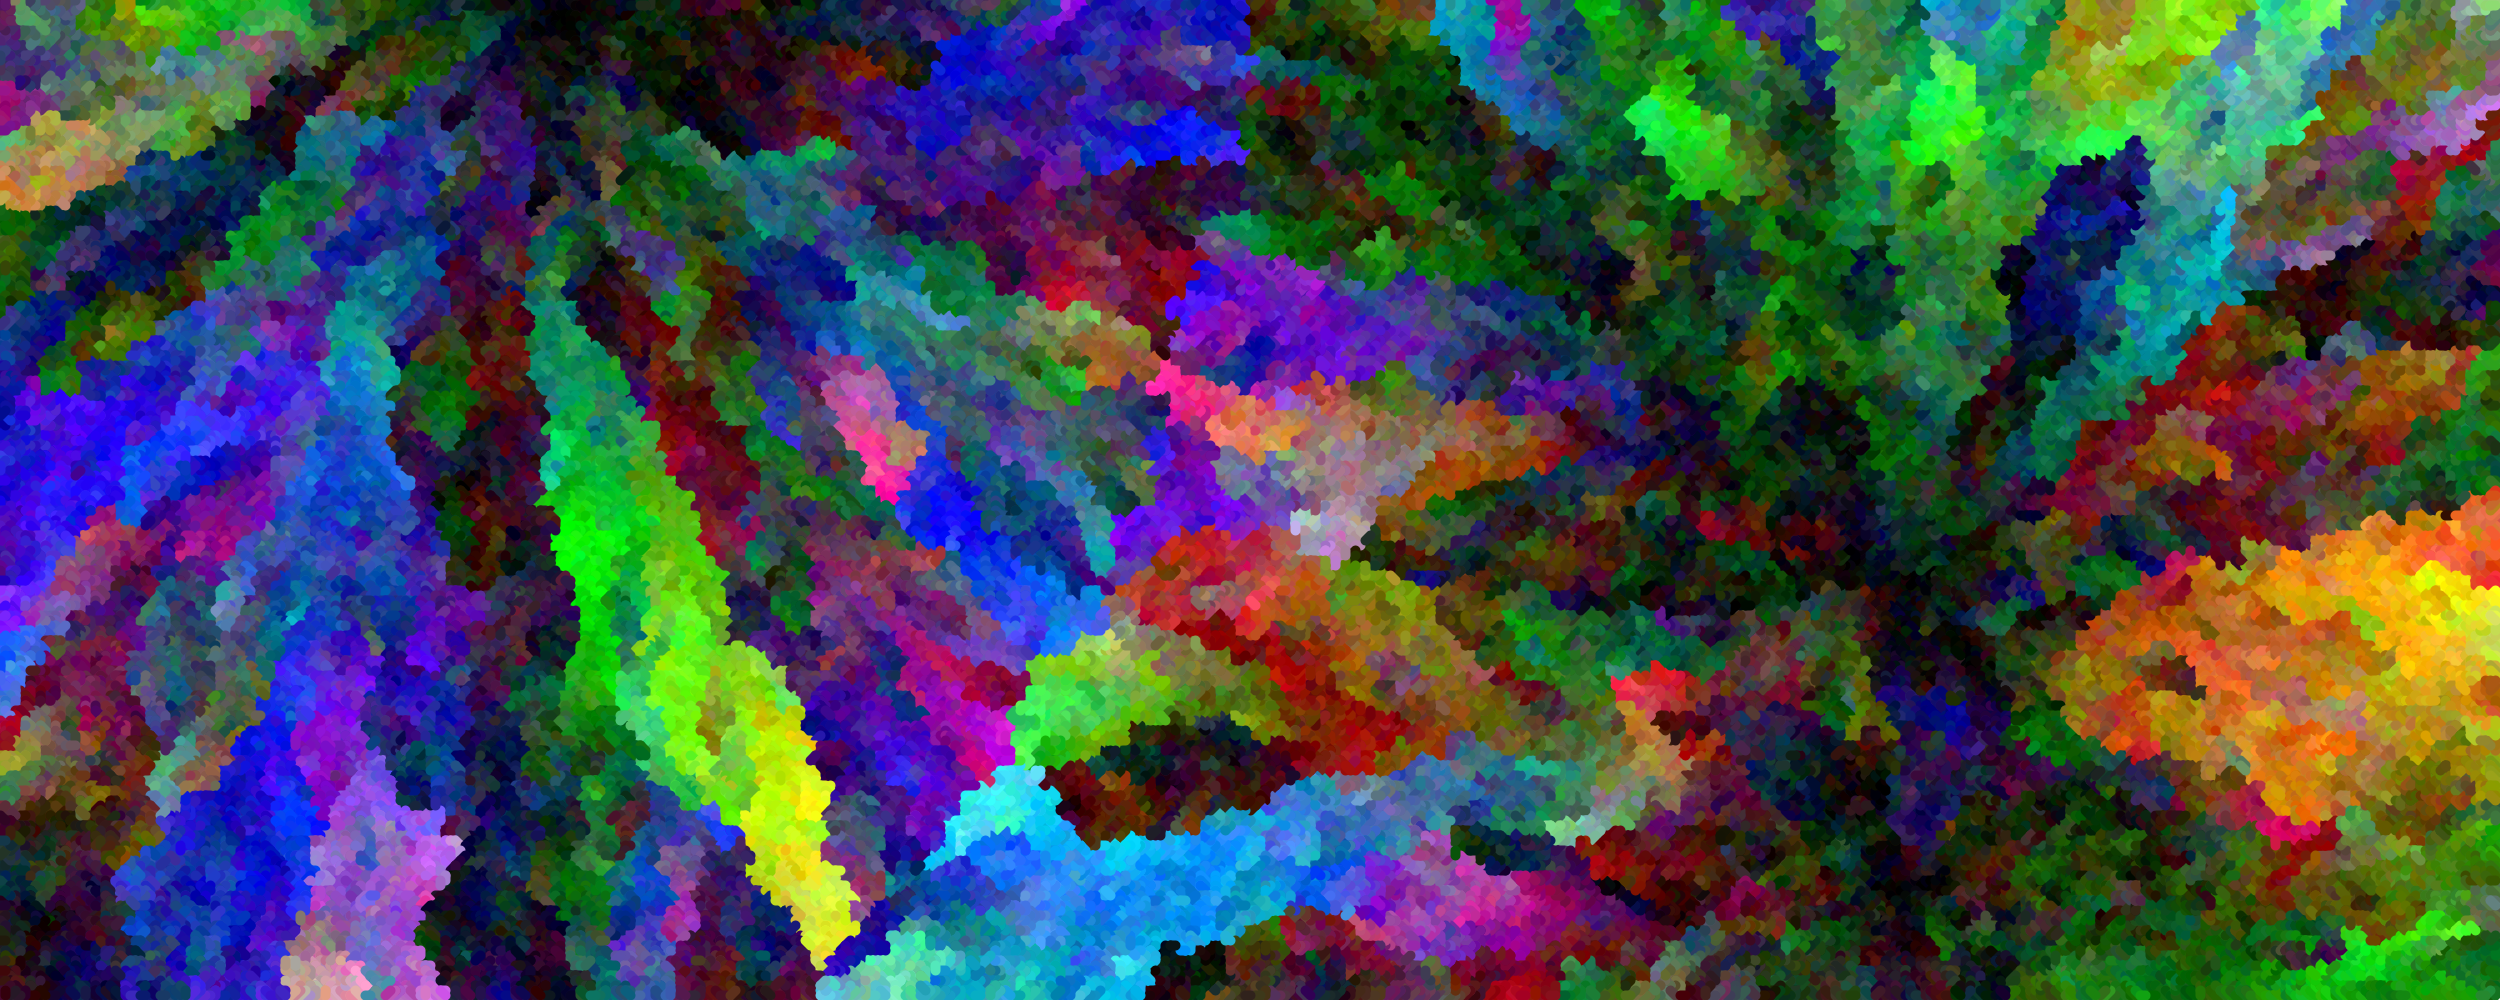
And things get really whacky with a perturbation of 100!
Playing Around with Seed Placement
While we’ve been using a single seed point placed at the center of the canvas so far, we can also vary the placement of the initial seed in a whole bunch of ways. Here are just a few examples of this.
Here is our basic version that we’ve been looking at with a single seed point at the center:
Here are some with a slight random variation from the center:

Here are some with a single seed at a random location on screen:
Here are some where we fix a single seed point at the top-right corner:
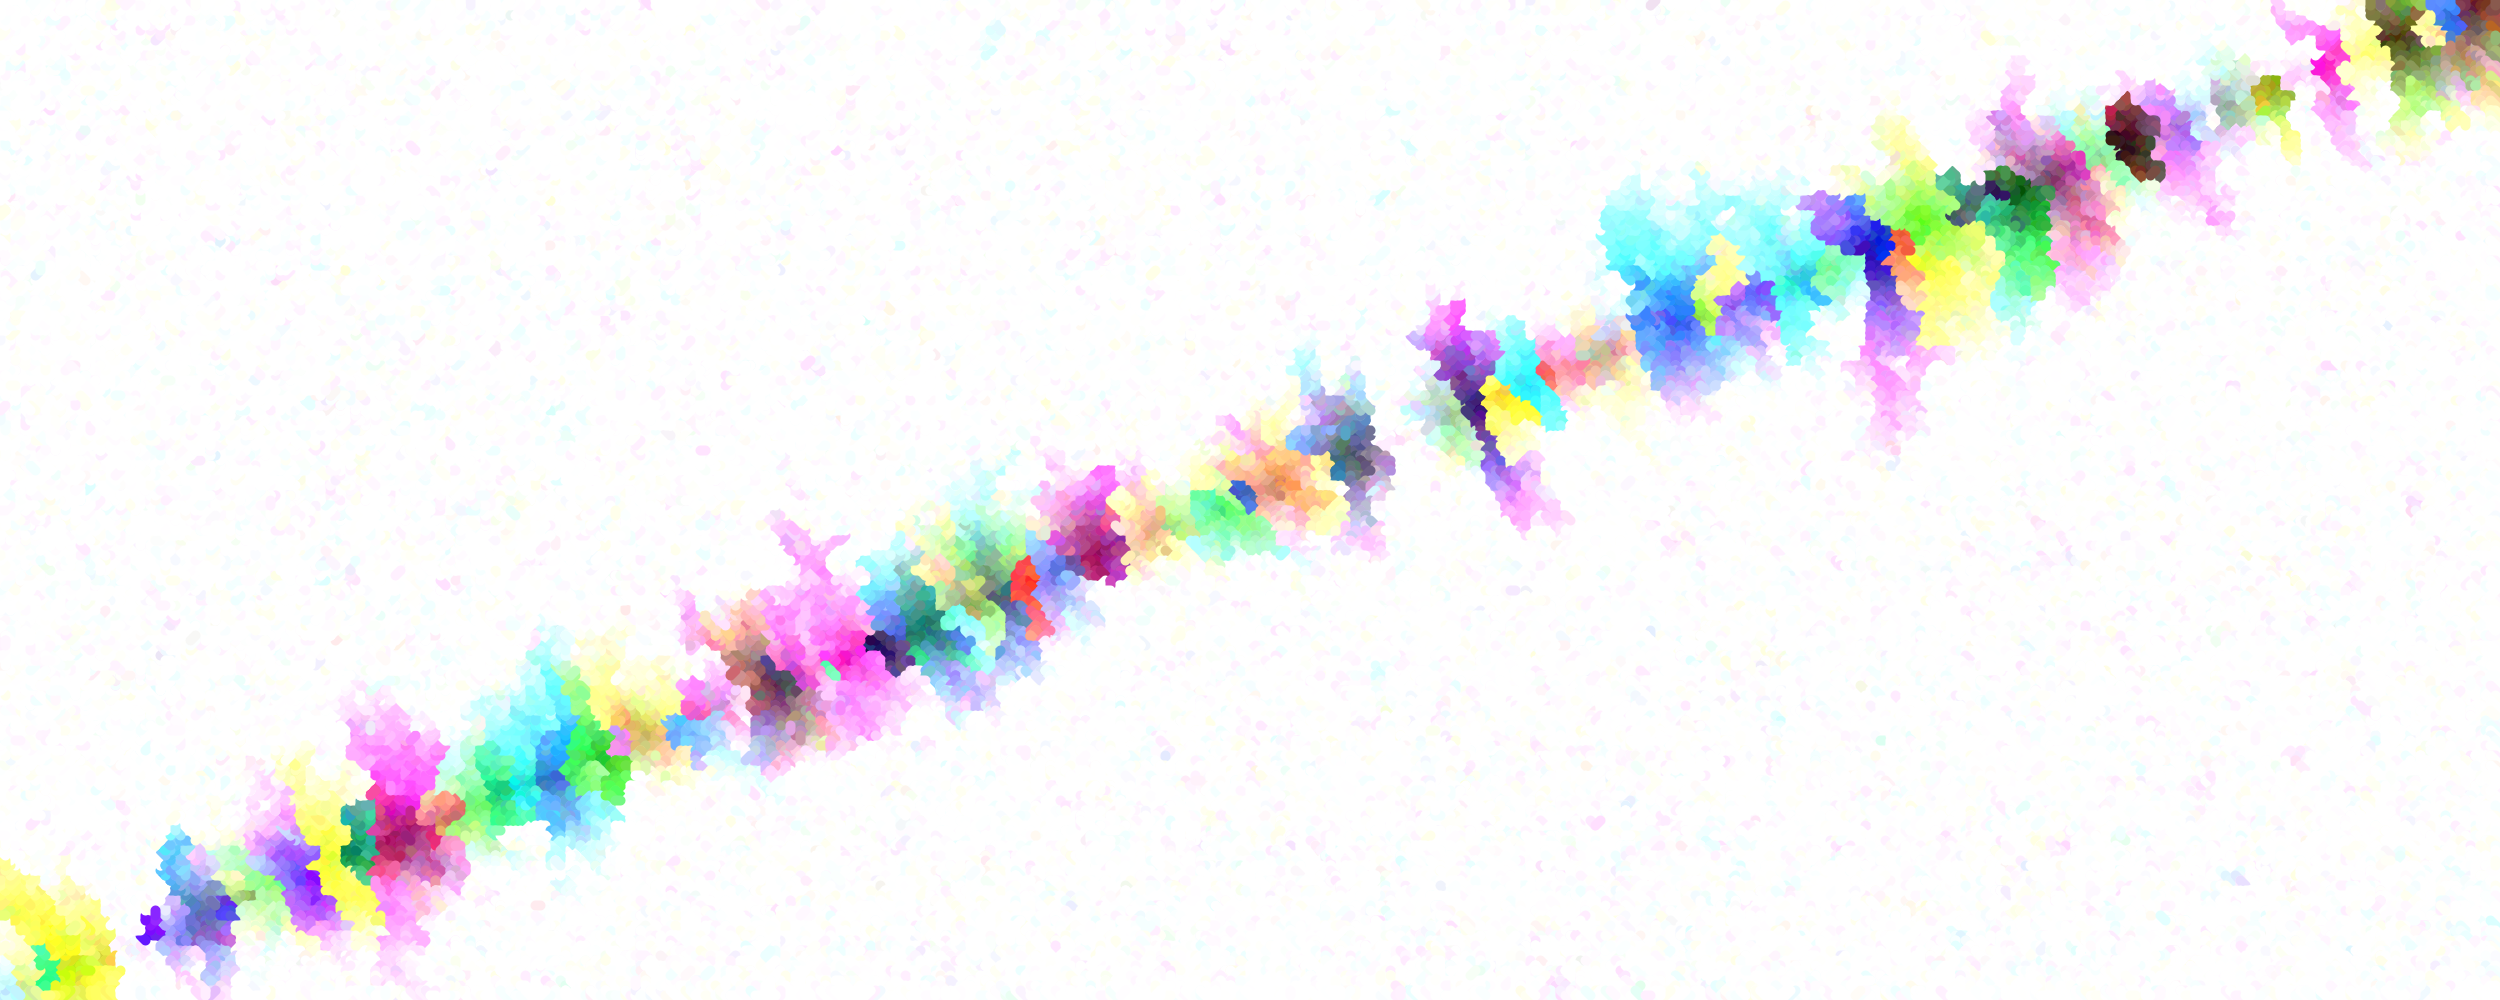
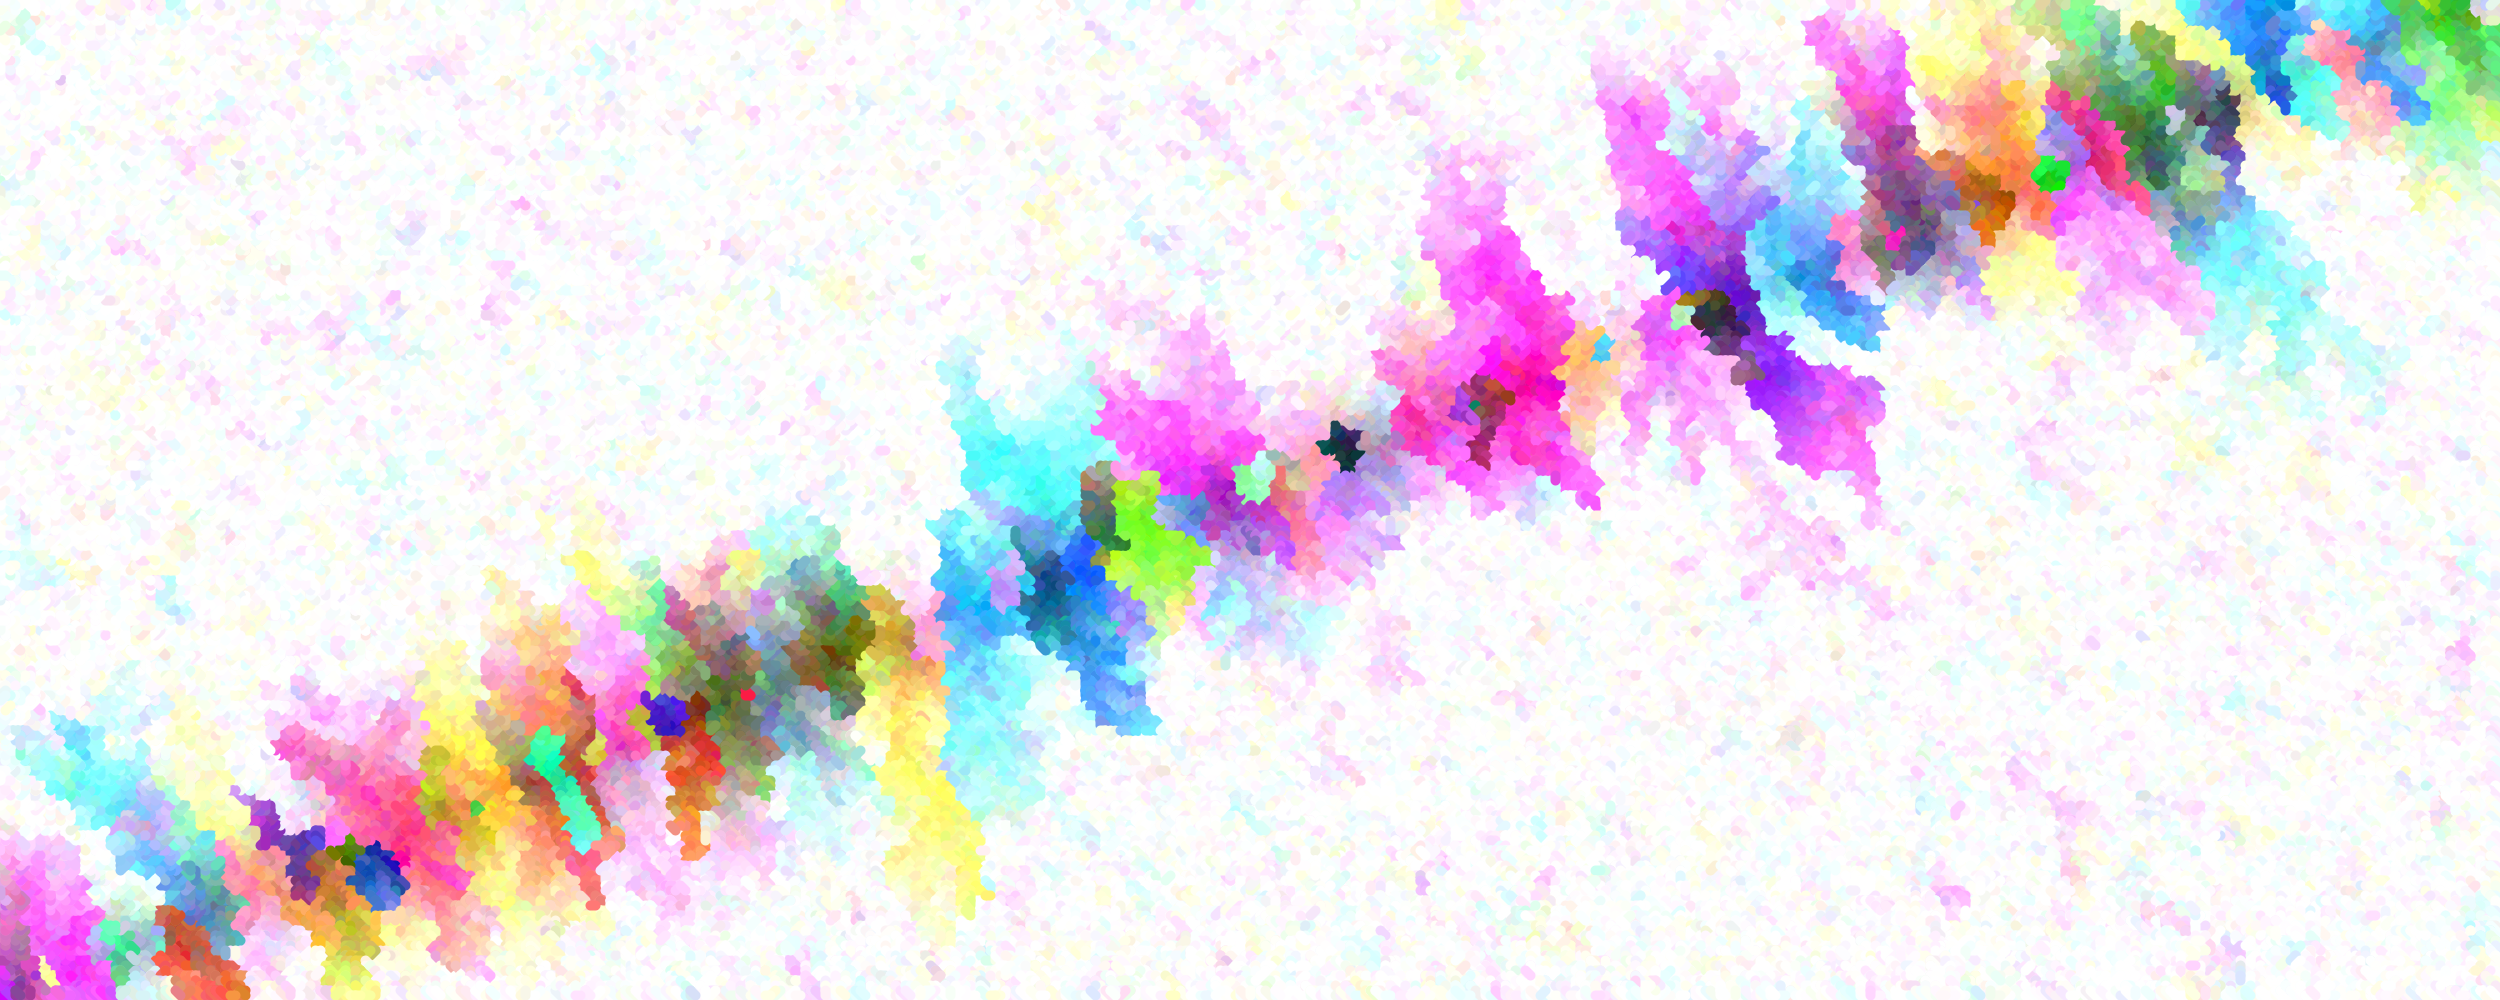
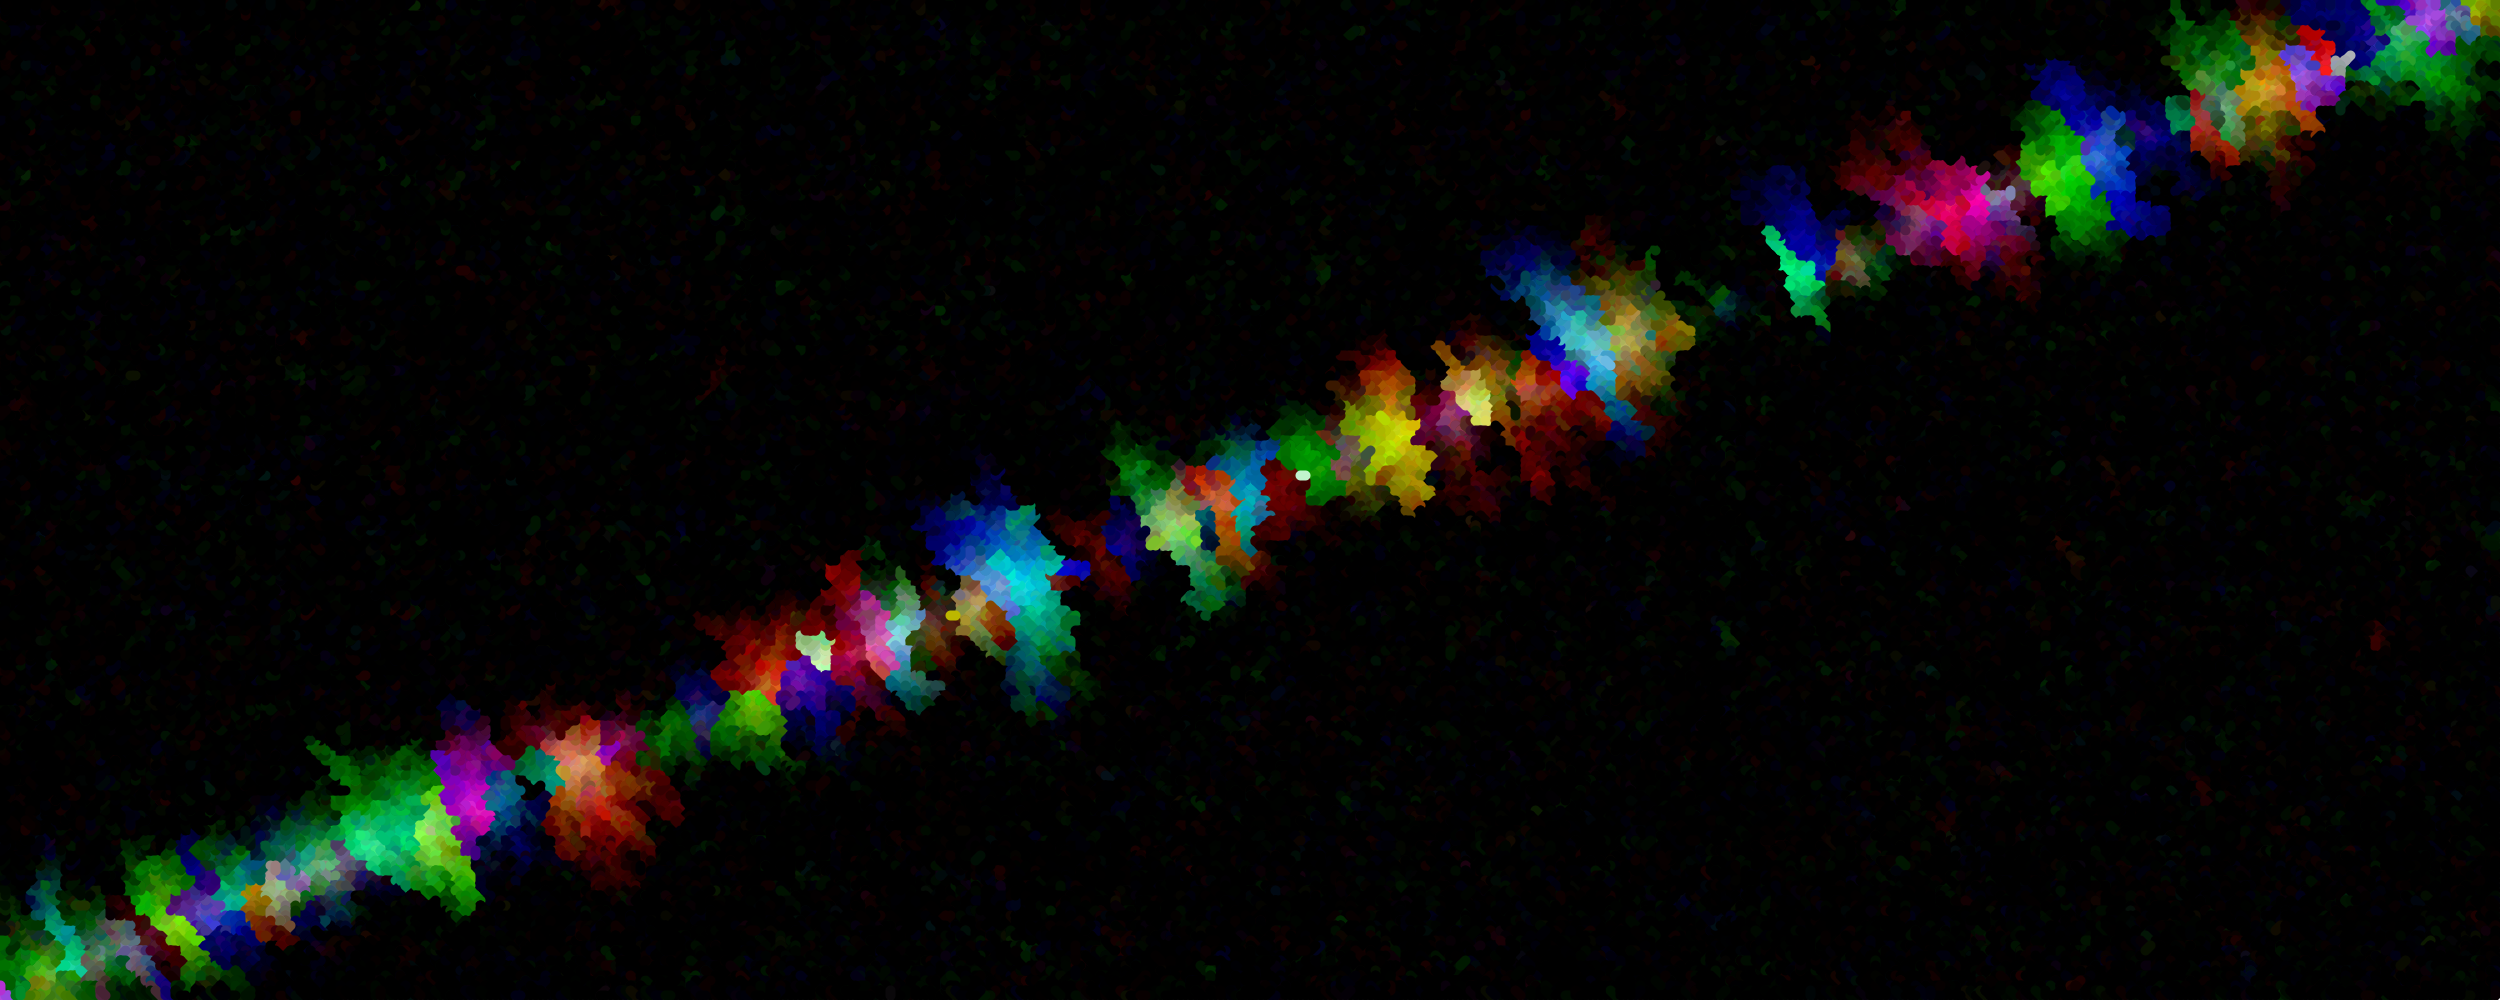
And here are some where I placed a hundred white seed points evenly placed along the diagonal:
And here is the same with the seed points colored red instead:
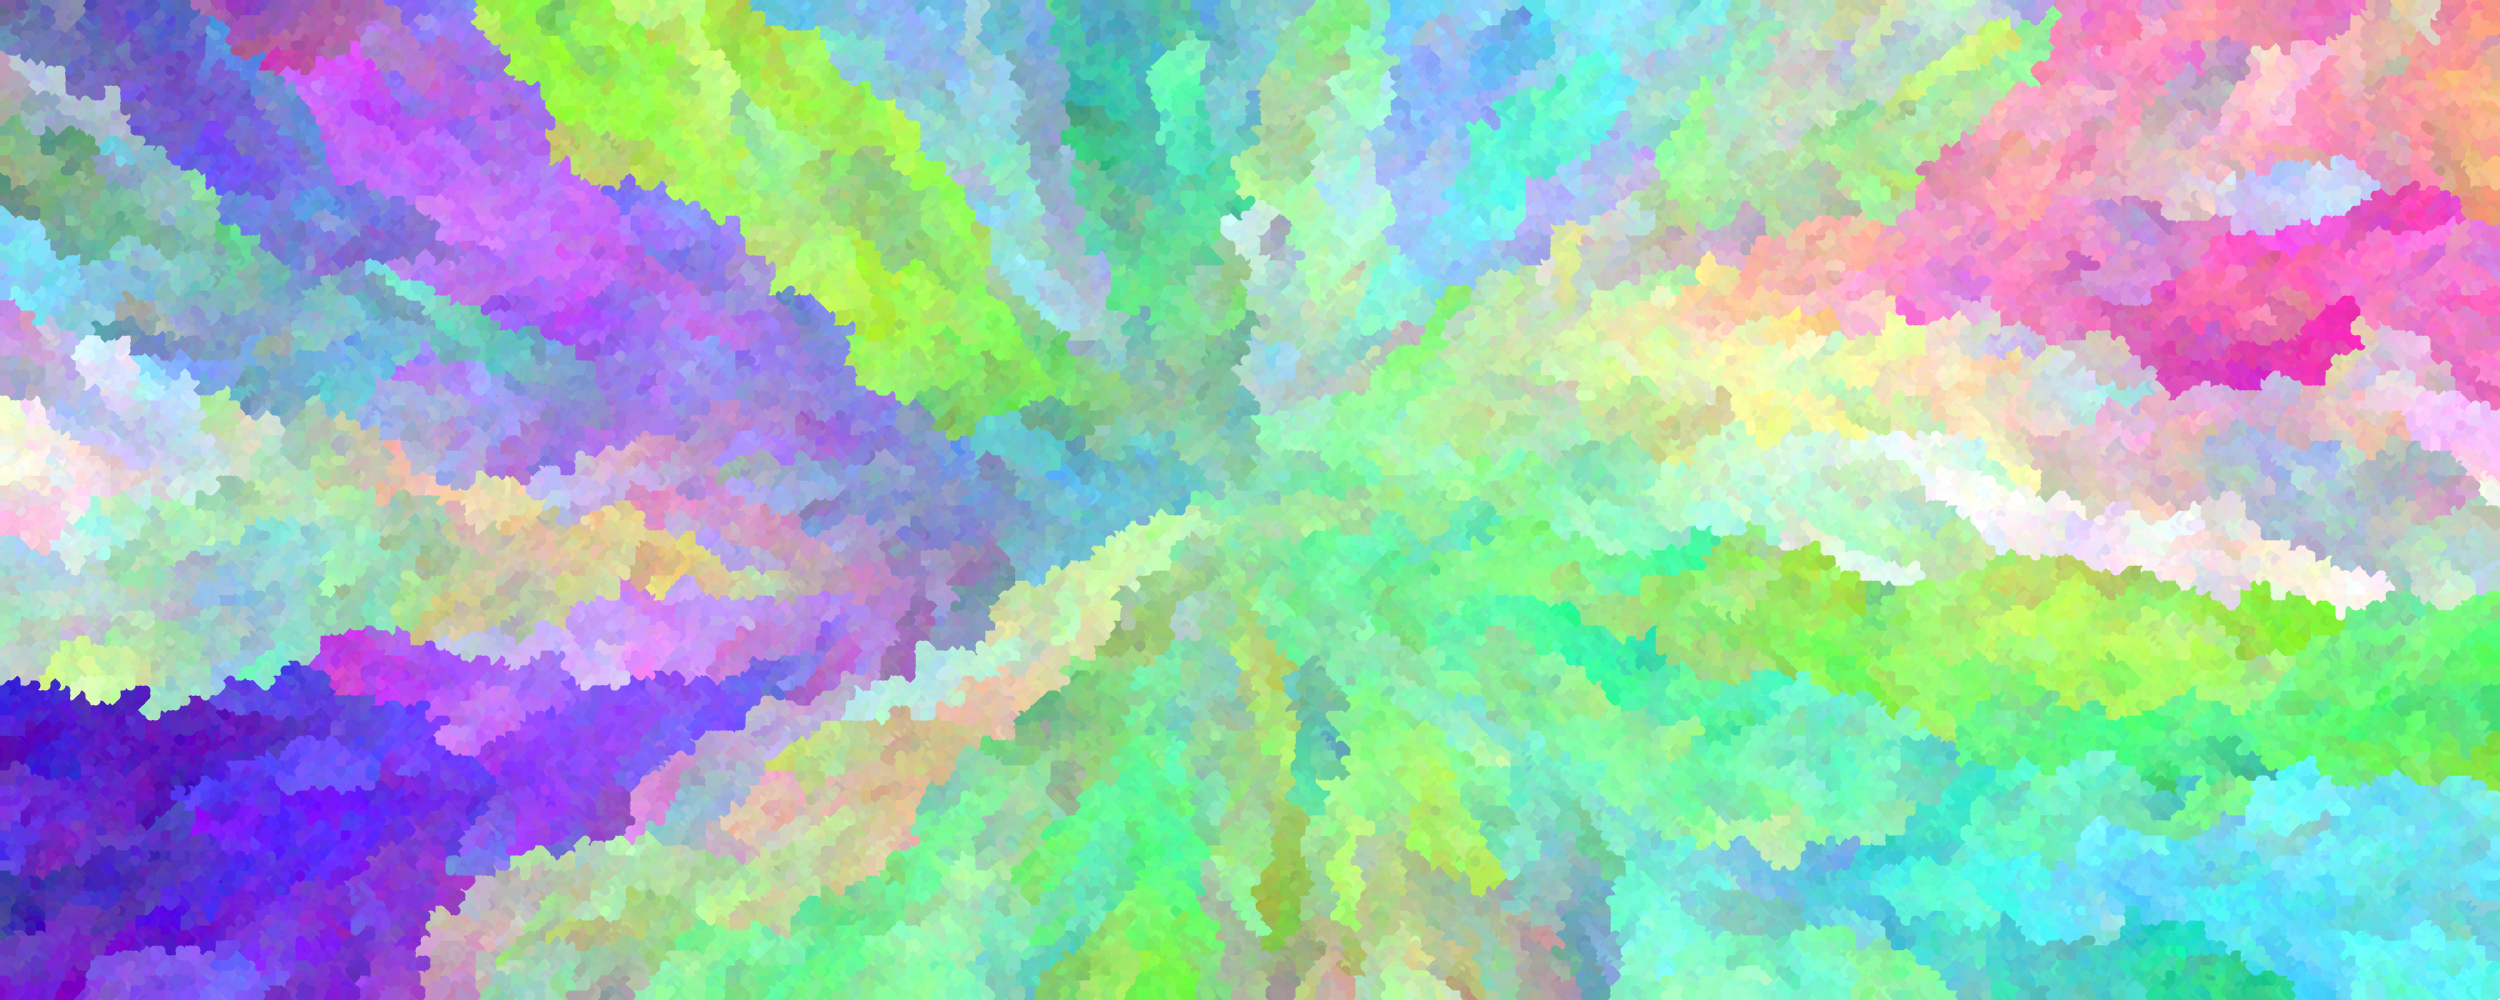
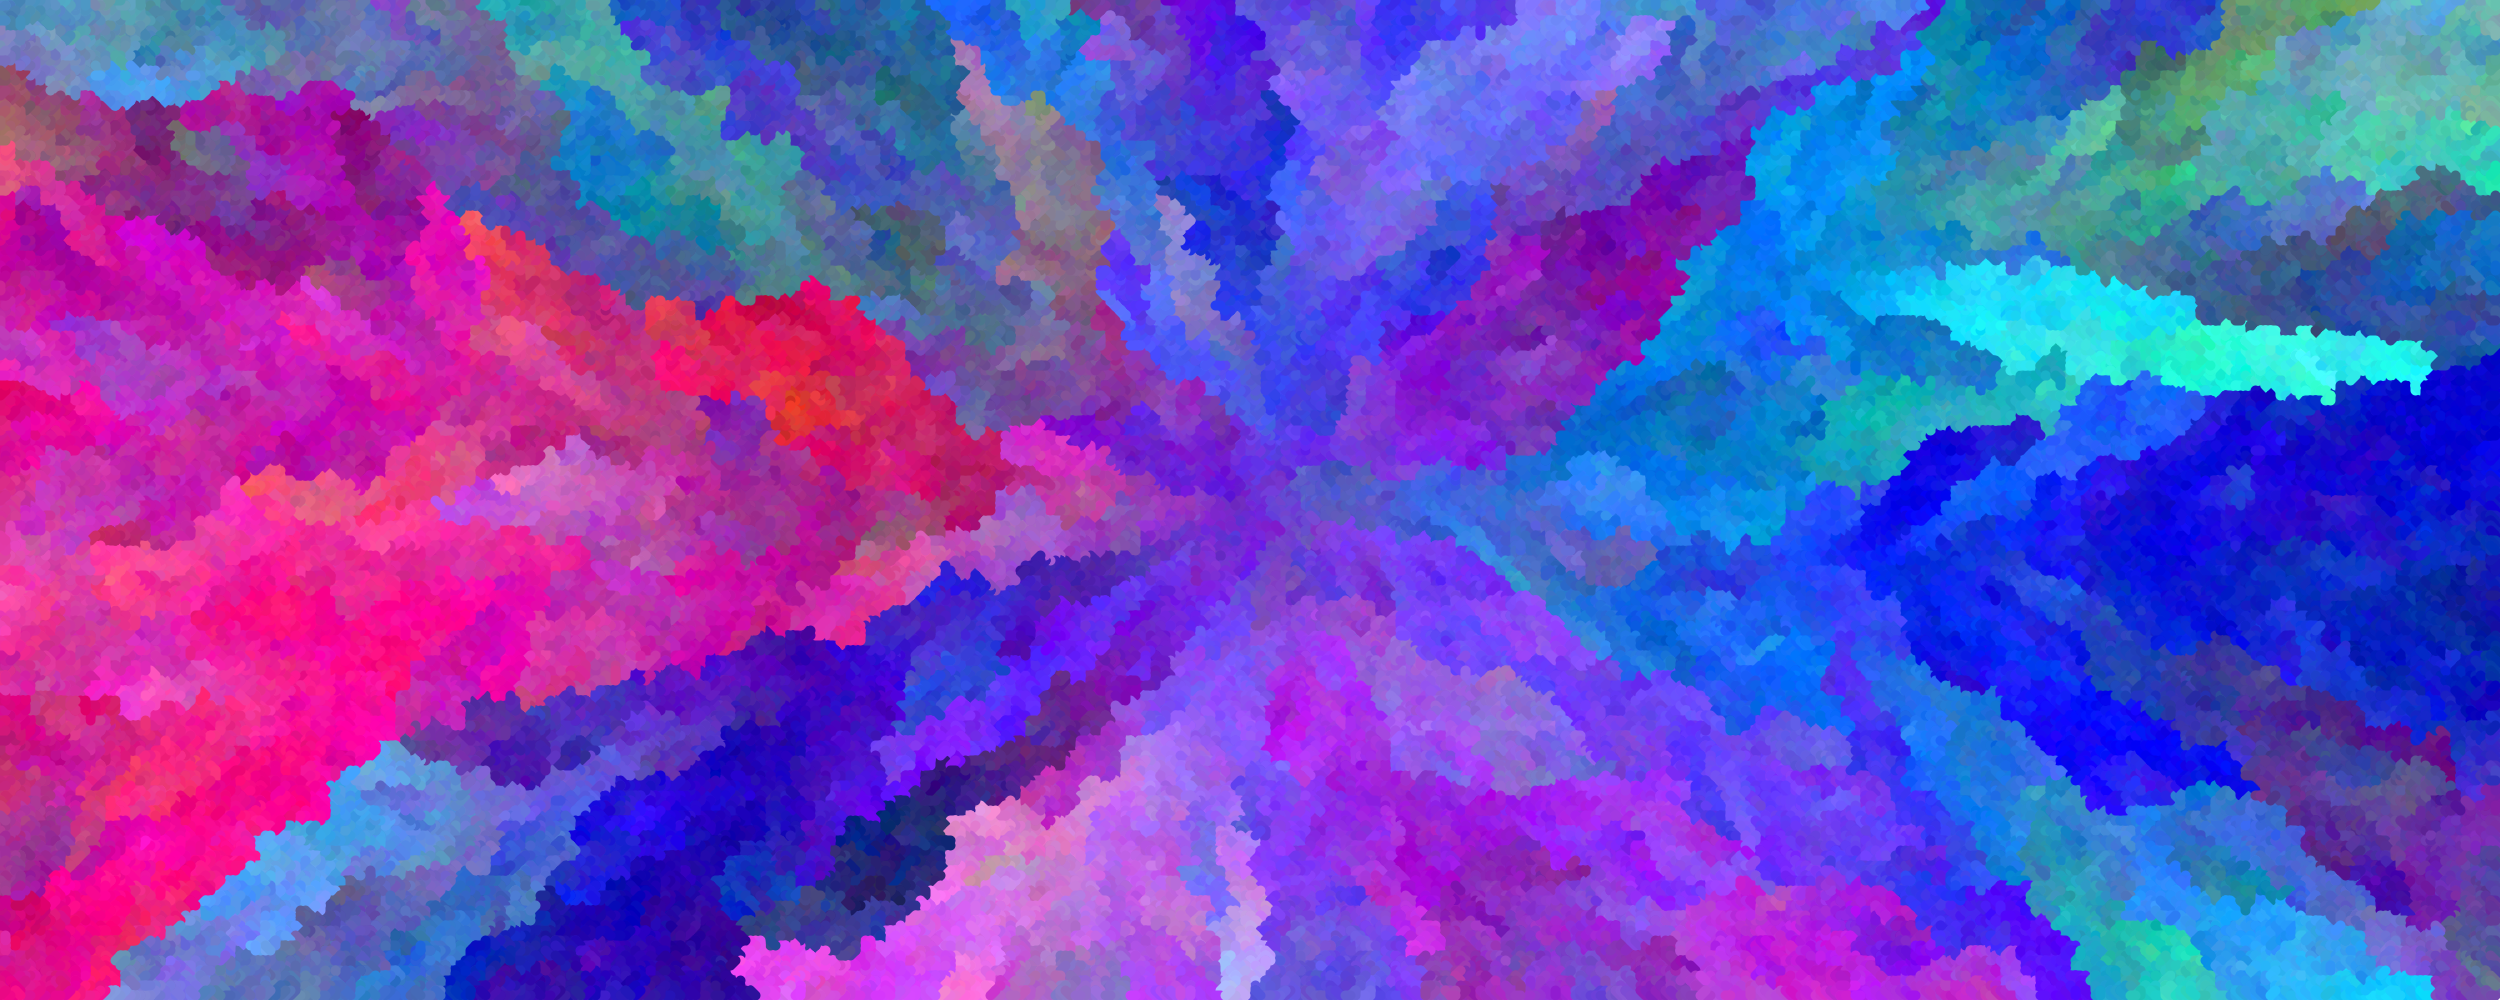
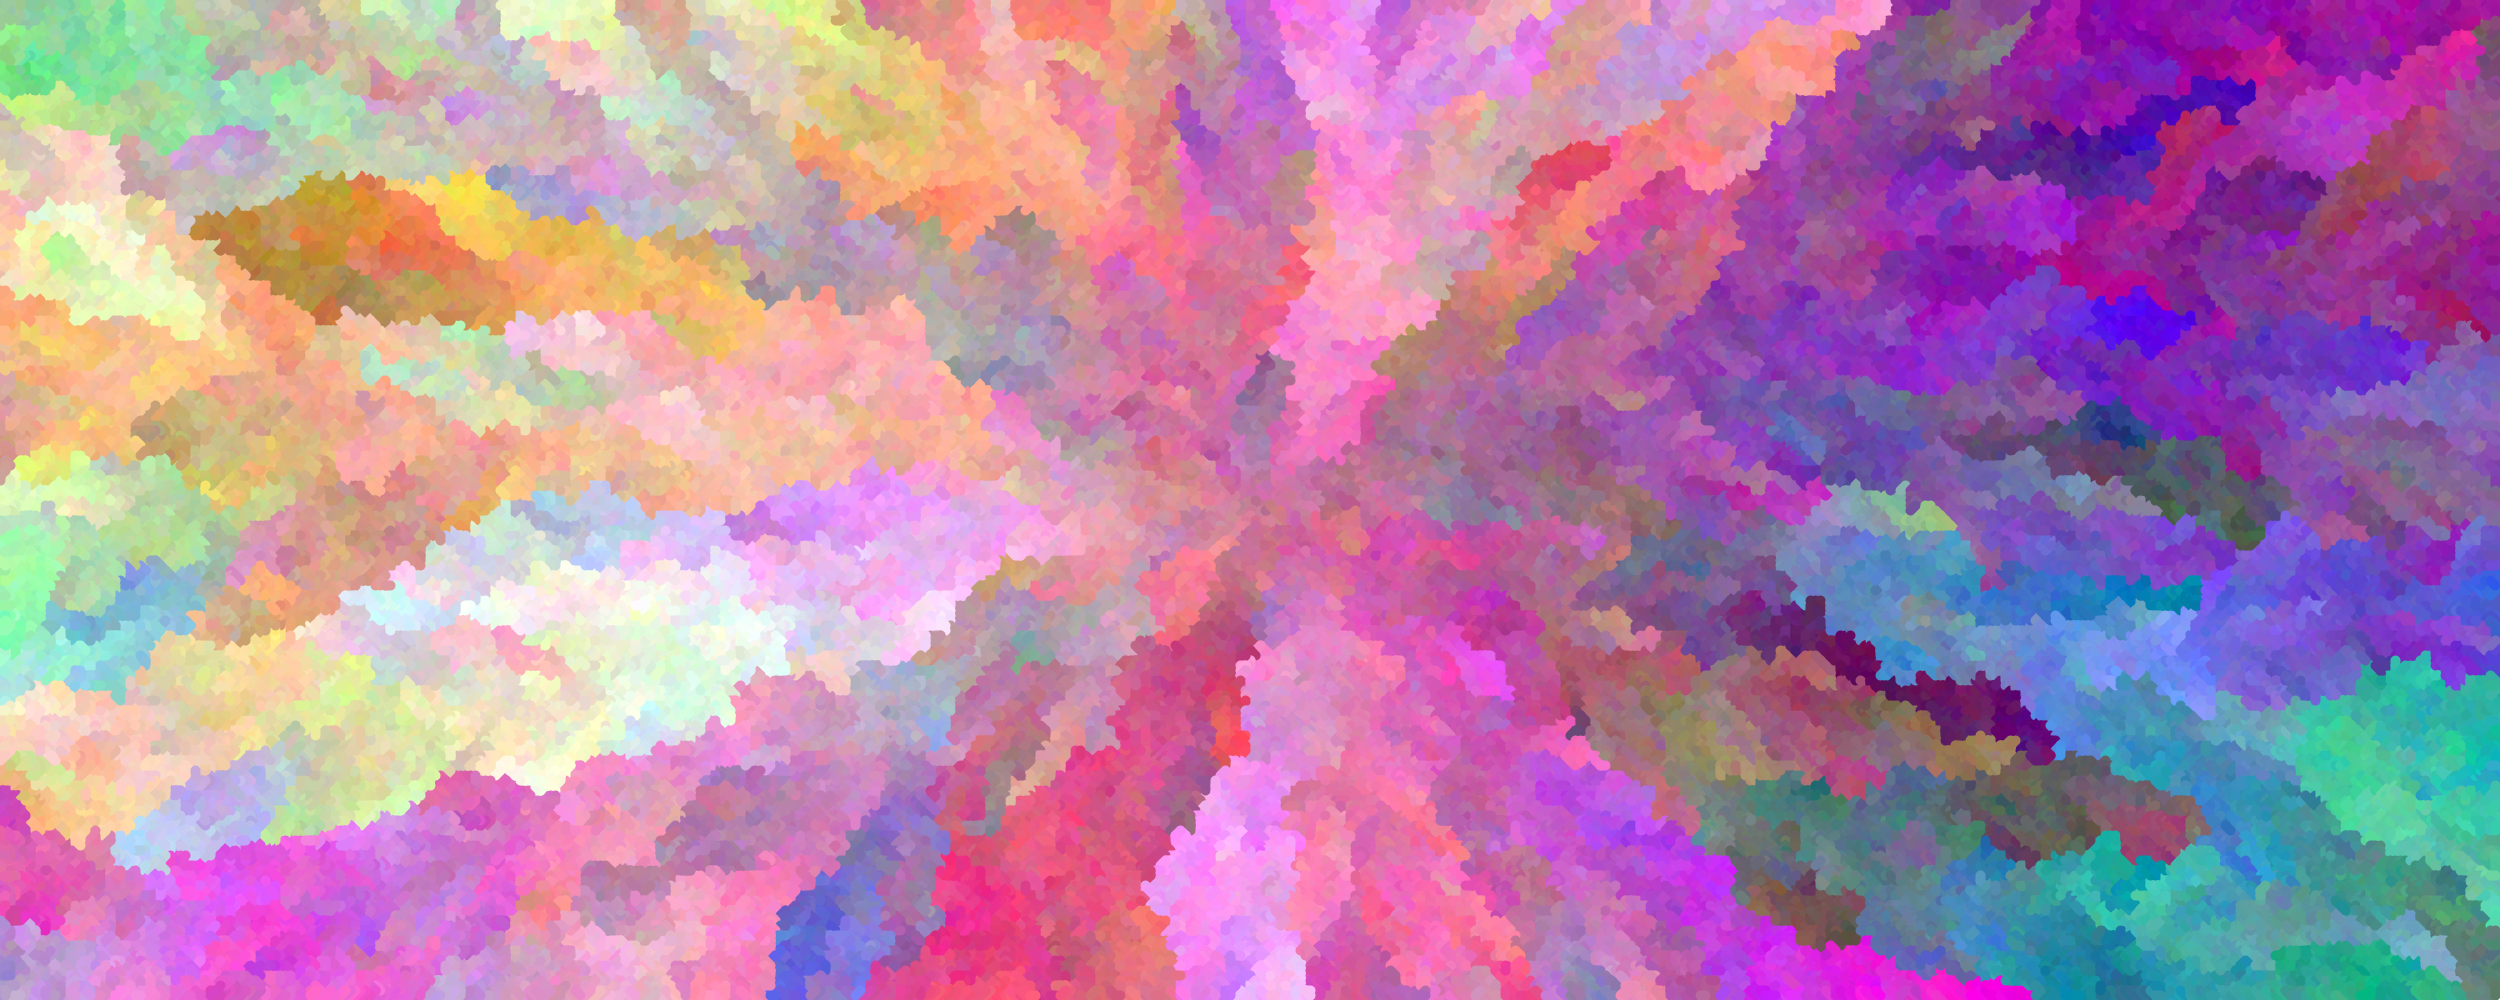
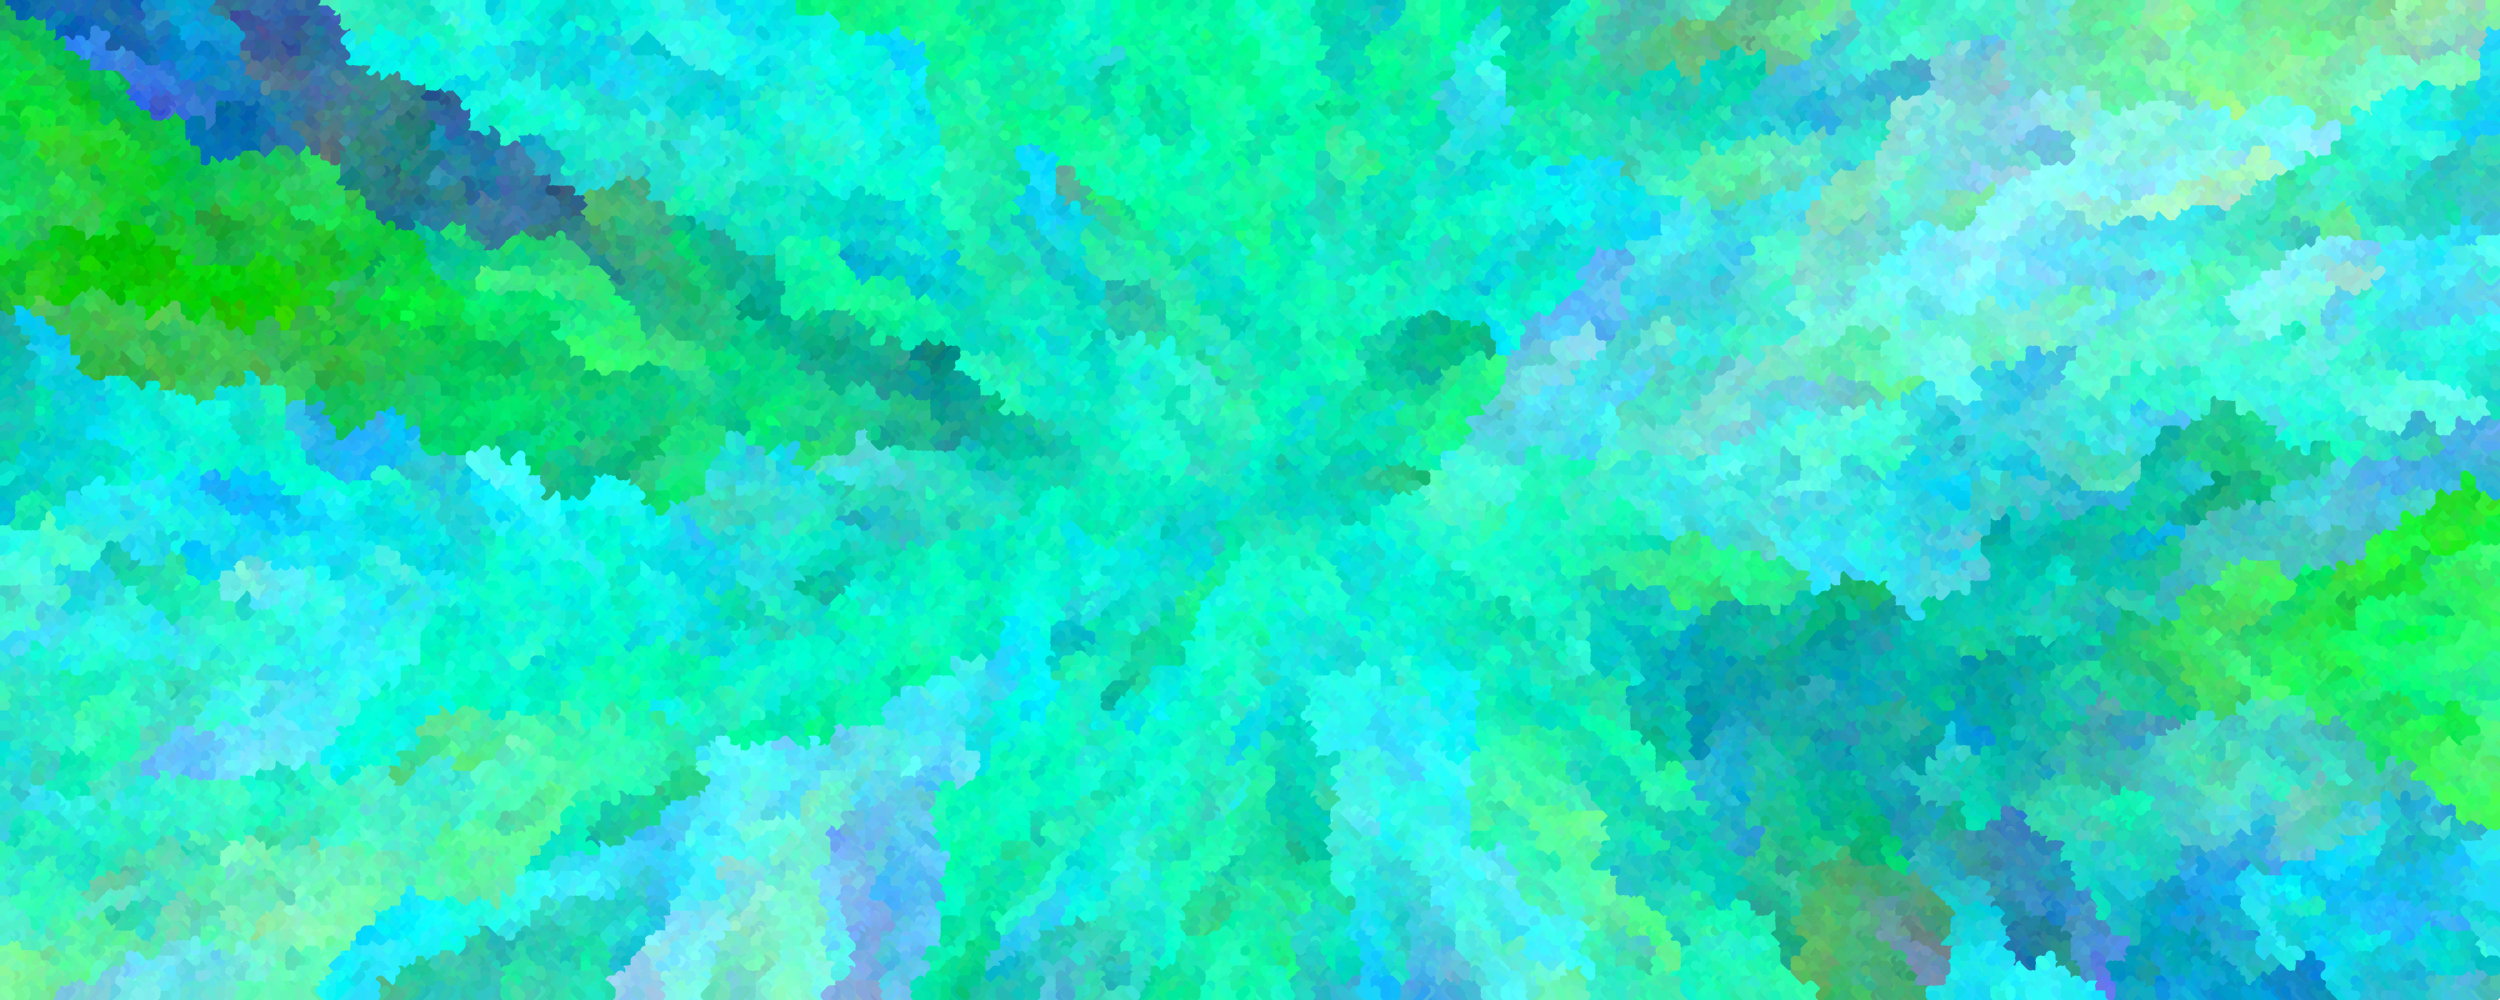
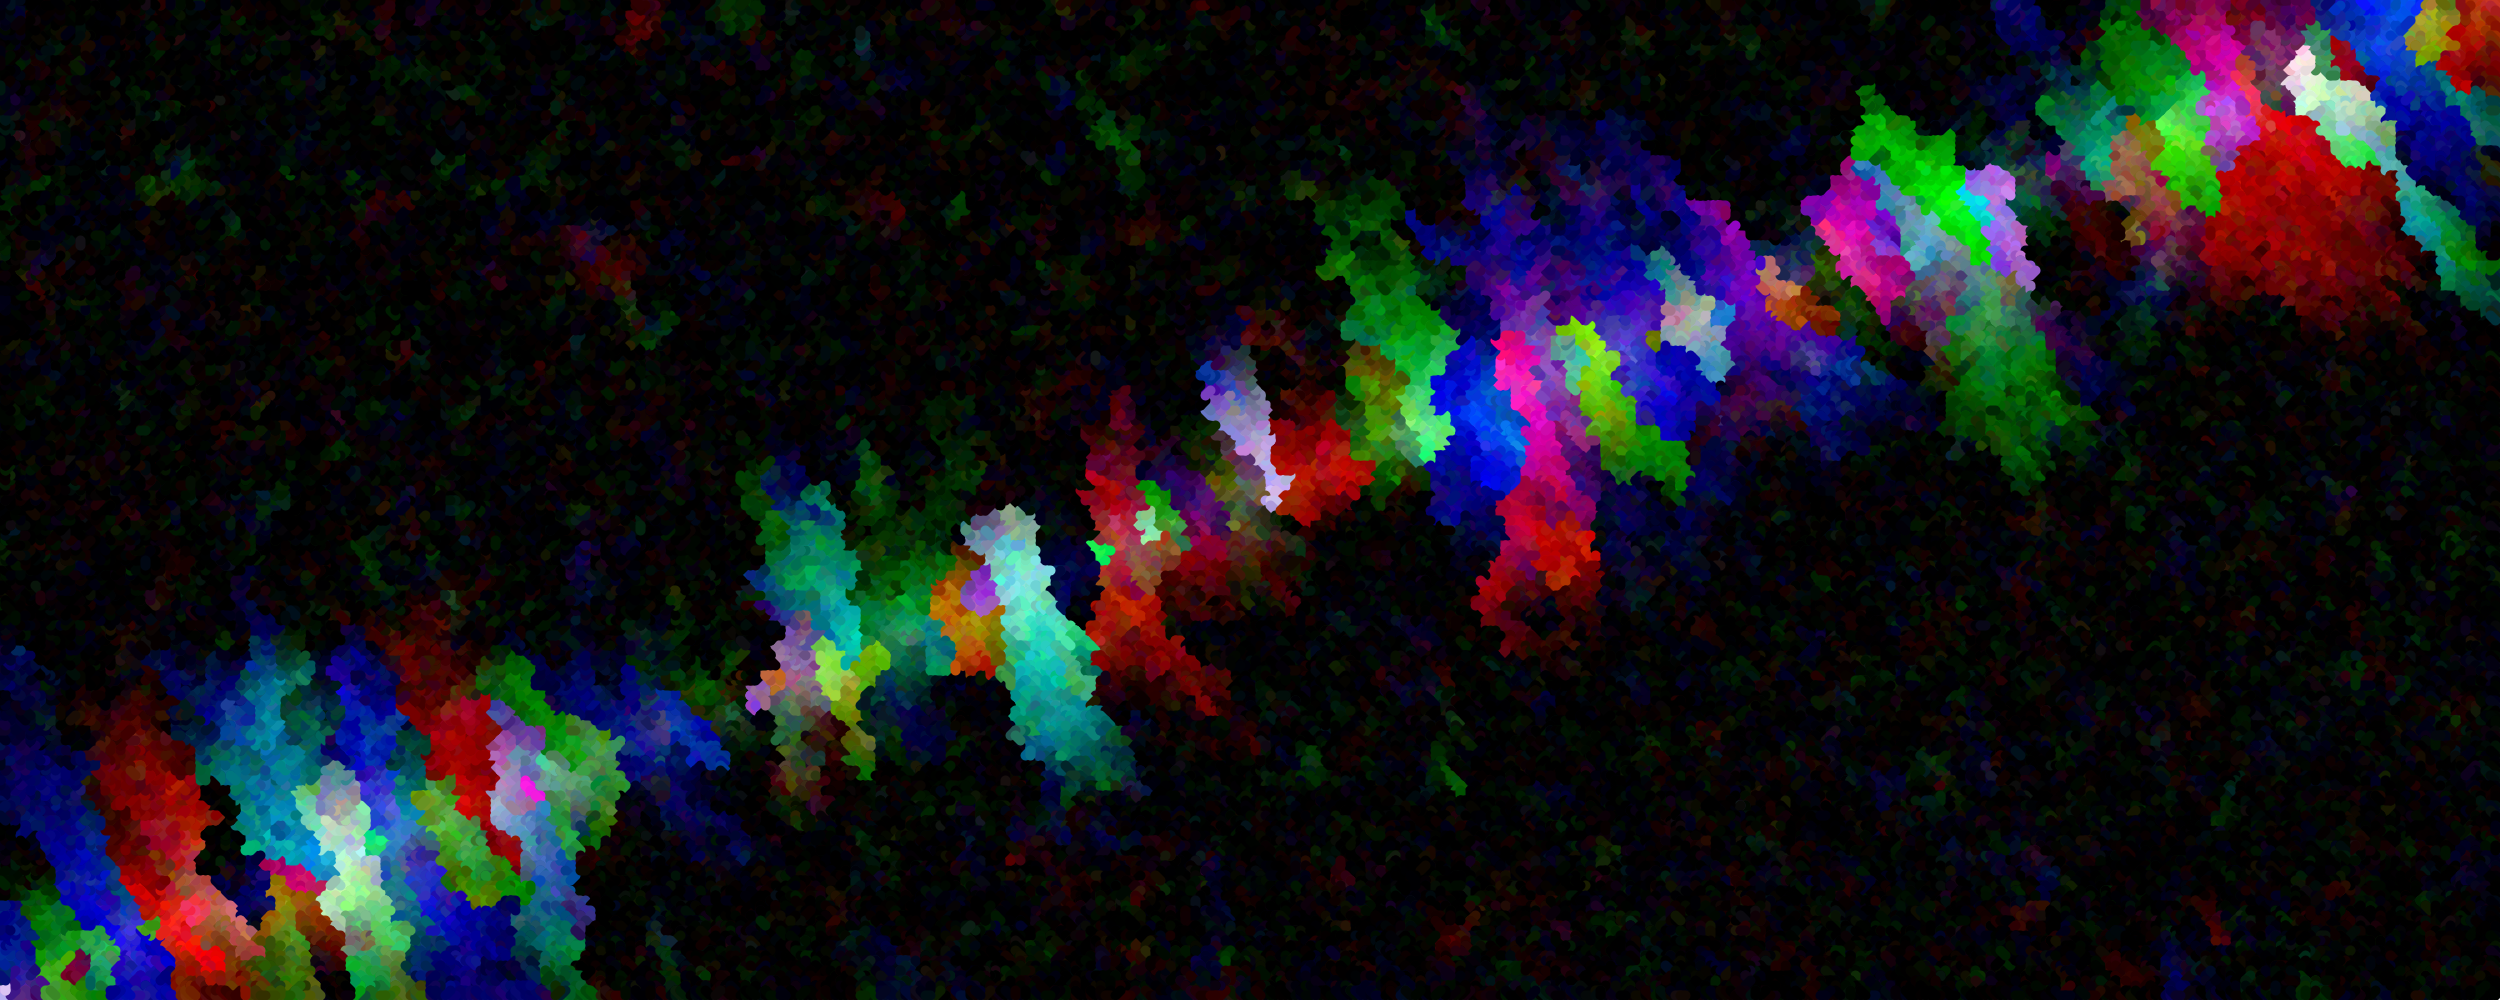
And finally, here are some with multiple seed points distributed across the canvas via Poisson-disk sampling and perturbation sizes of 1, 5, and 20:

Varying Seed Colors
Let’s start messing around with the seed colors themselves. Here are just a tiny, tiny fraction of the possibilities.
We’ve already seen examples above of randomly-colored seed points. Here are some with ten seed points whose color is fixed (white, black, and red):


Biasing Color Mutation
We can also bias color channels if we want. This just means we add or subtract a fixed value from a particular color channel (red, green, or blue). So, for example, we can bias white by adding a fixed value to all three channels in addition to the regular perturbation. This will lead to a race towards the value 255 for all three channels, leading to white.
Here are some examples with diagonally-placed seed points with a white bias in the color mutation:

And here are some biased towards black:
And here are some with single-channel biases on the red, green, and blue values:

Varying Stroke Width
In my version, I draw lines between the starting point and the neighbors each iteration. Here are some examples of what’s possible when varying the stroke width (1px, 5px, 10px, and 20px).


Limiting Propogation Direction
We can also limit the direction of propogation! In the below examples, instead of visiting all eight neighboring cells, we only visit cells to the right and to the bottom of a given pixel:
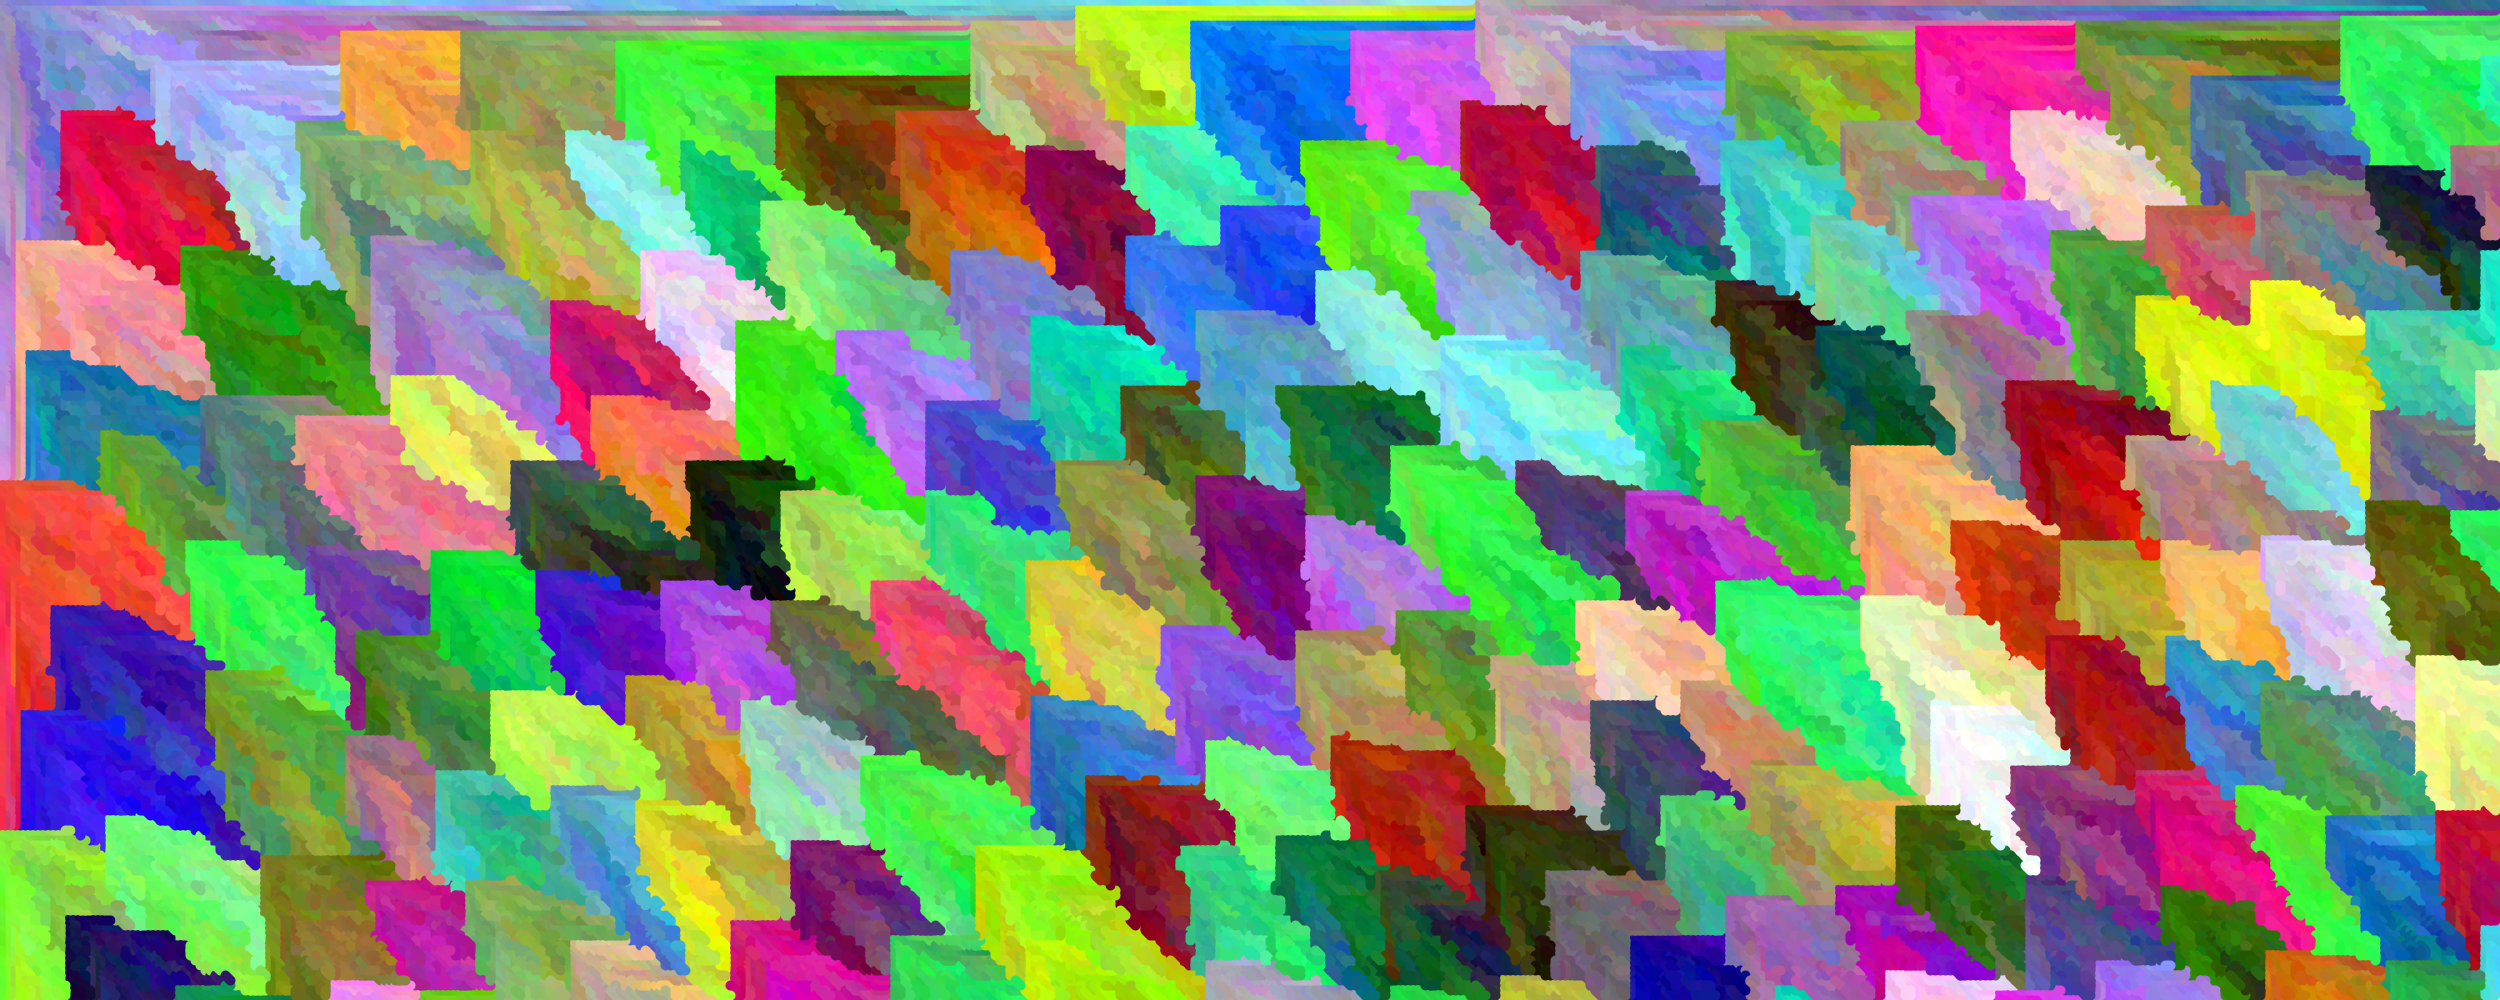

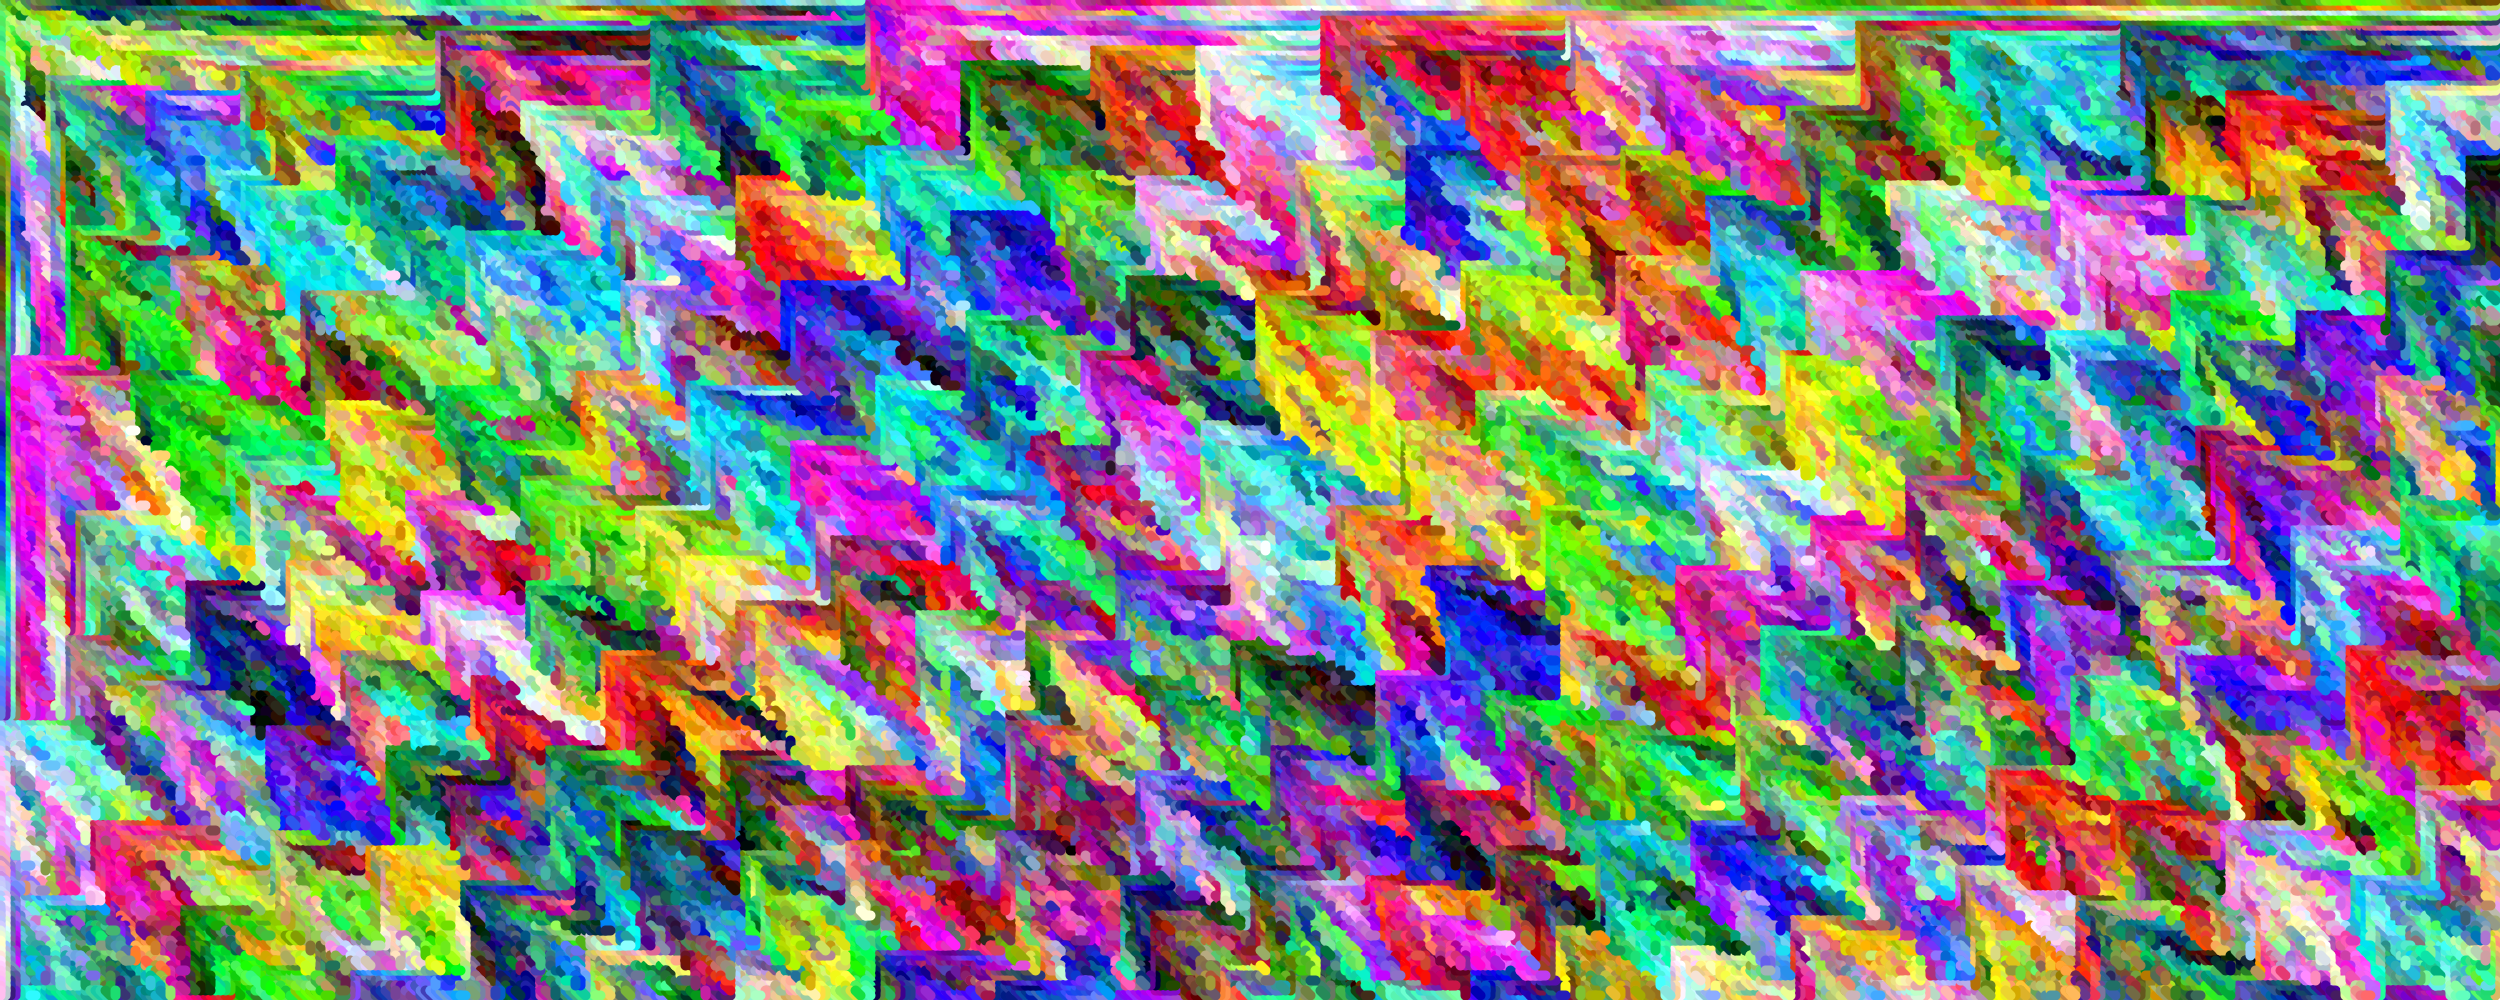
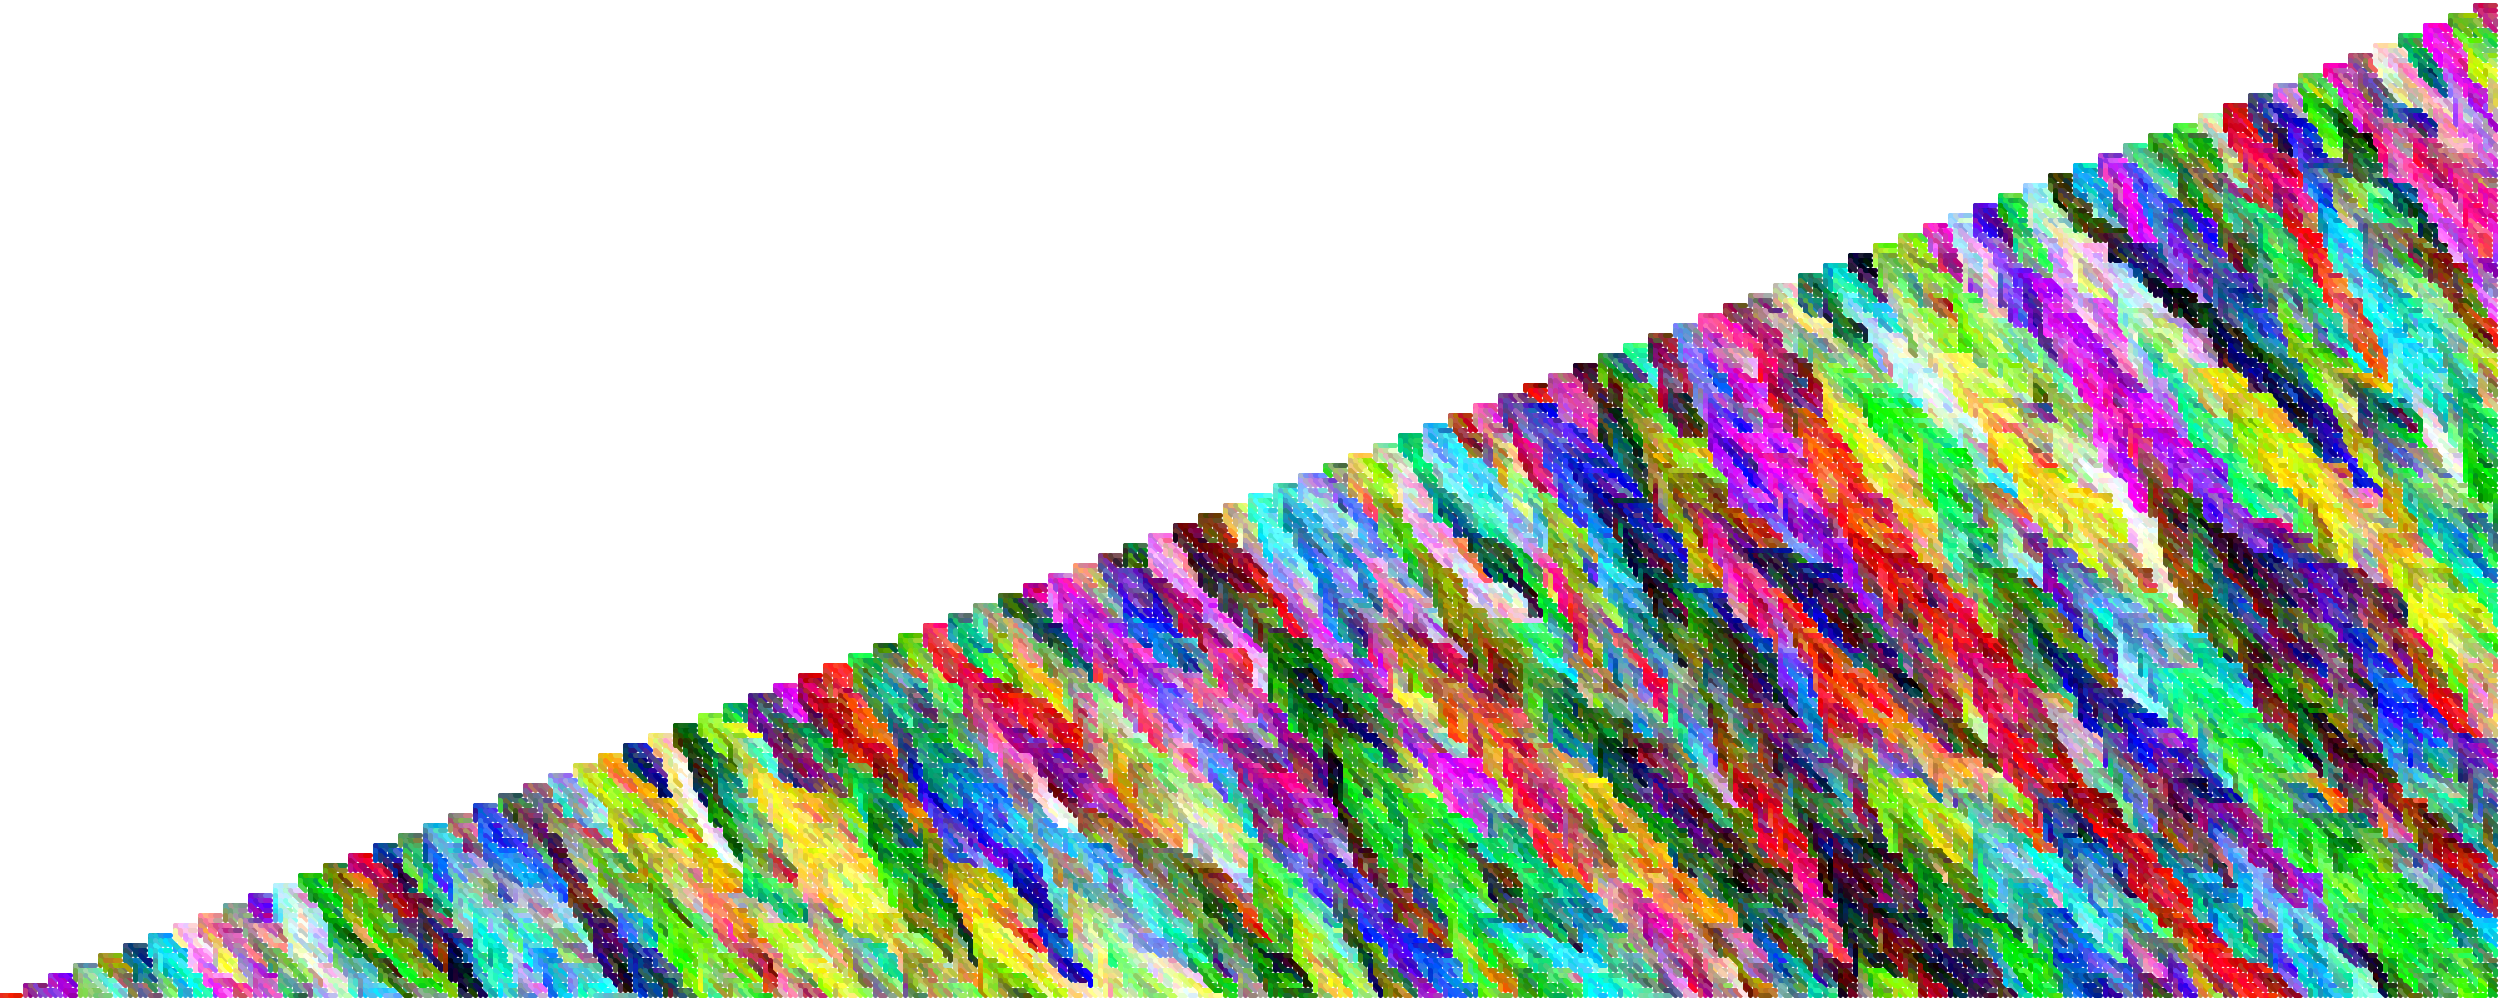
Image-Based Seed Colors
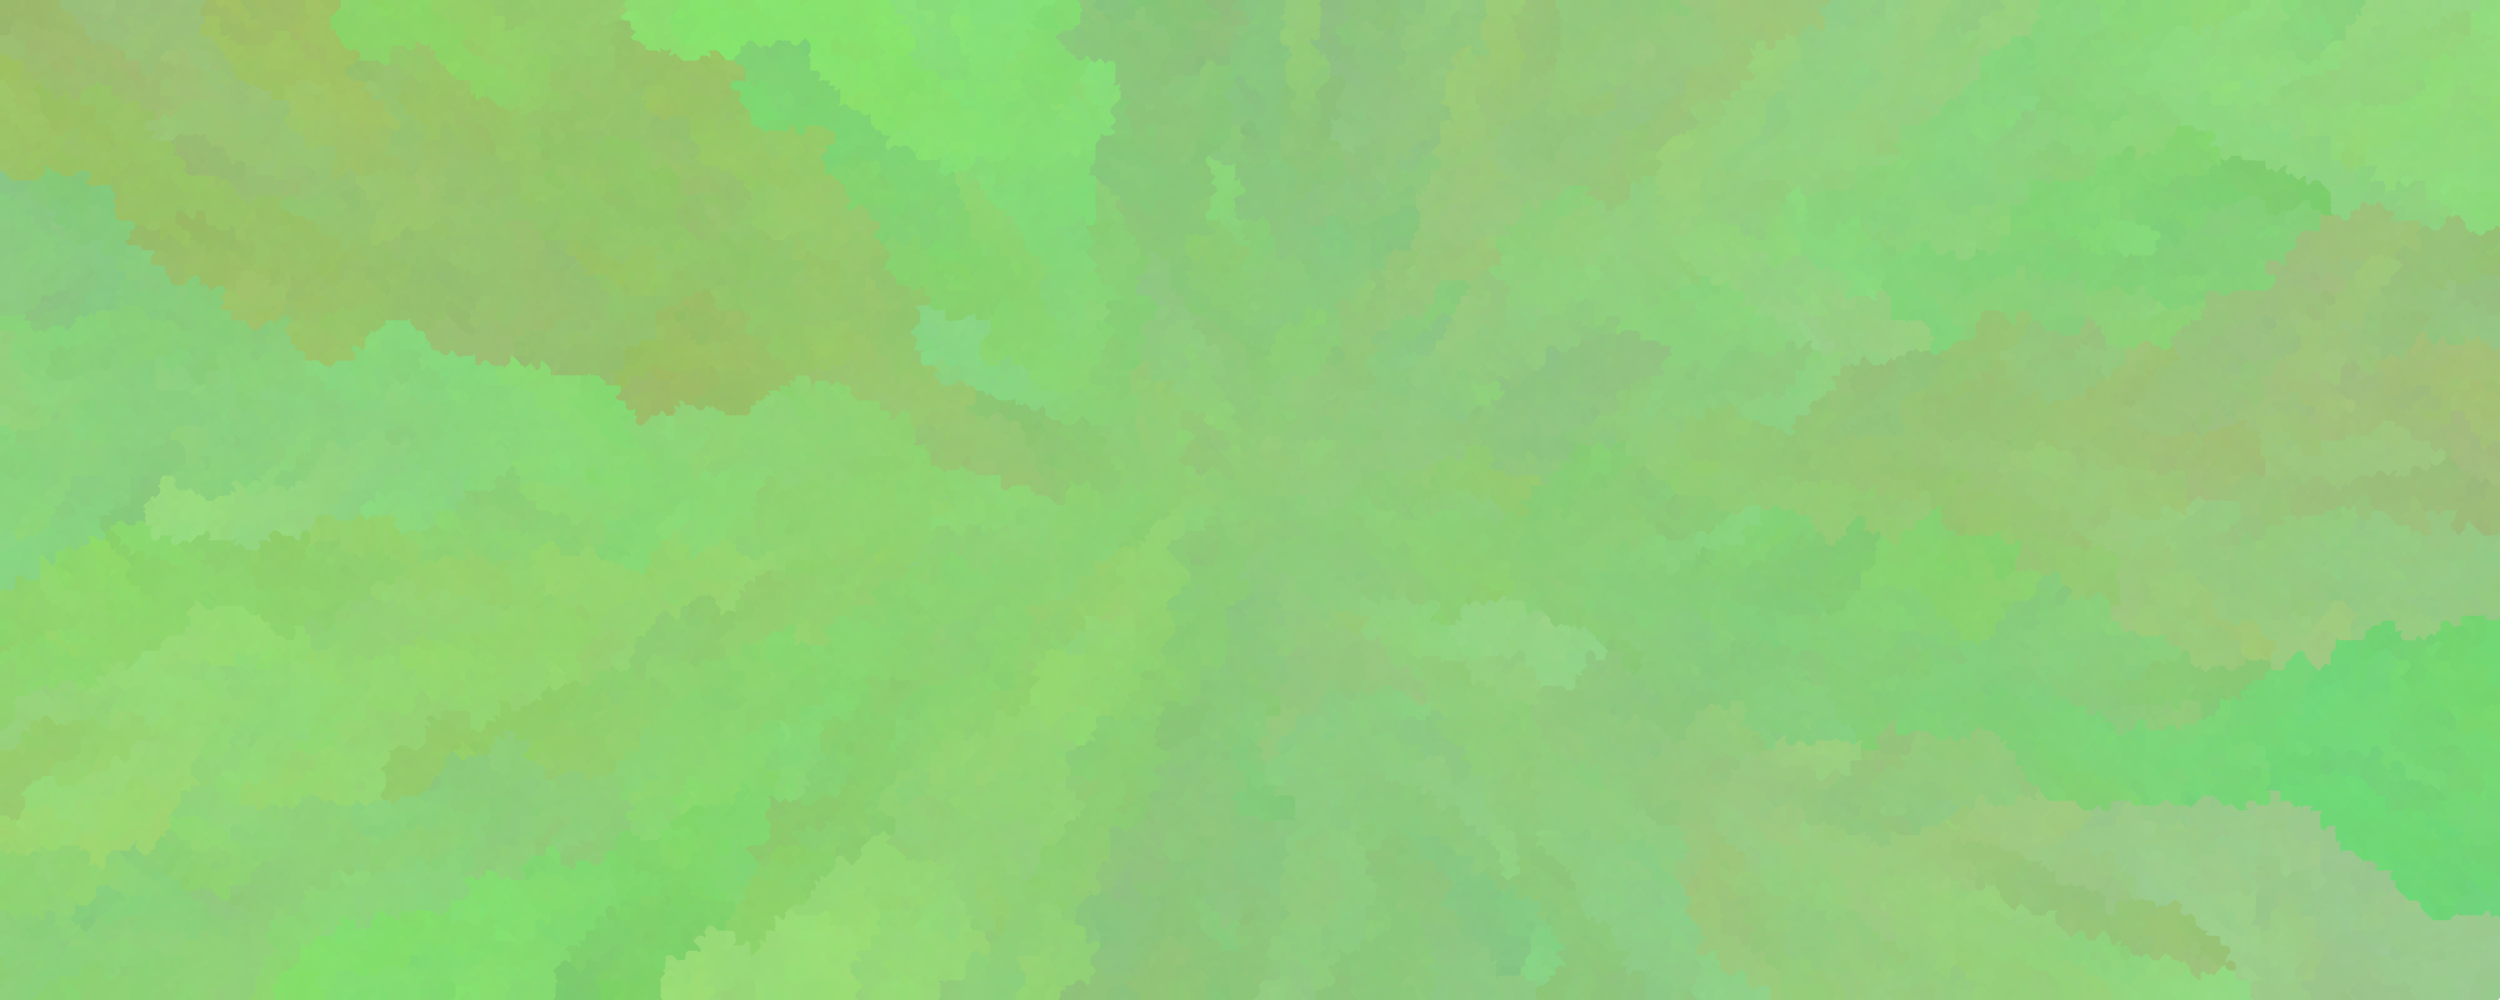
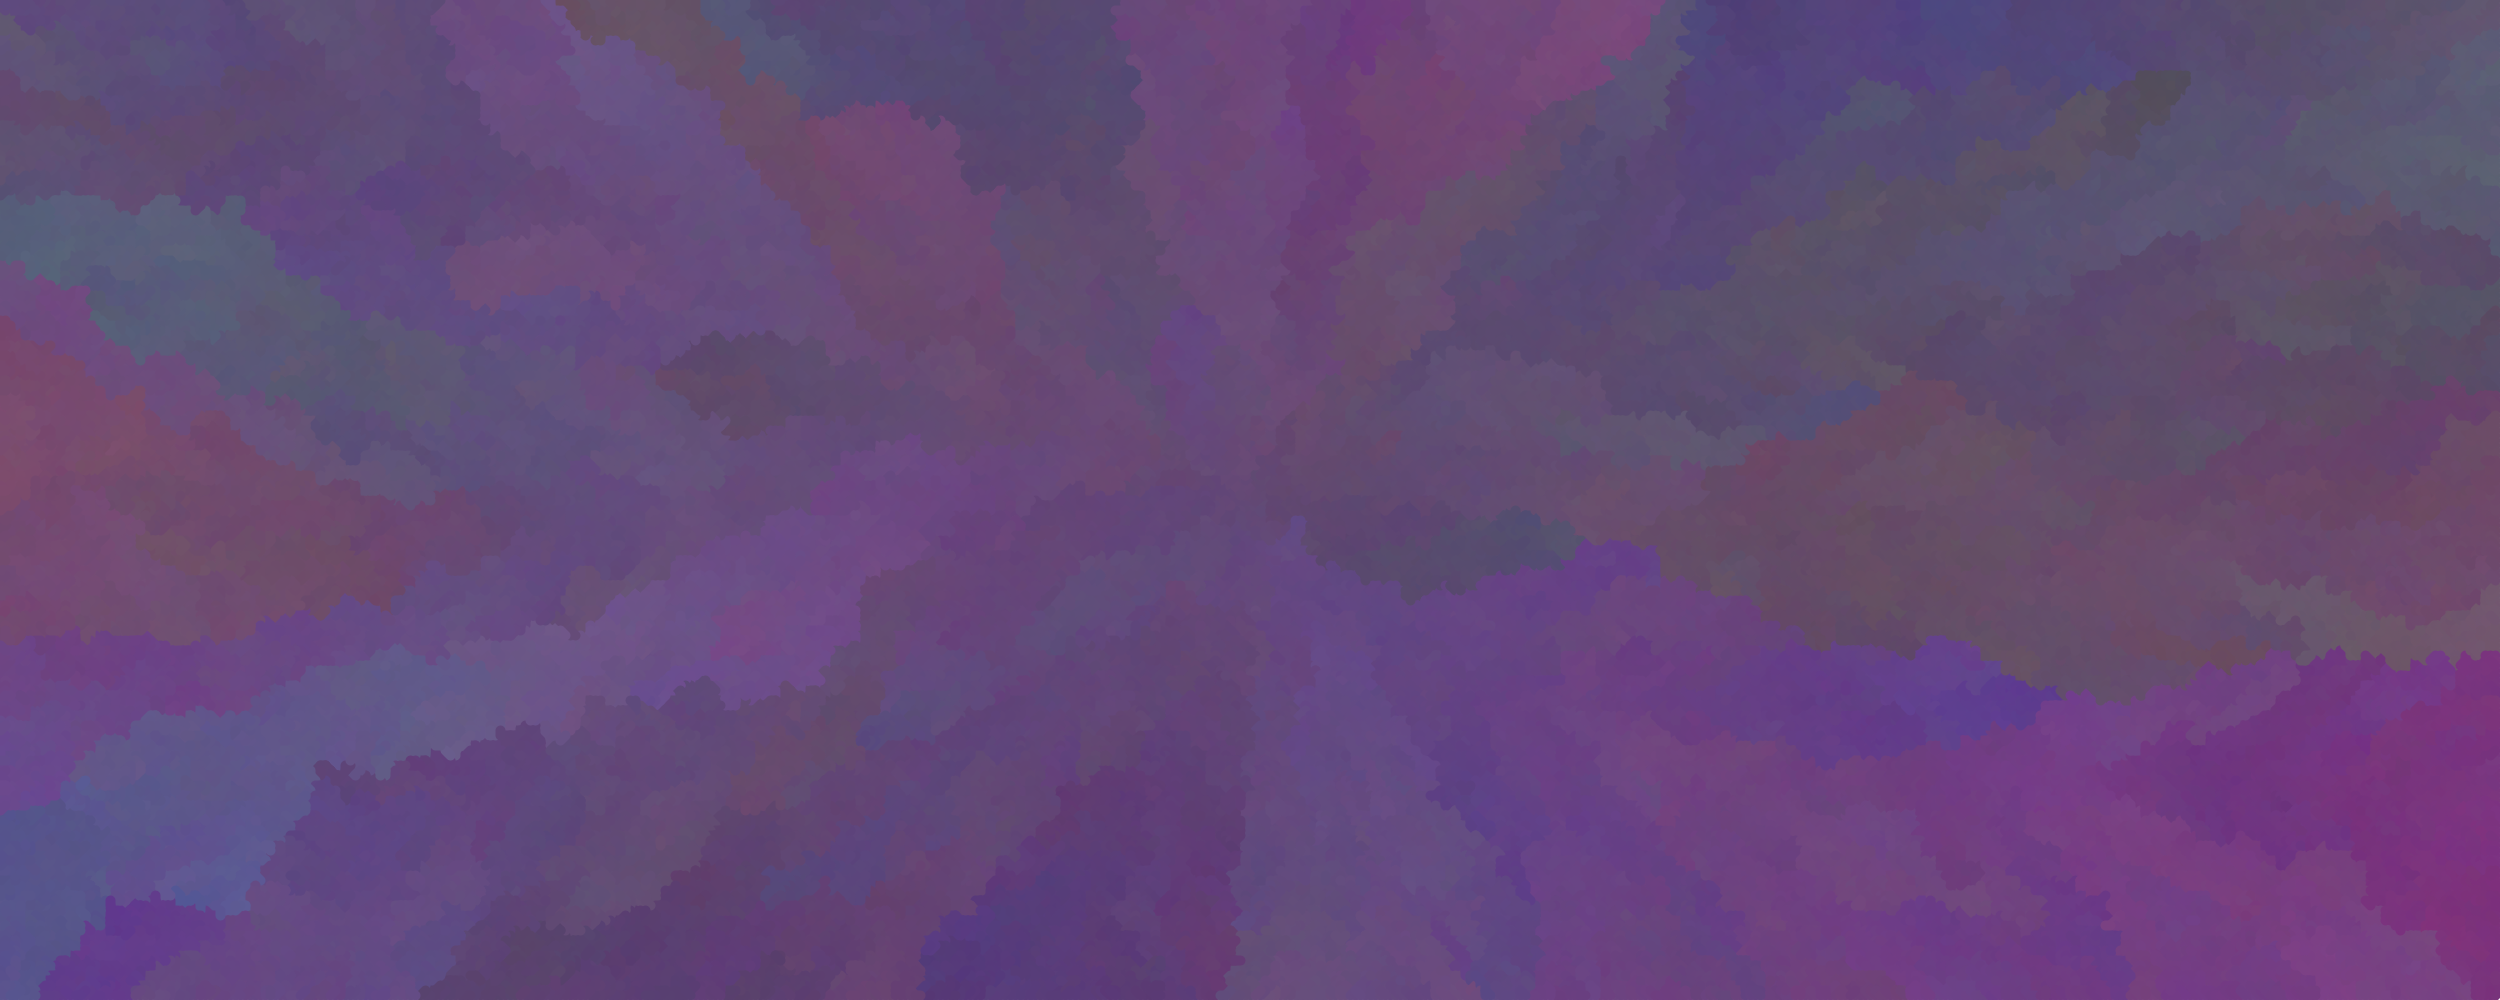
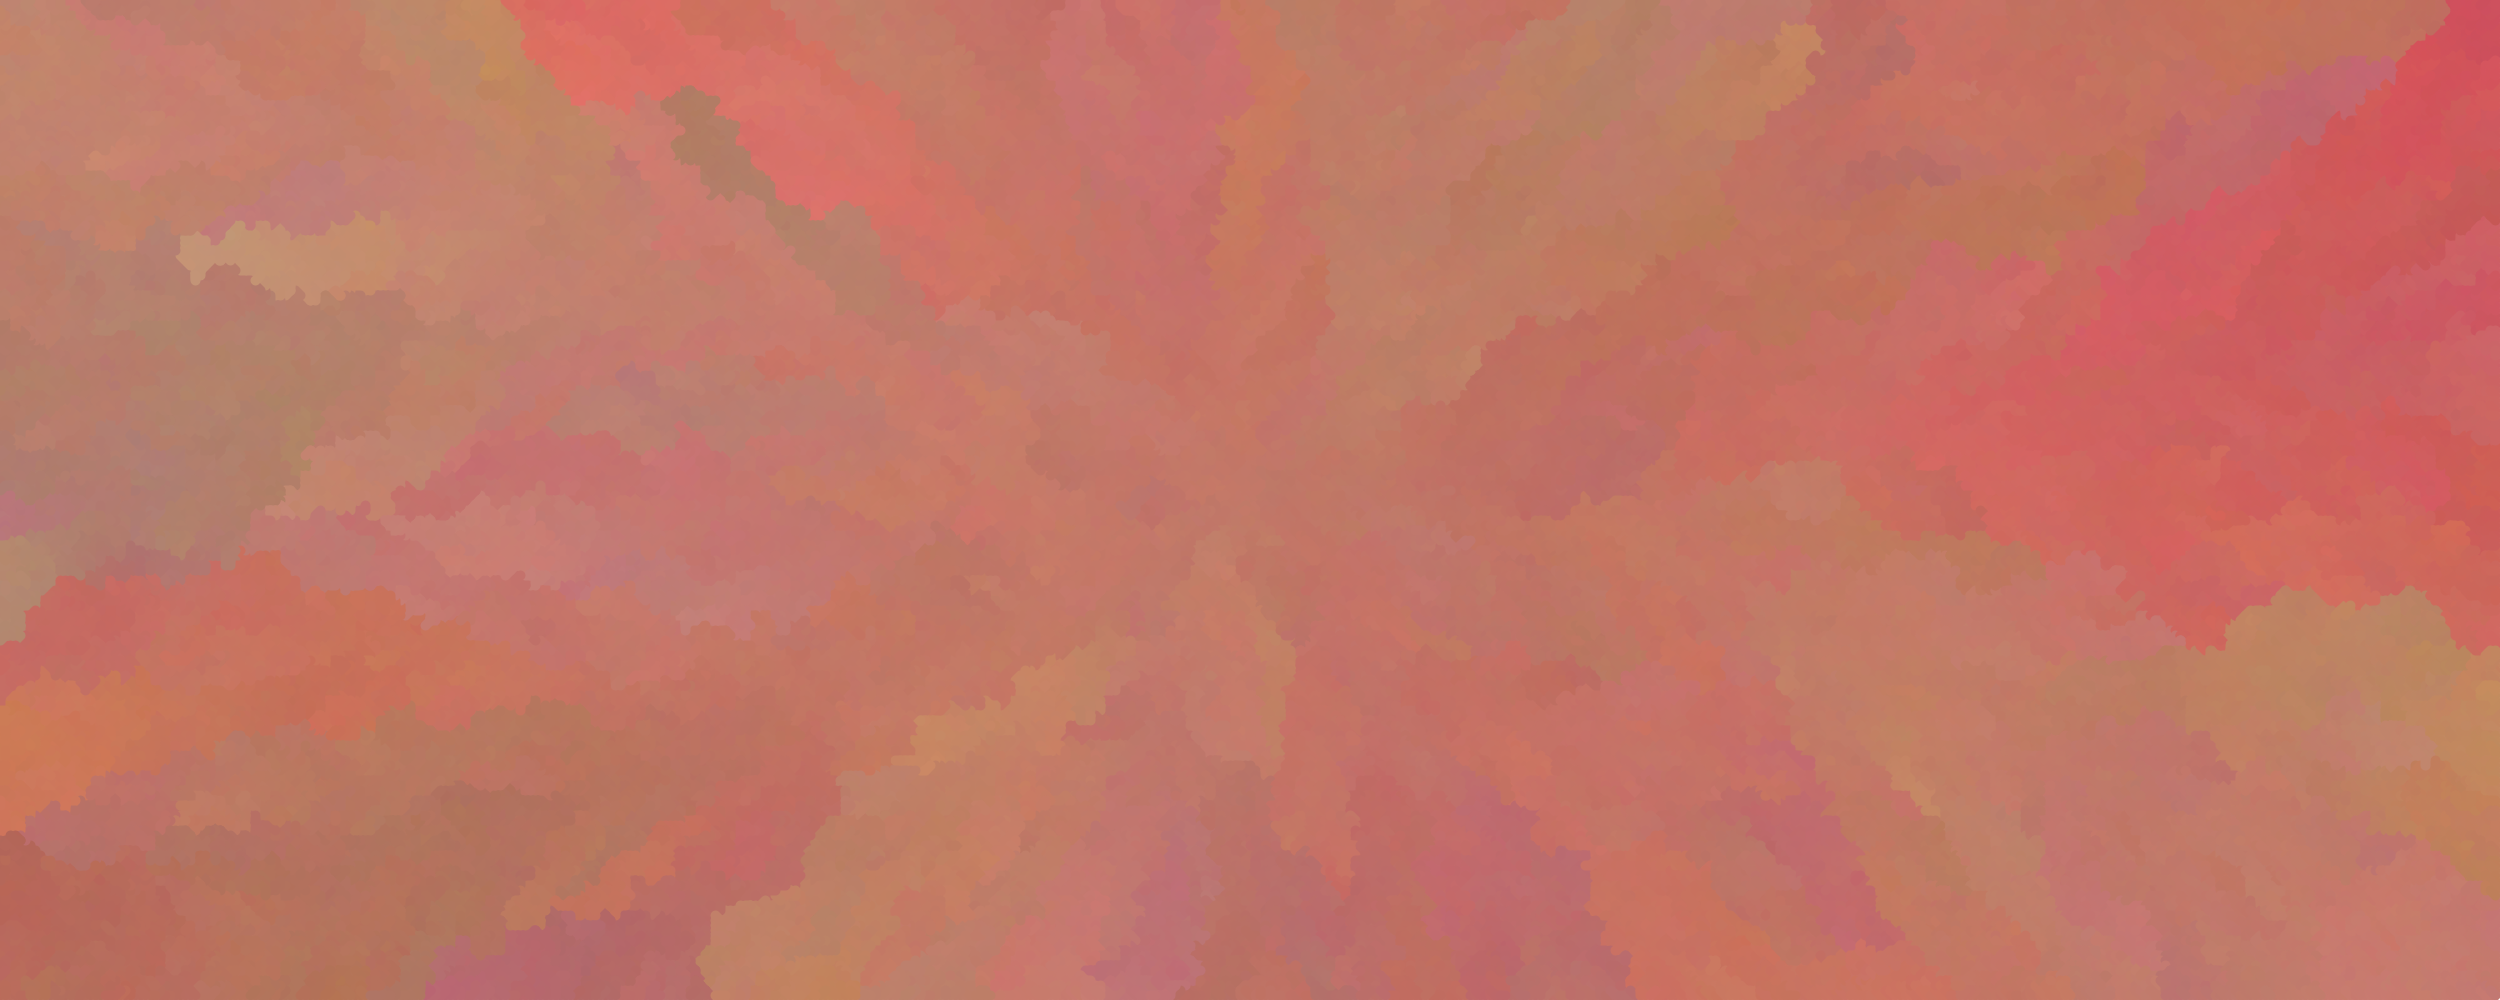
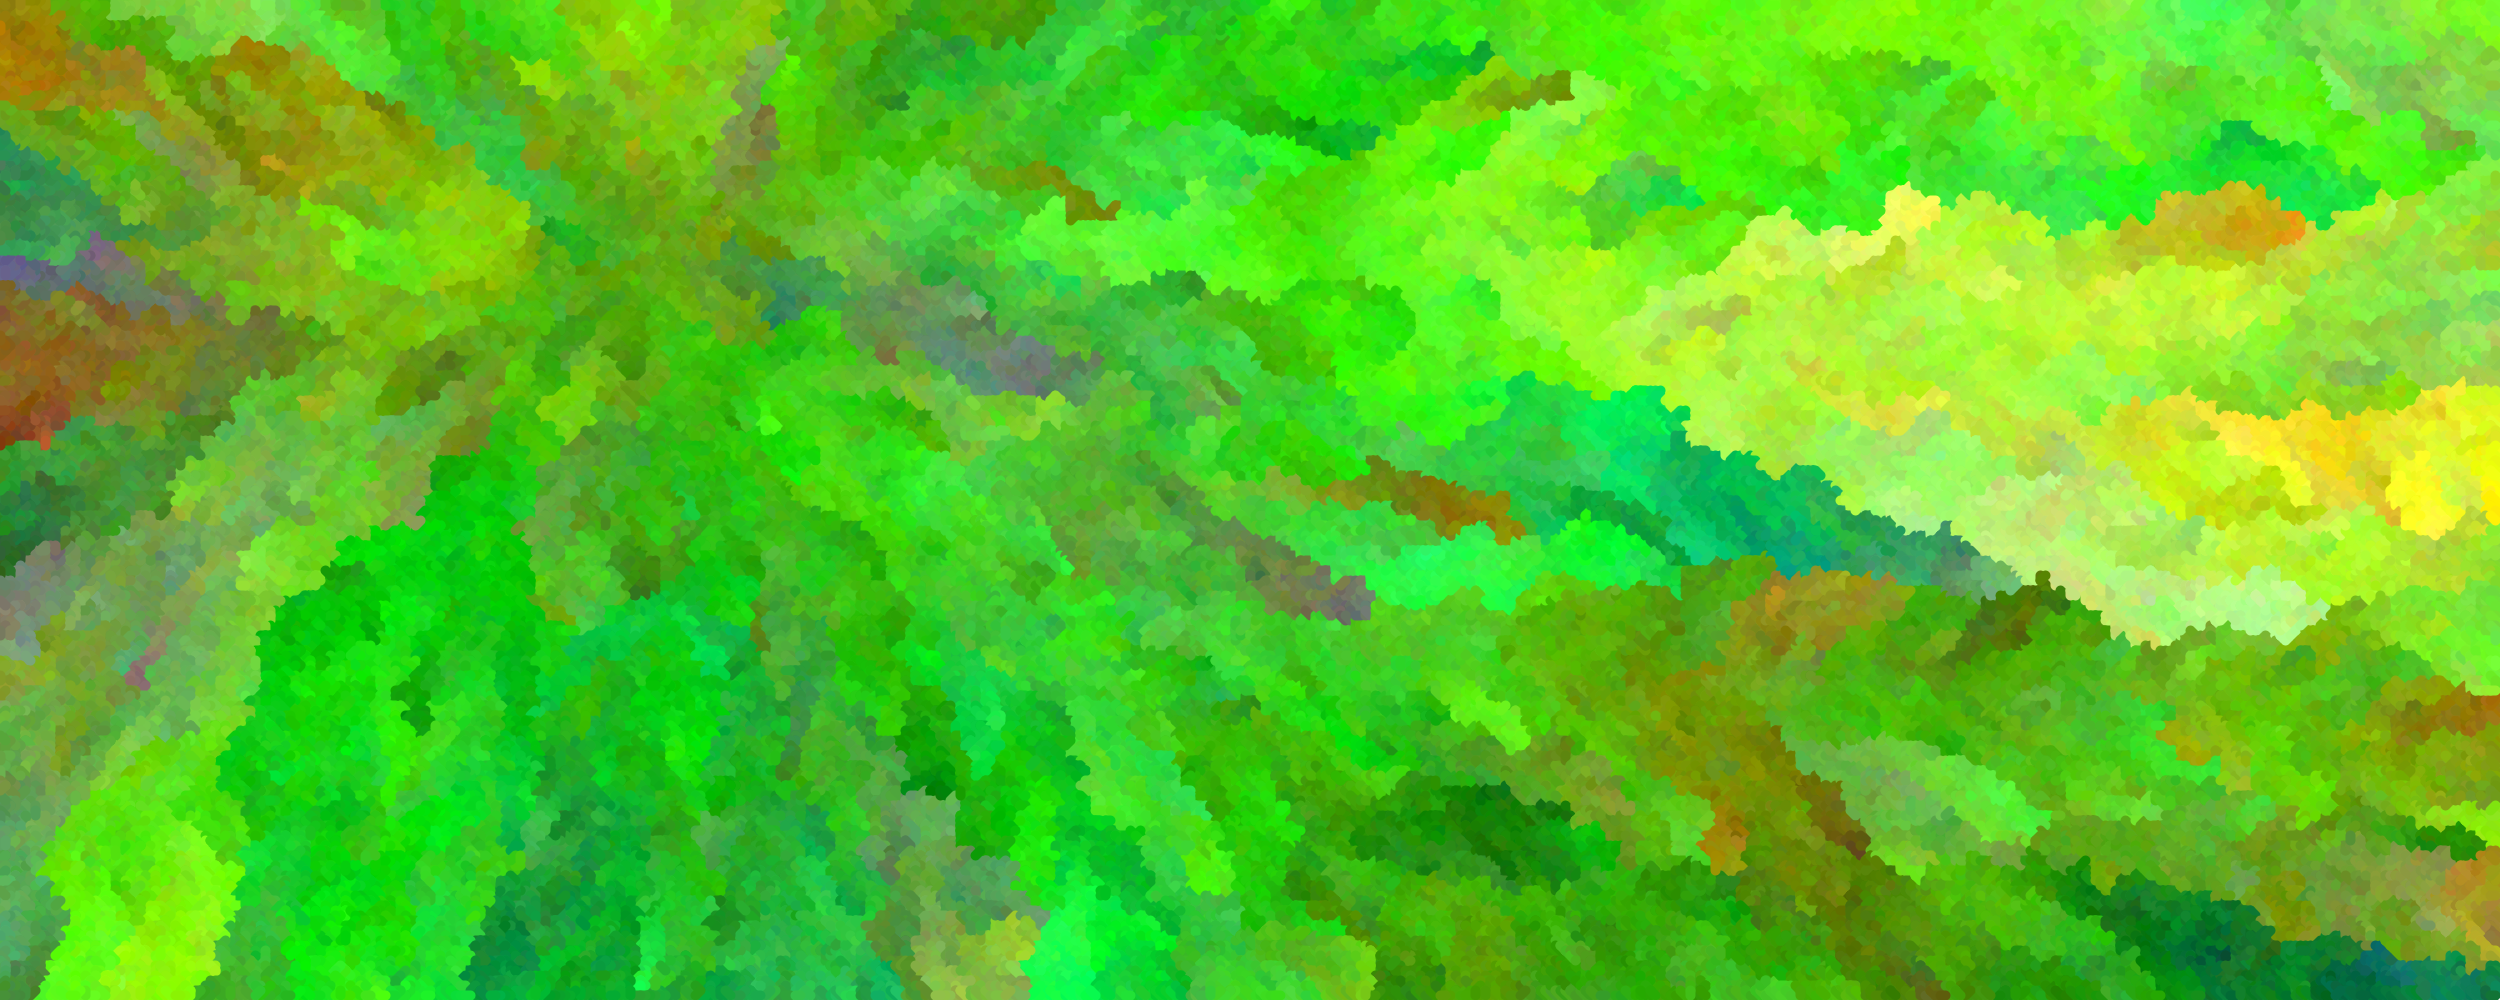
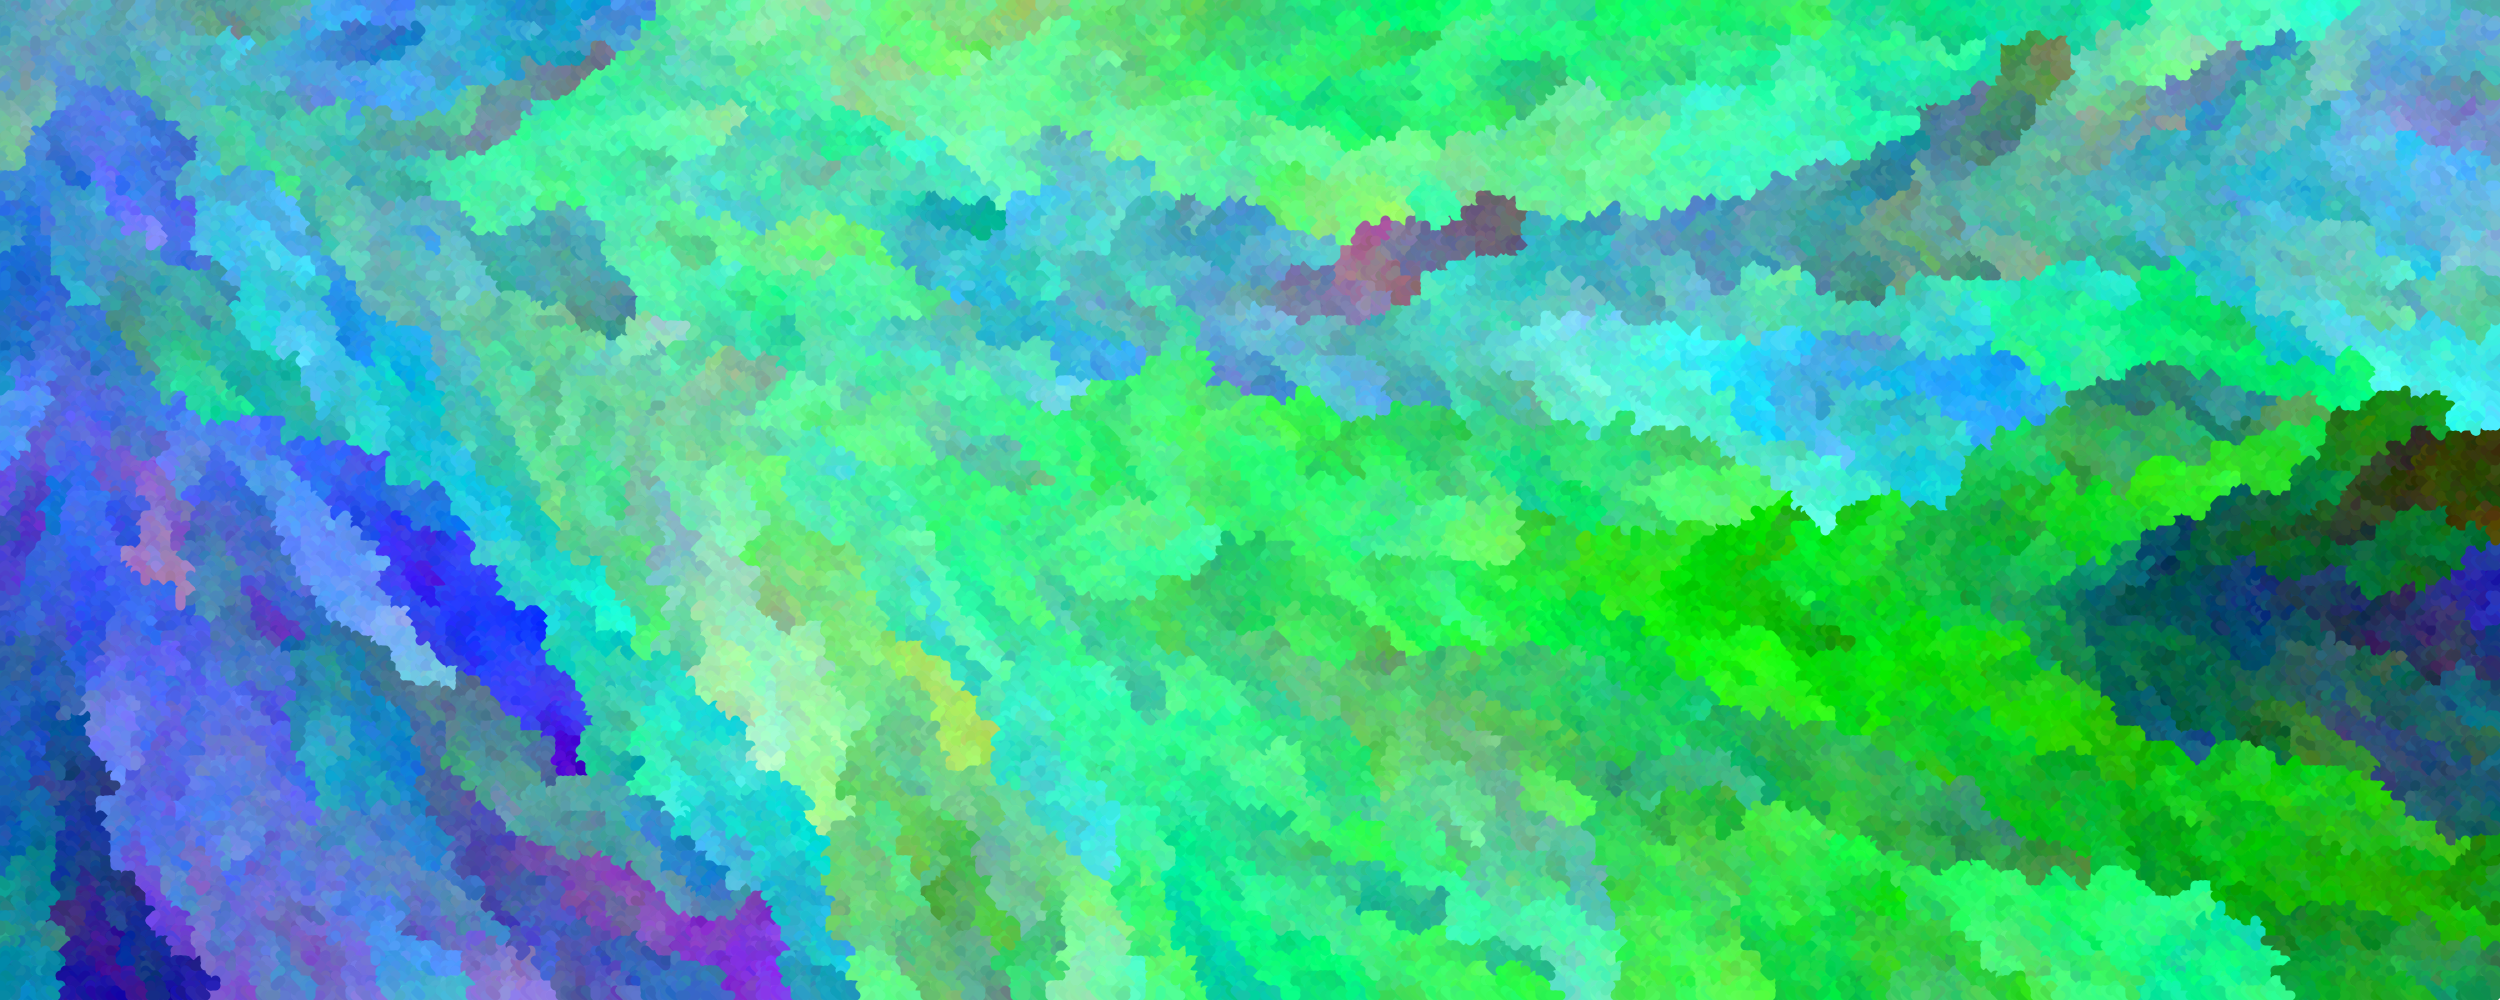
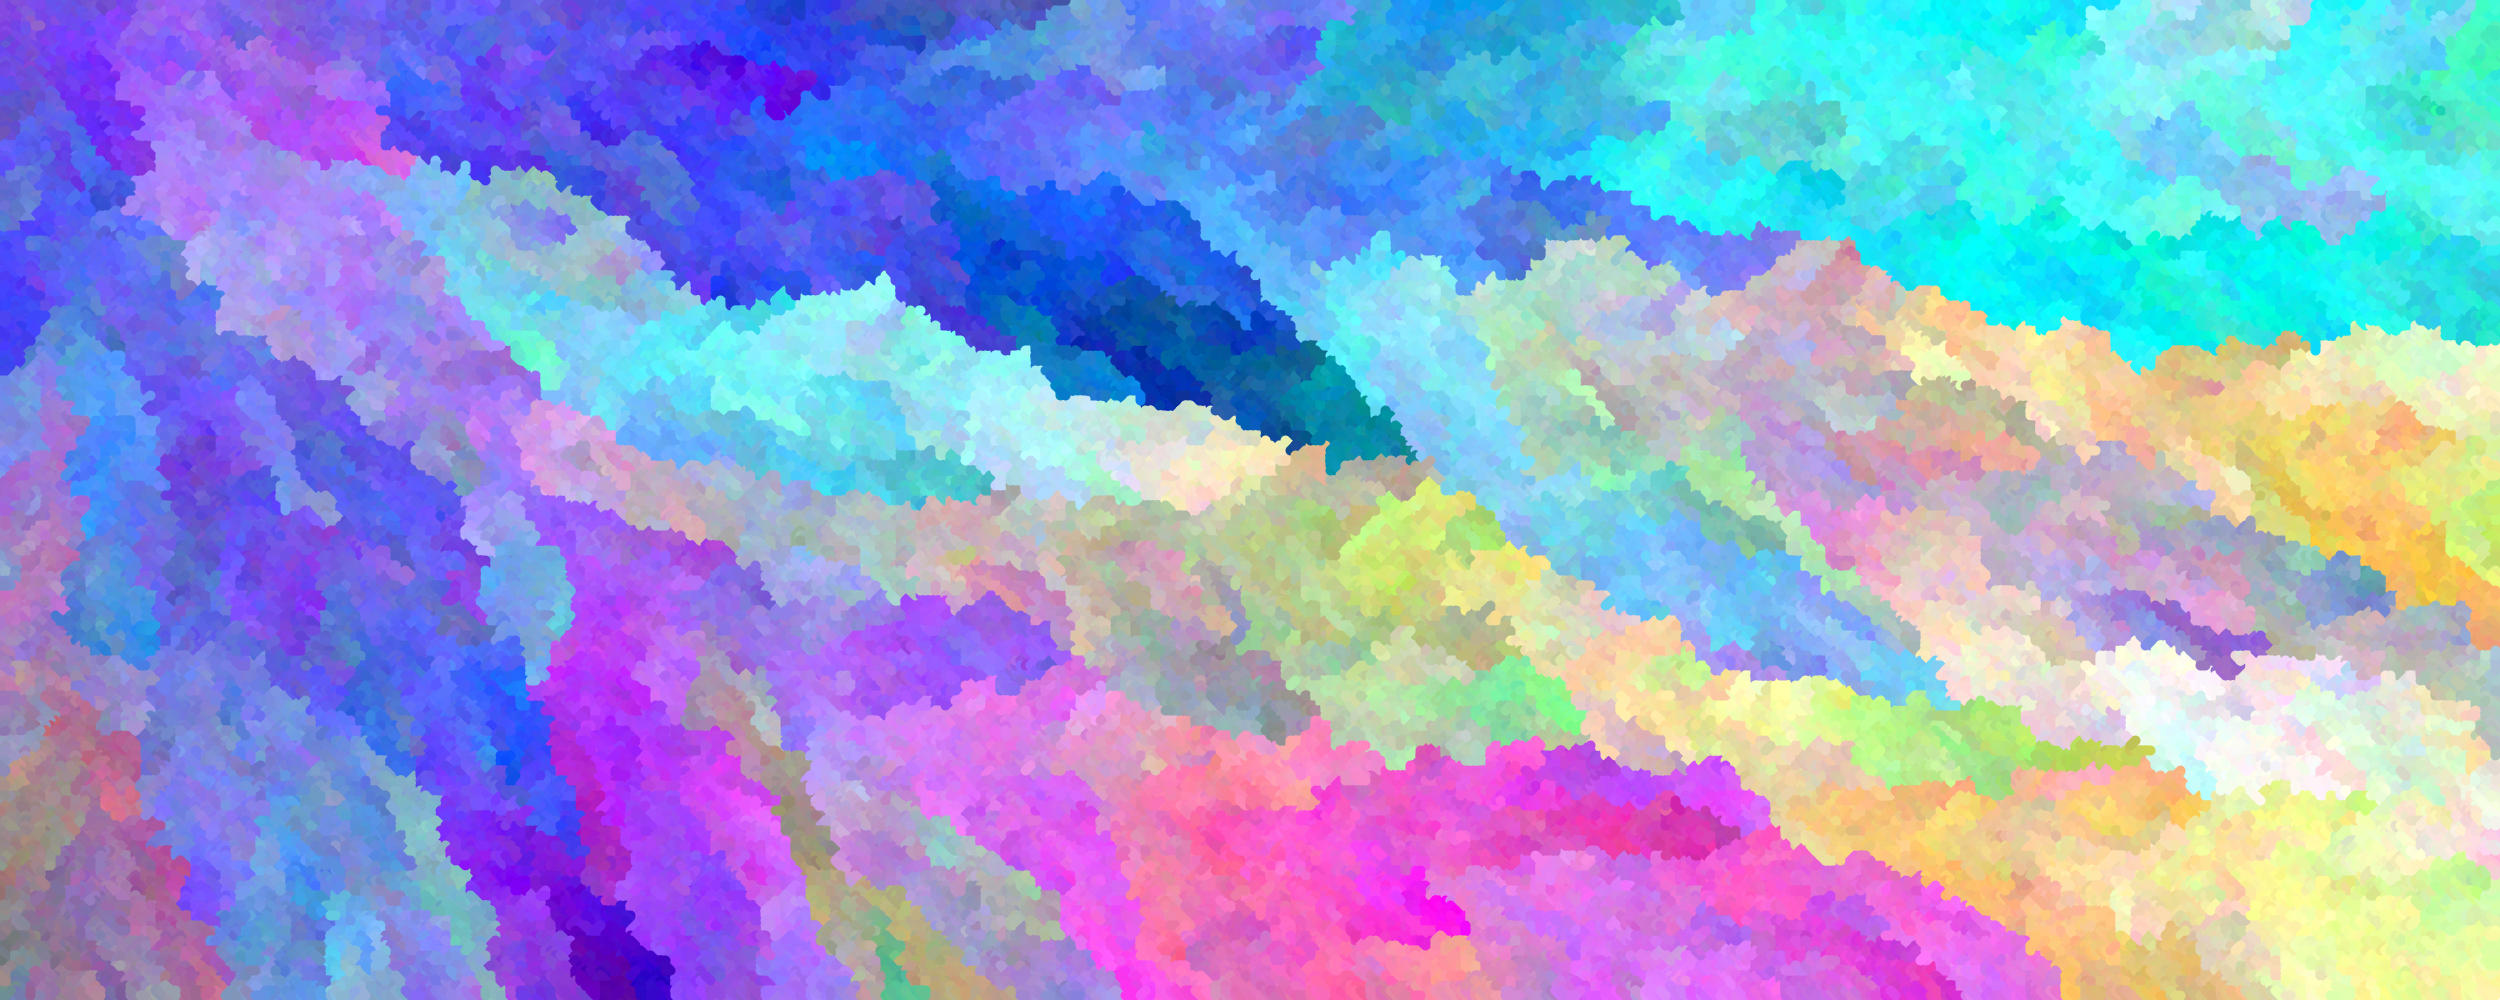
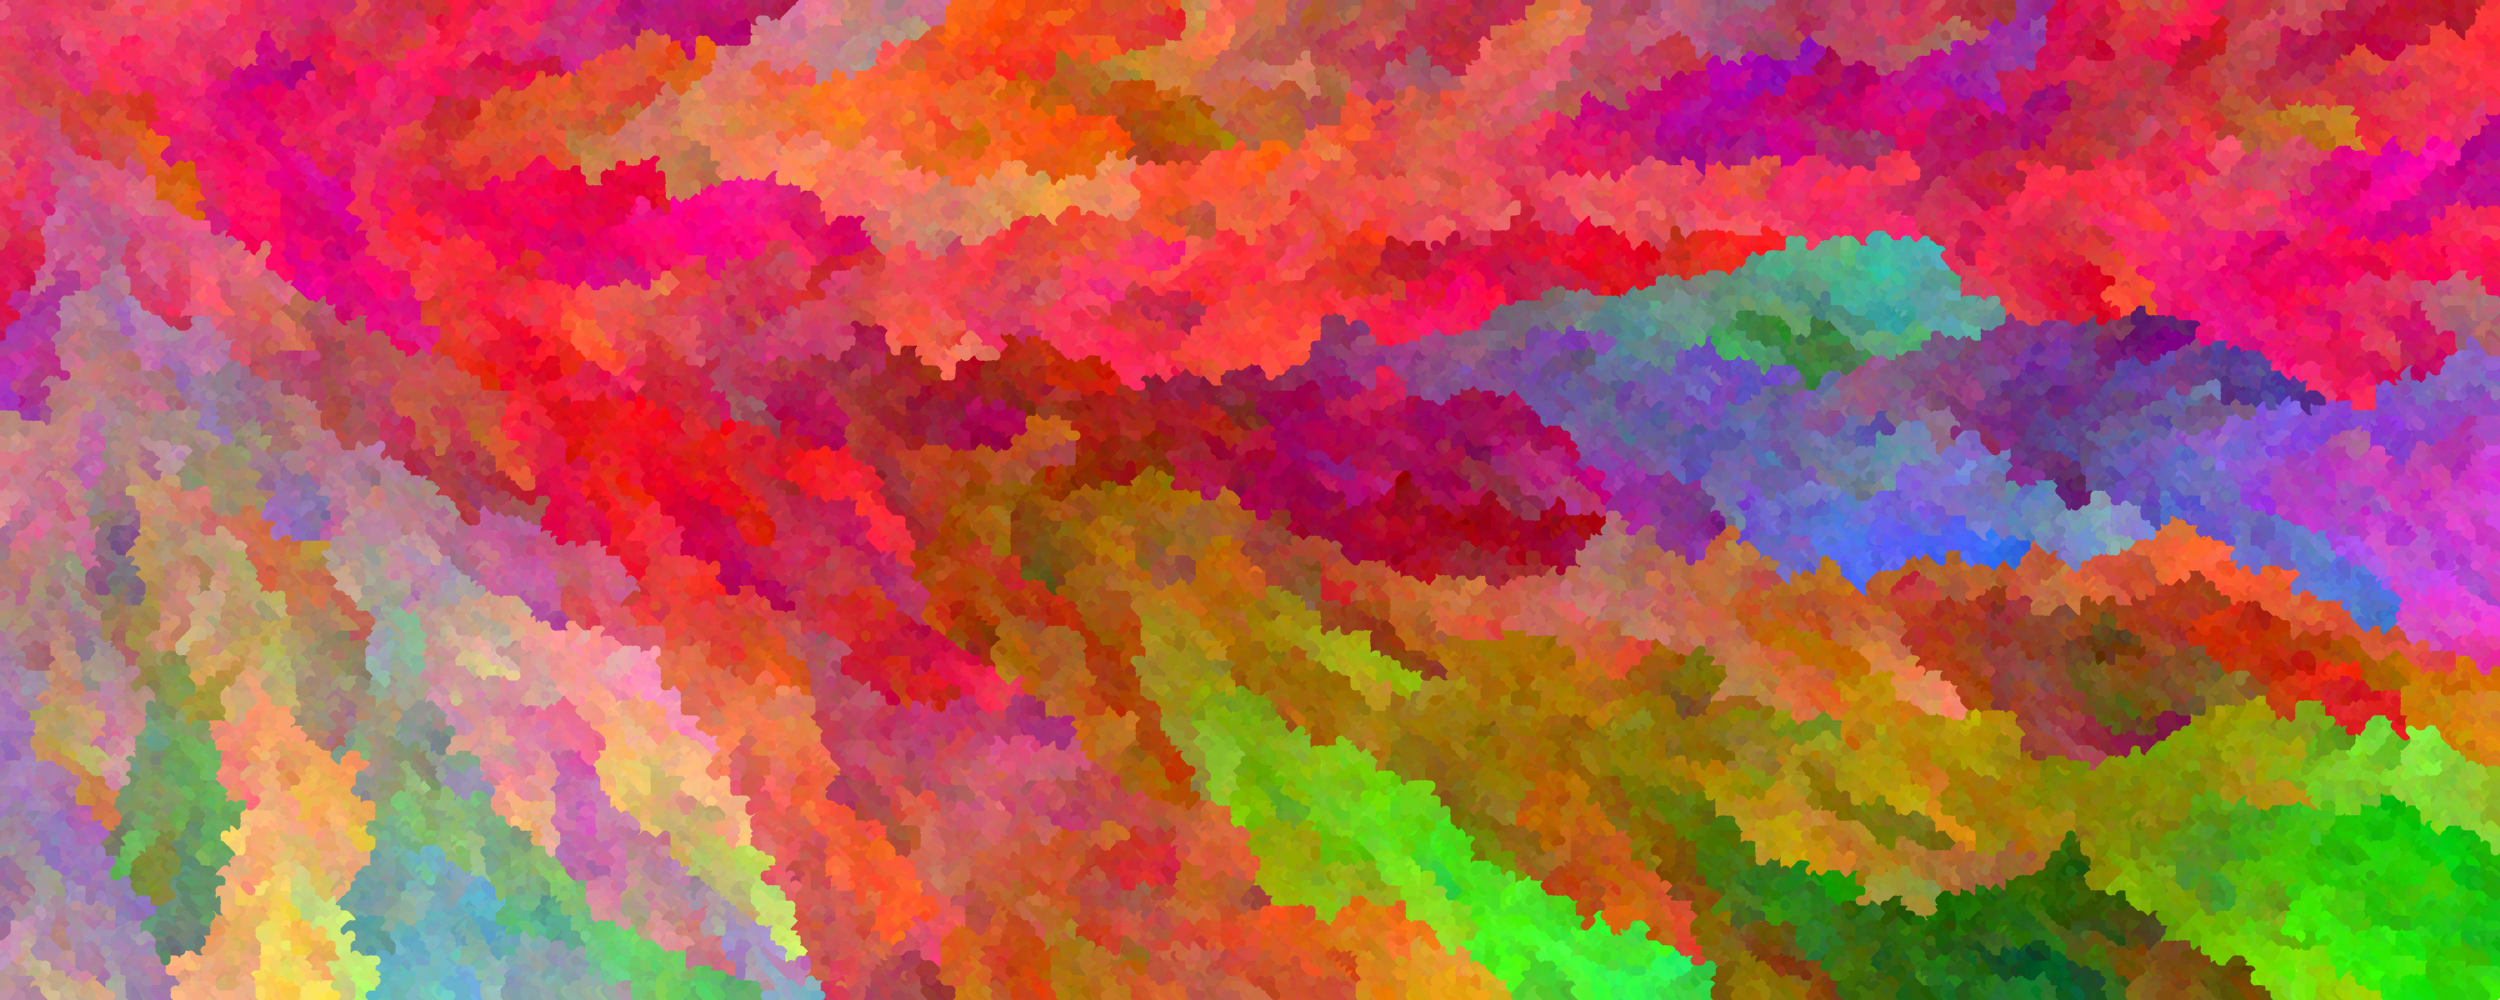
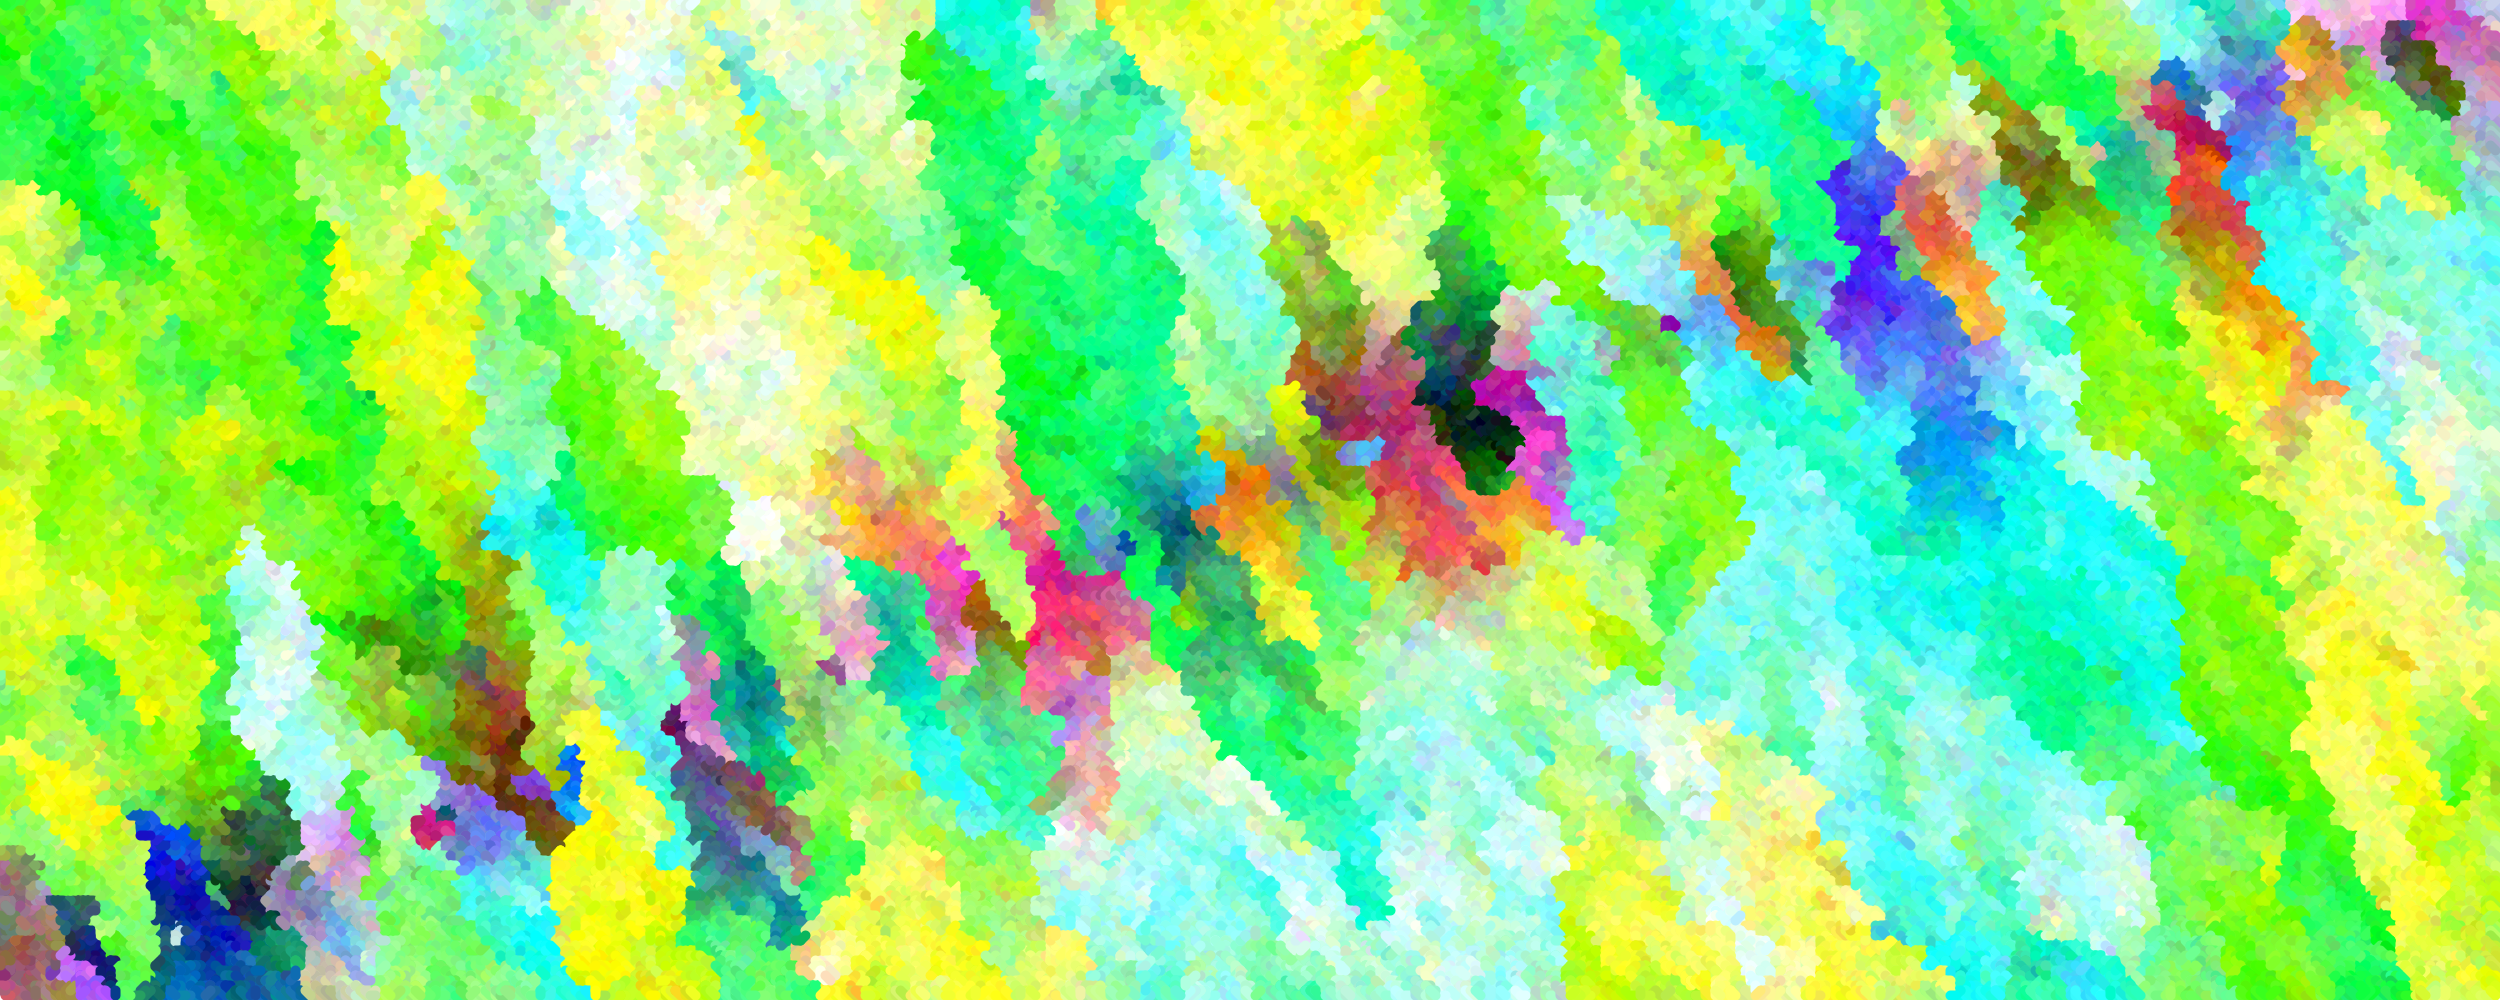
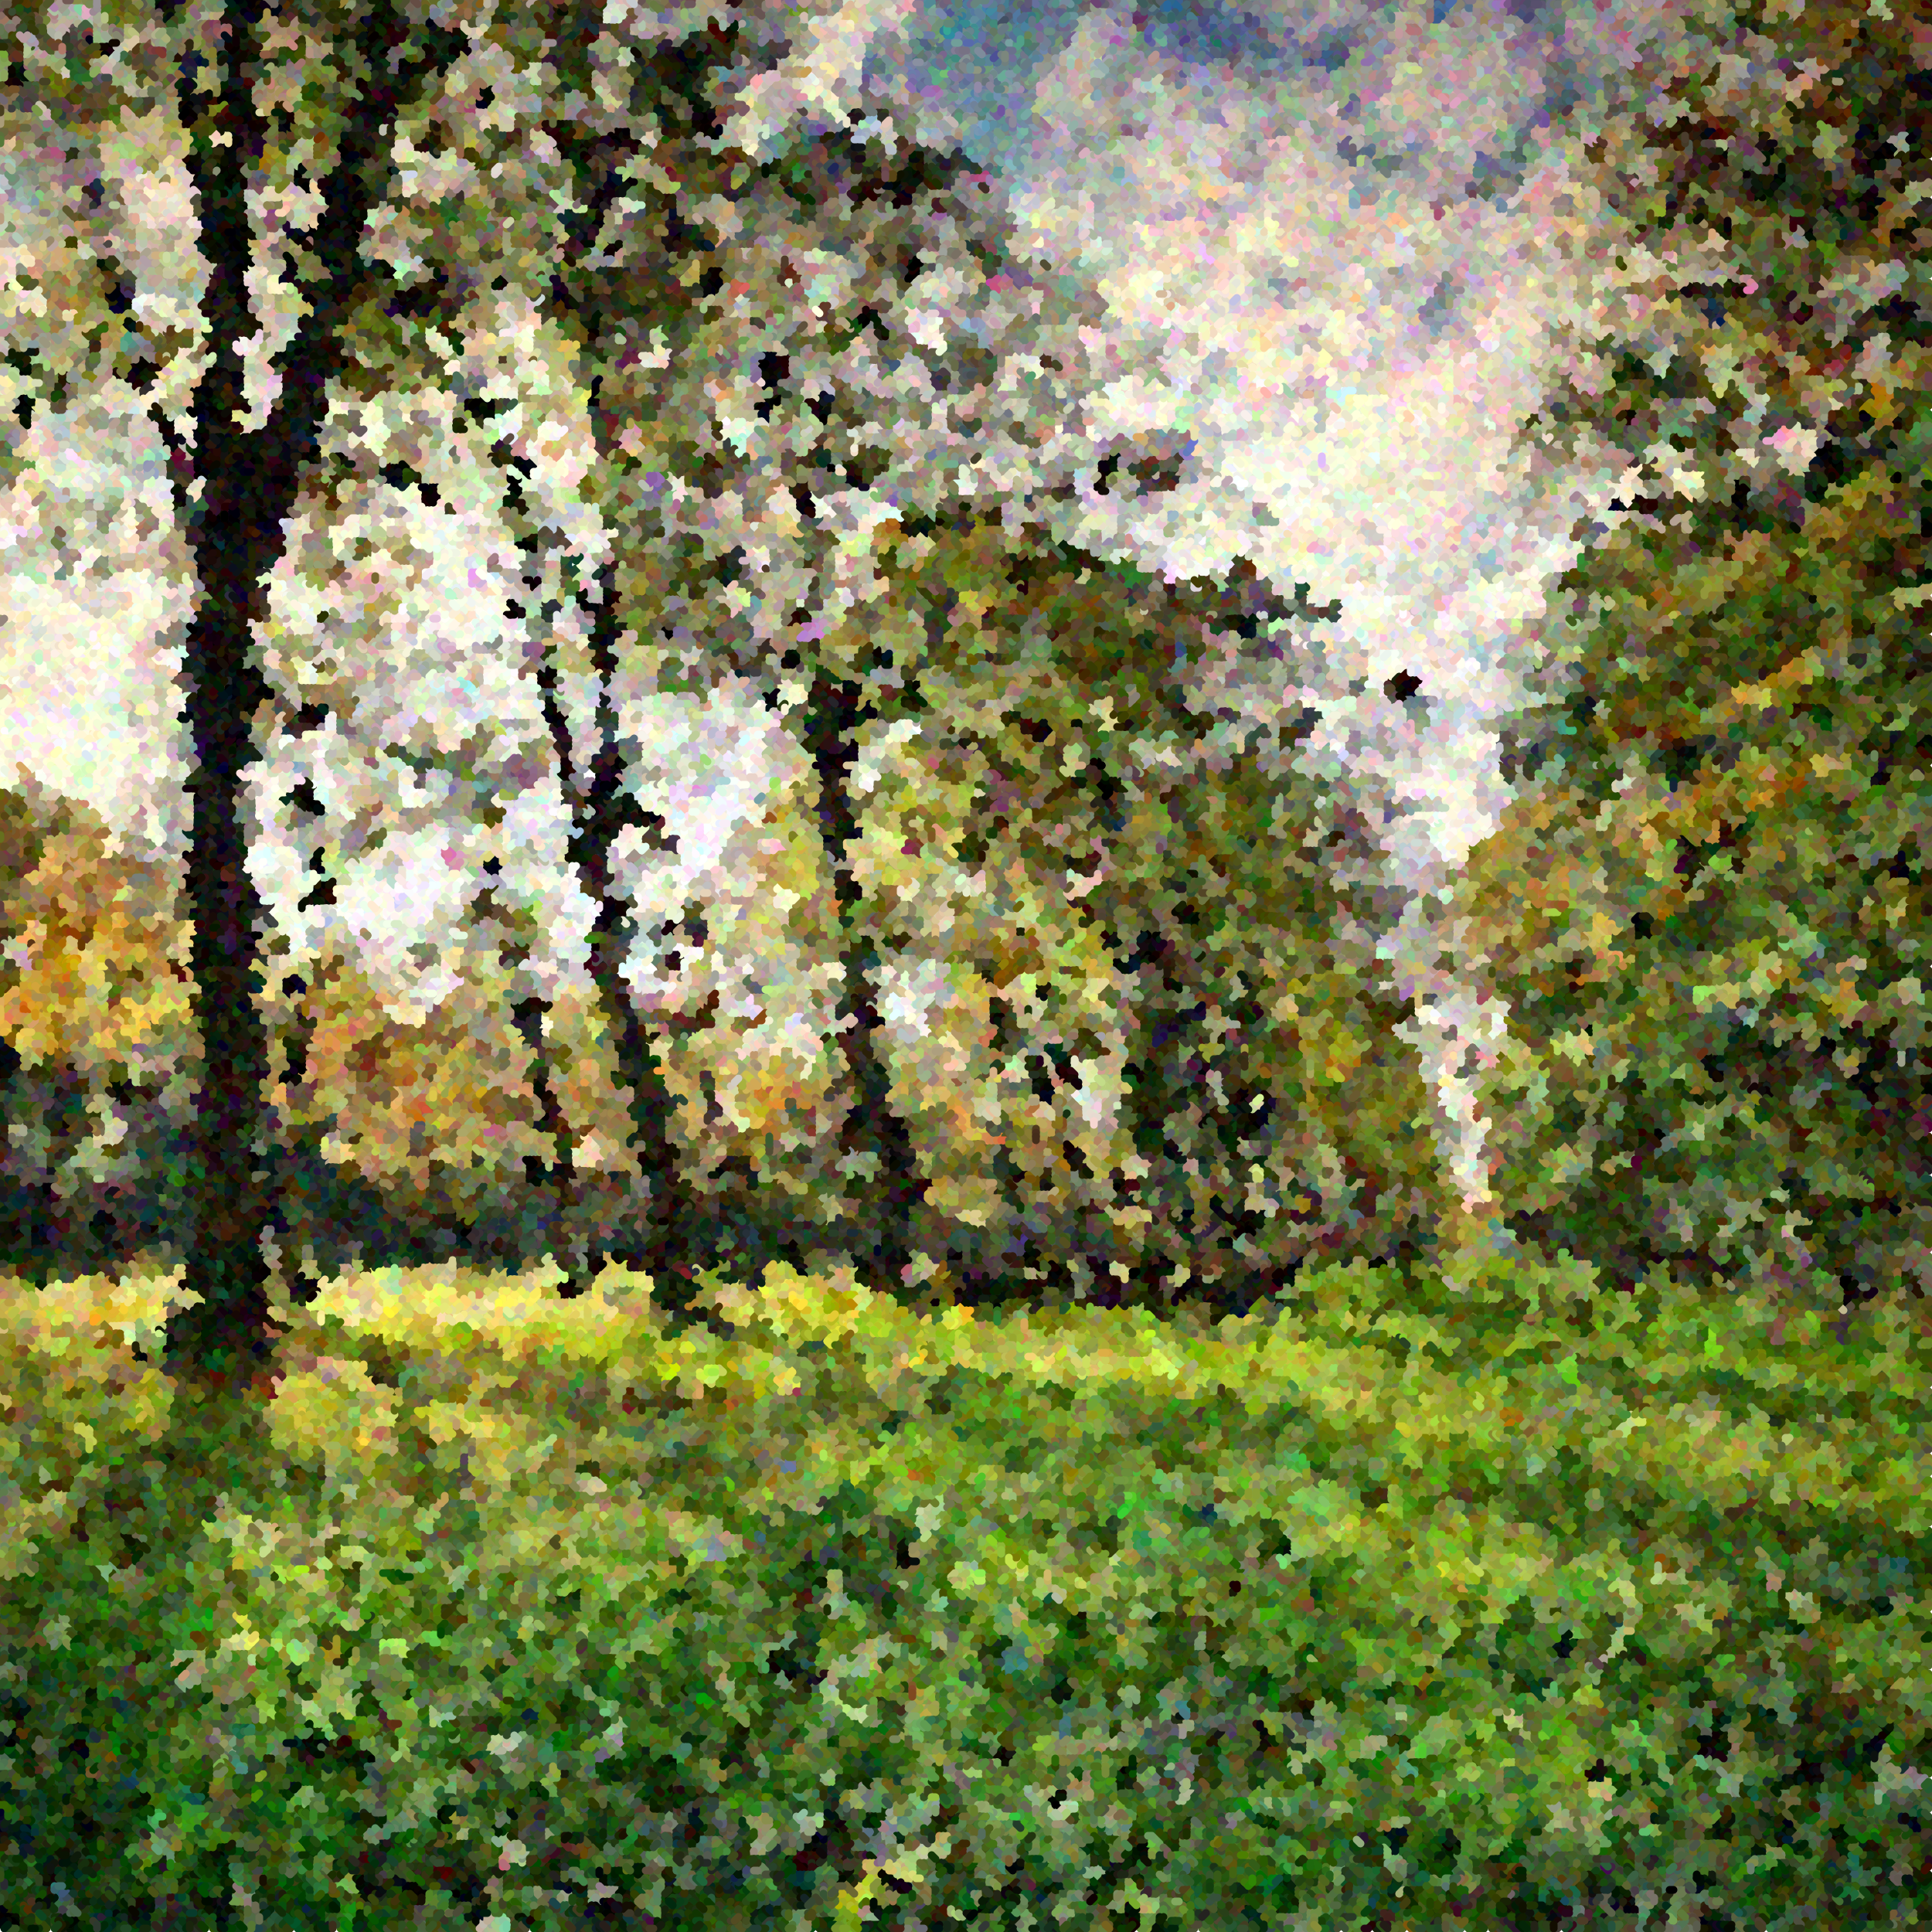
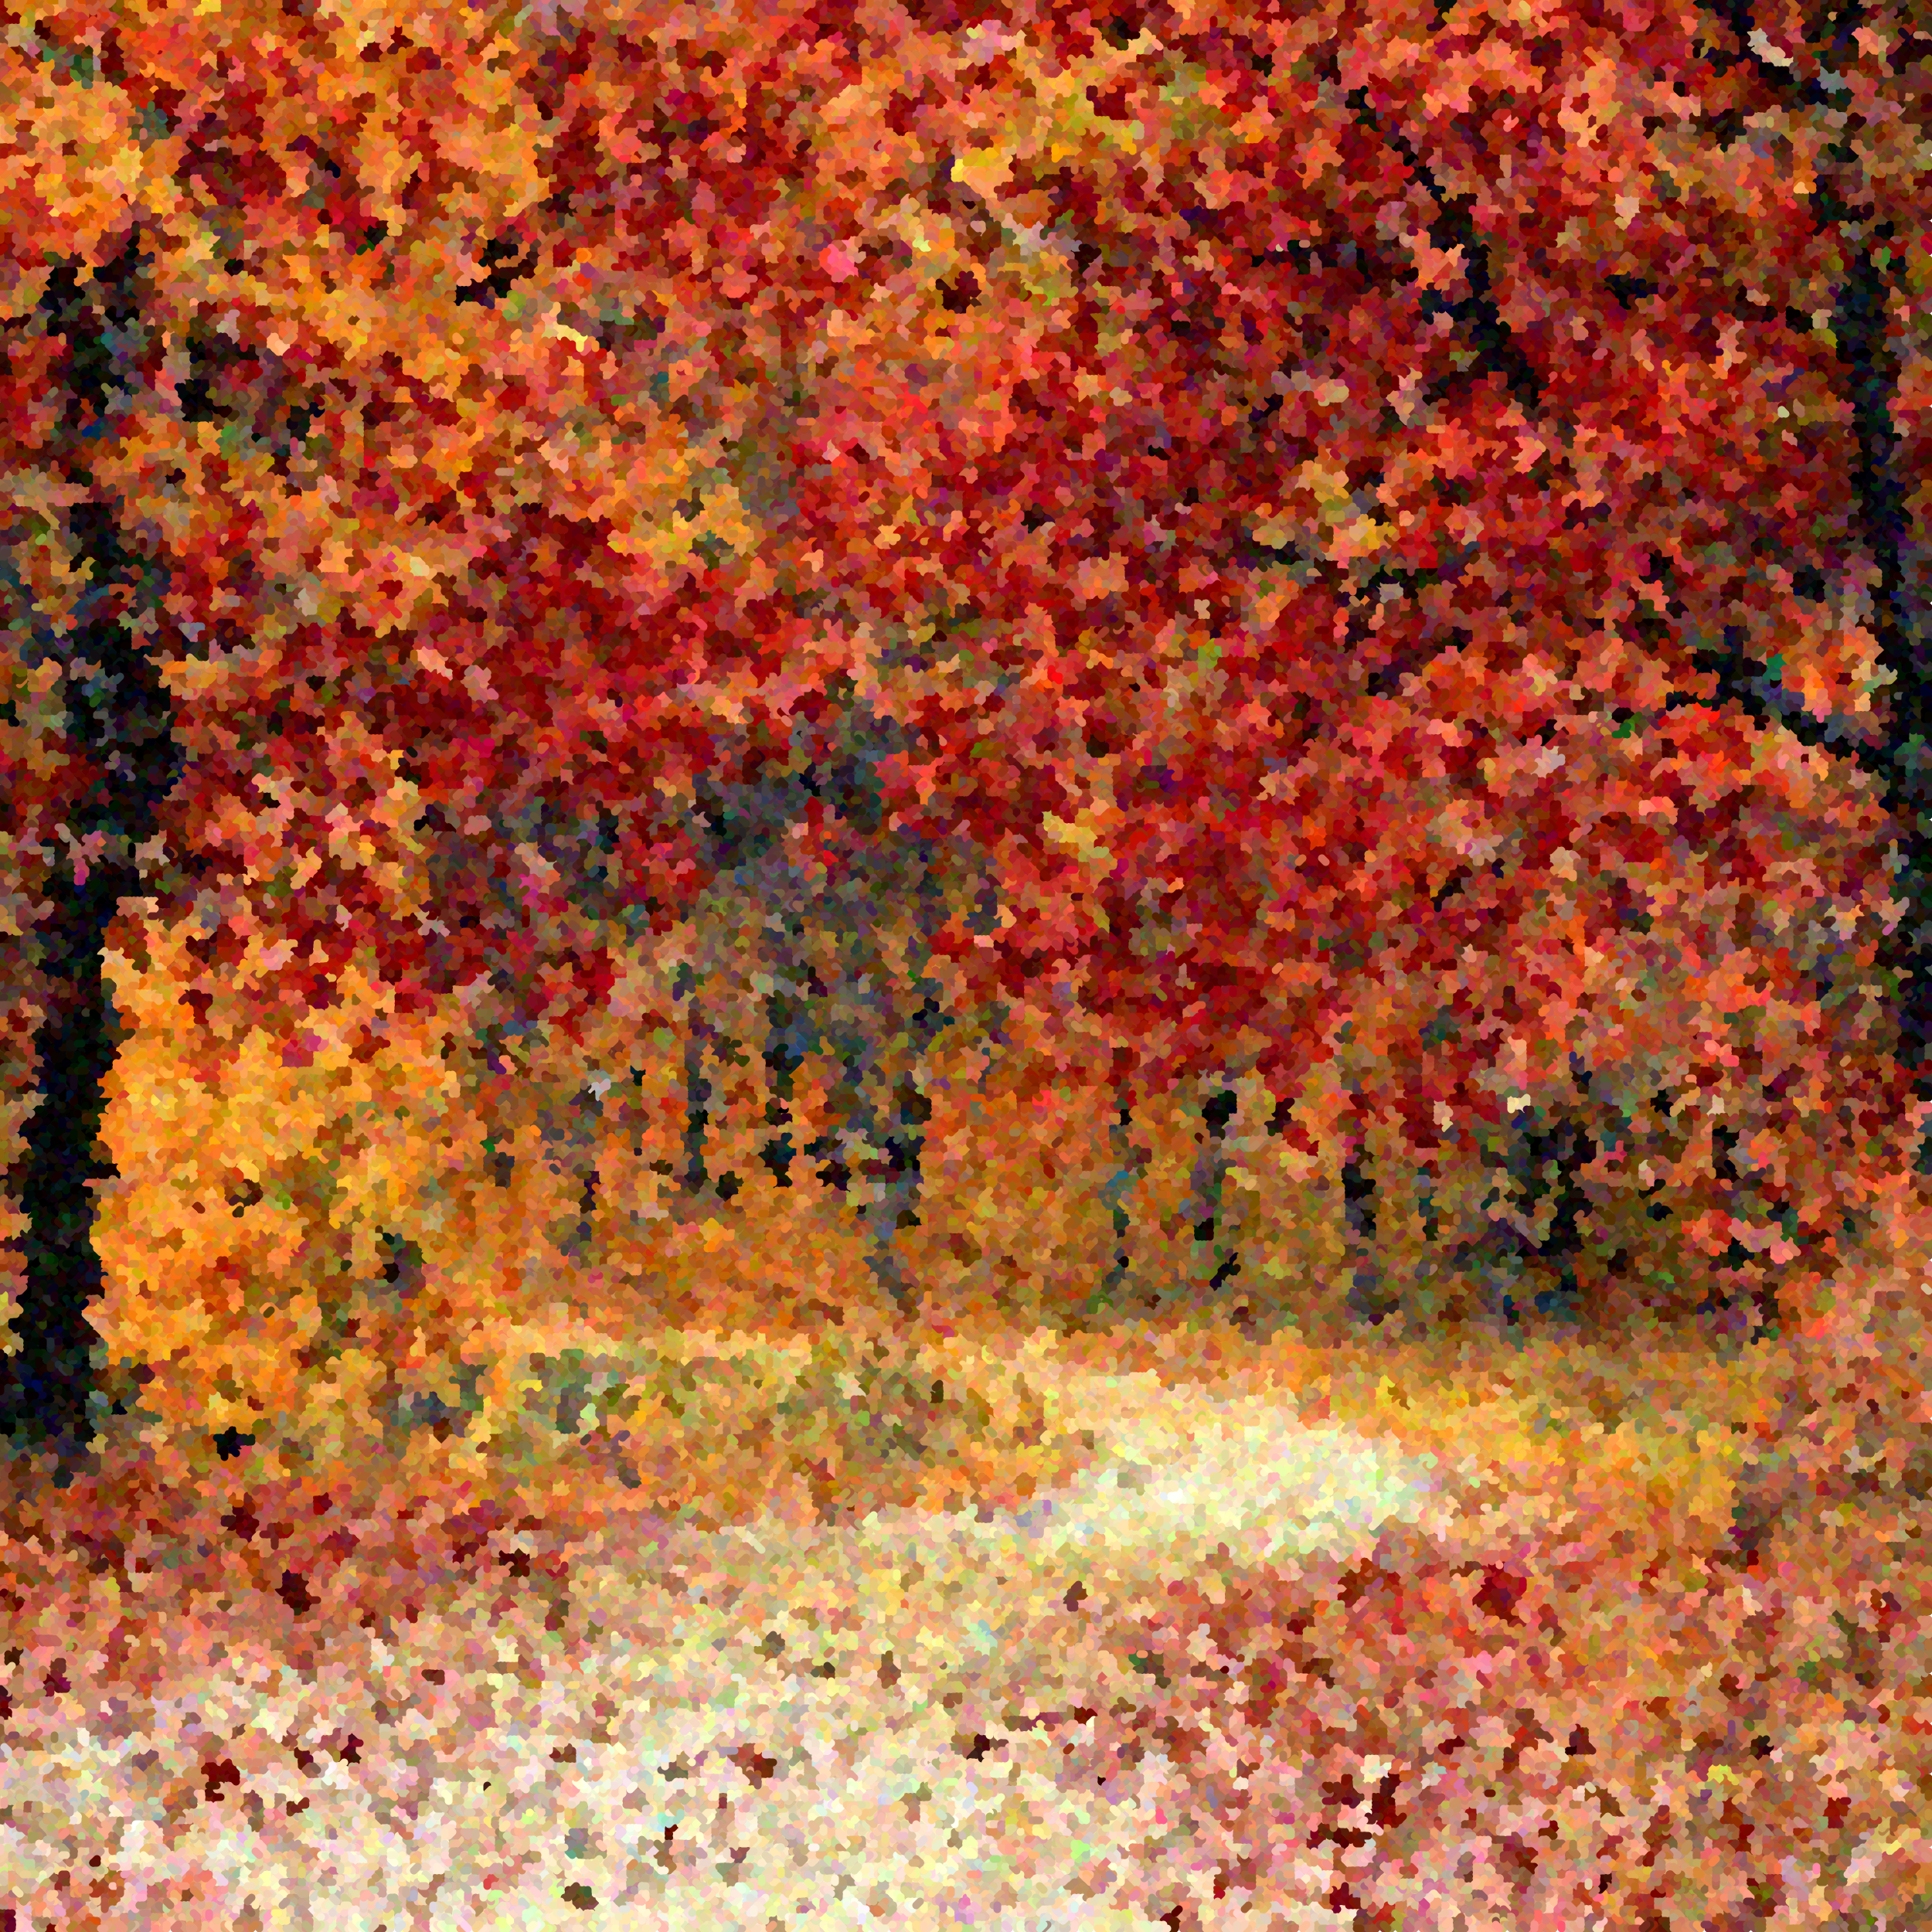
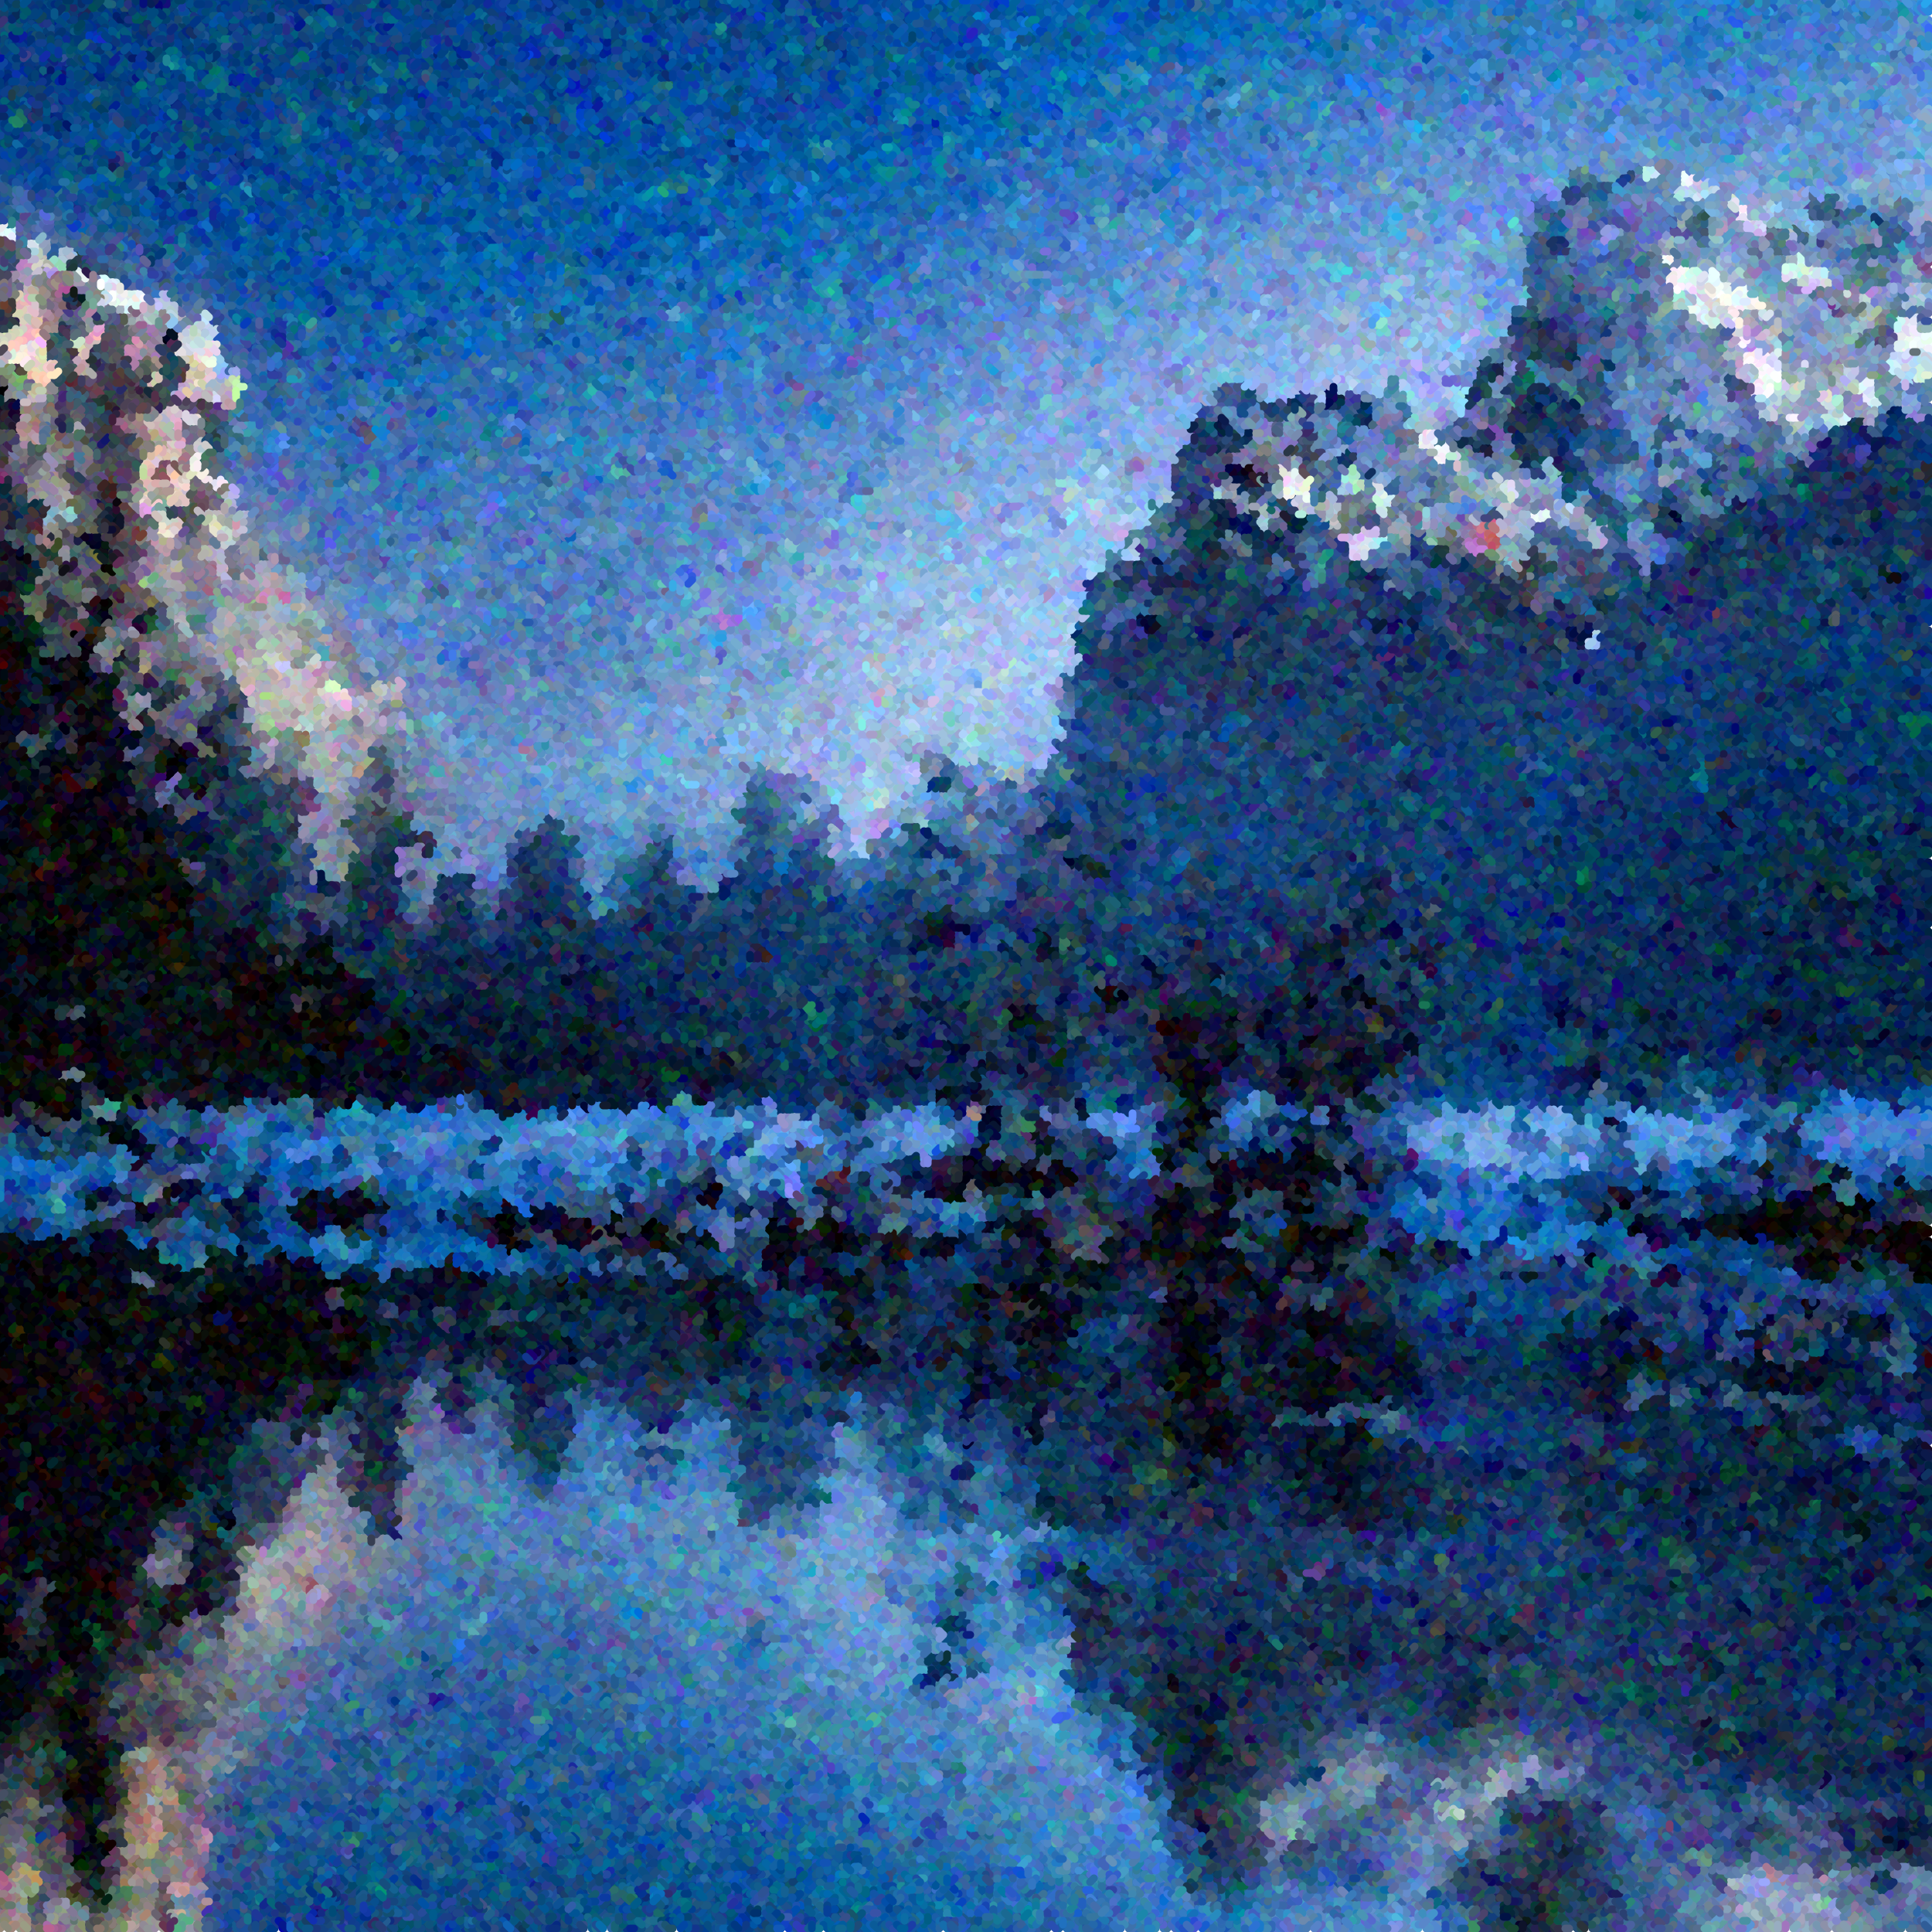
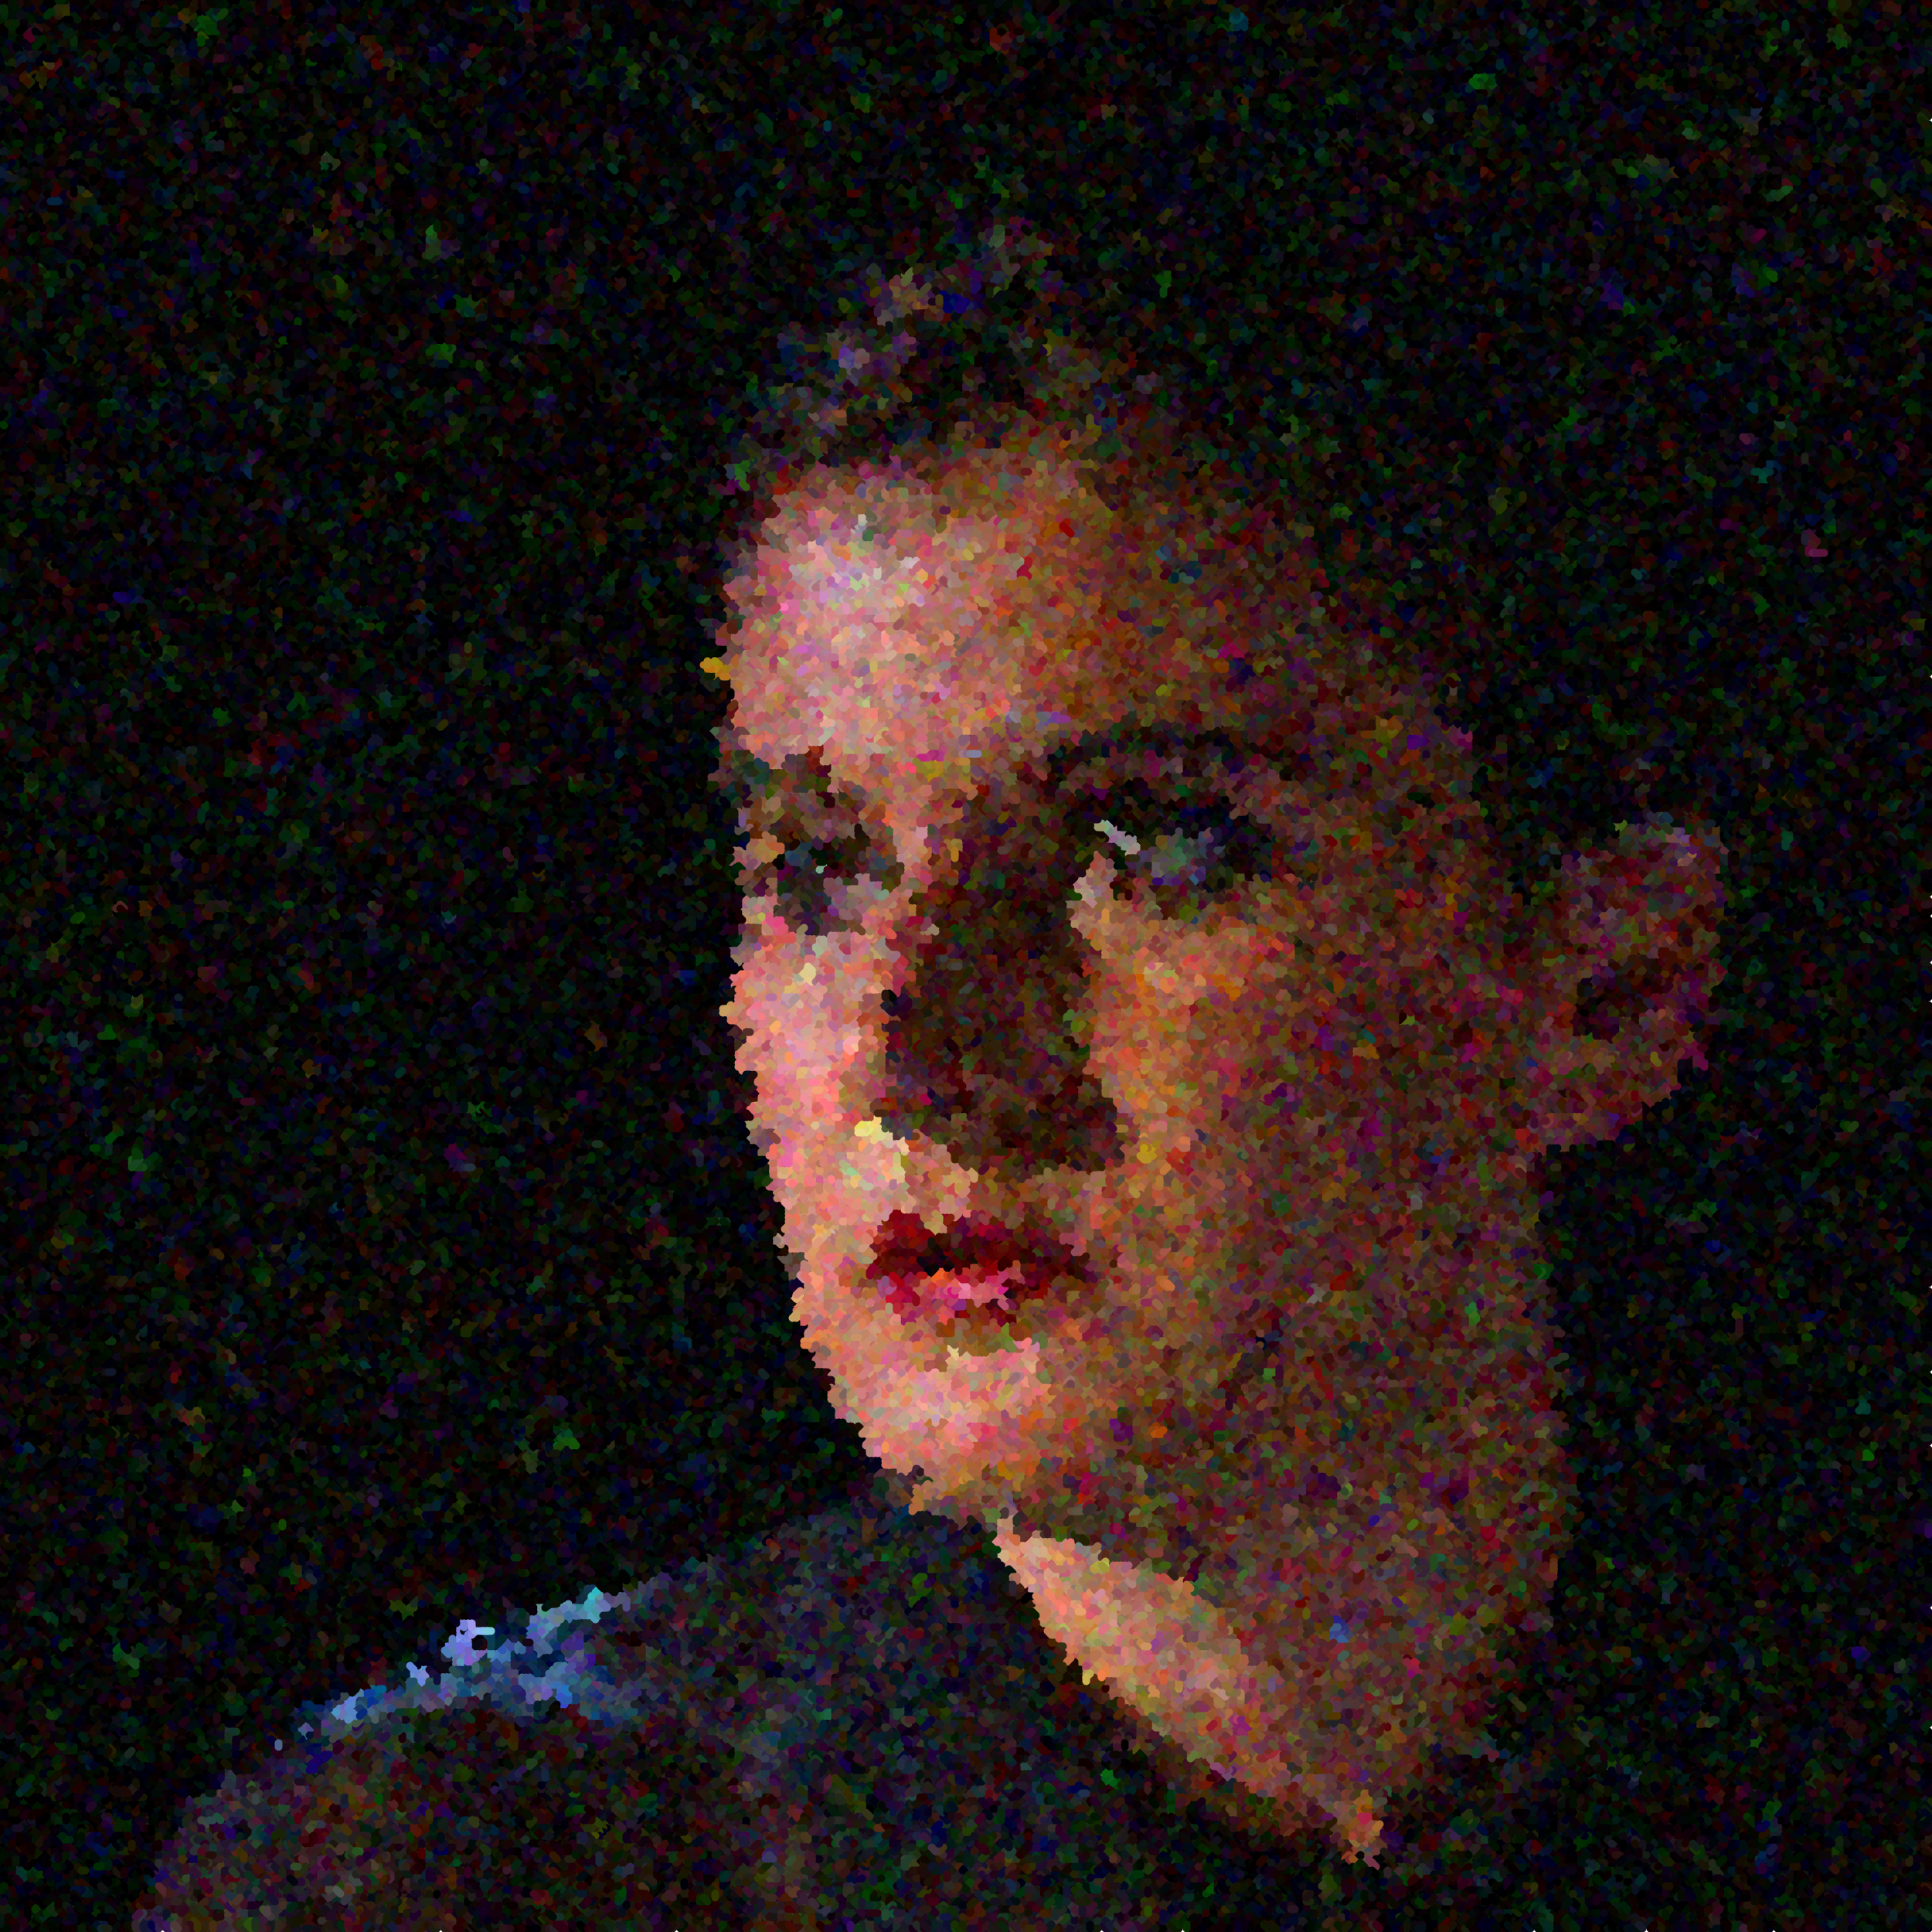
Here are some examples where seed points are spread around based on Poisson-disk sampling with a small radius, and the colors for the seeds are chosen based on an image. Here are some examples of (in my opinion) very beautiful painterly lanscapes generated with this approach.

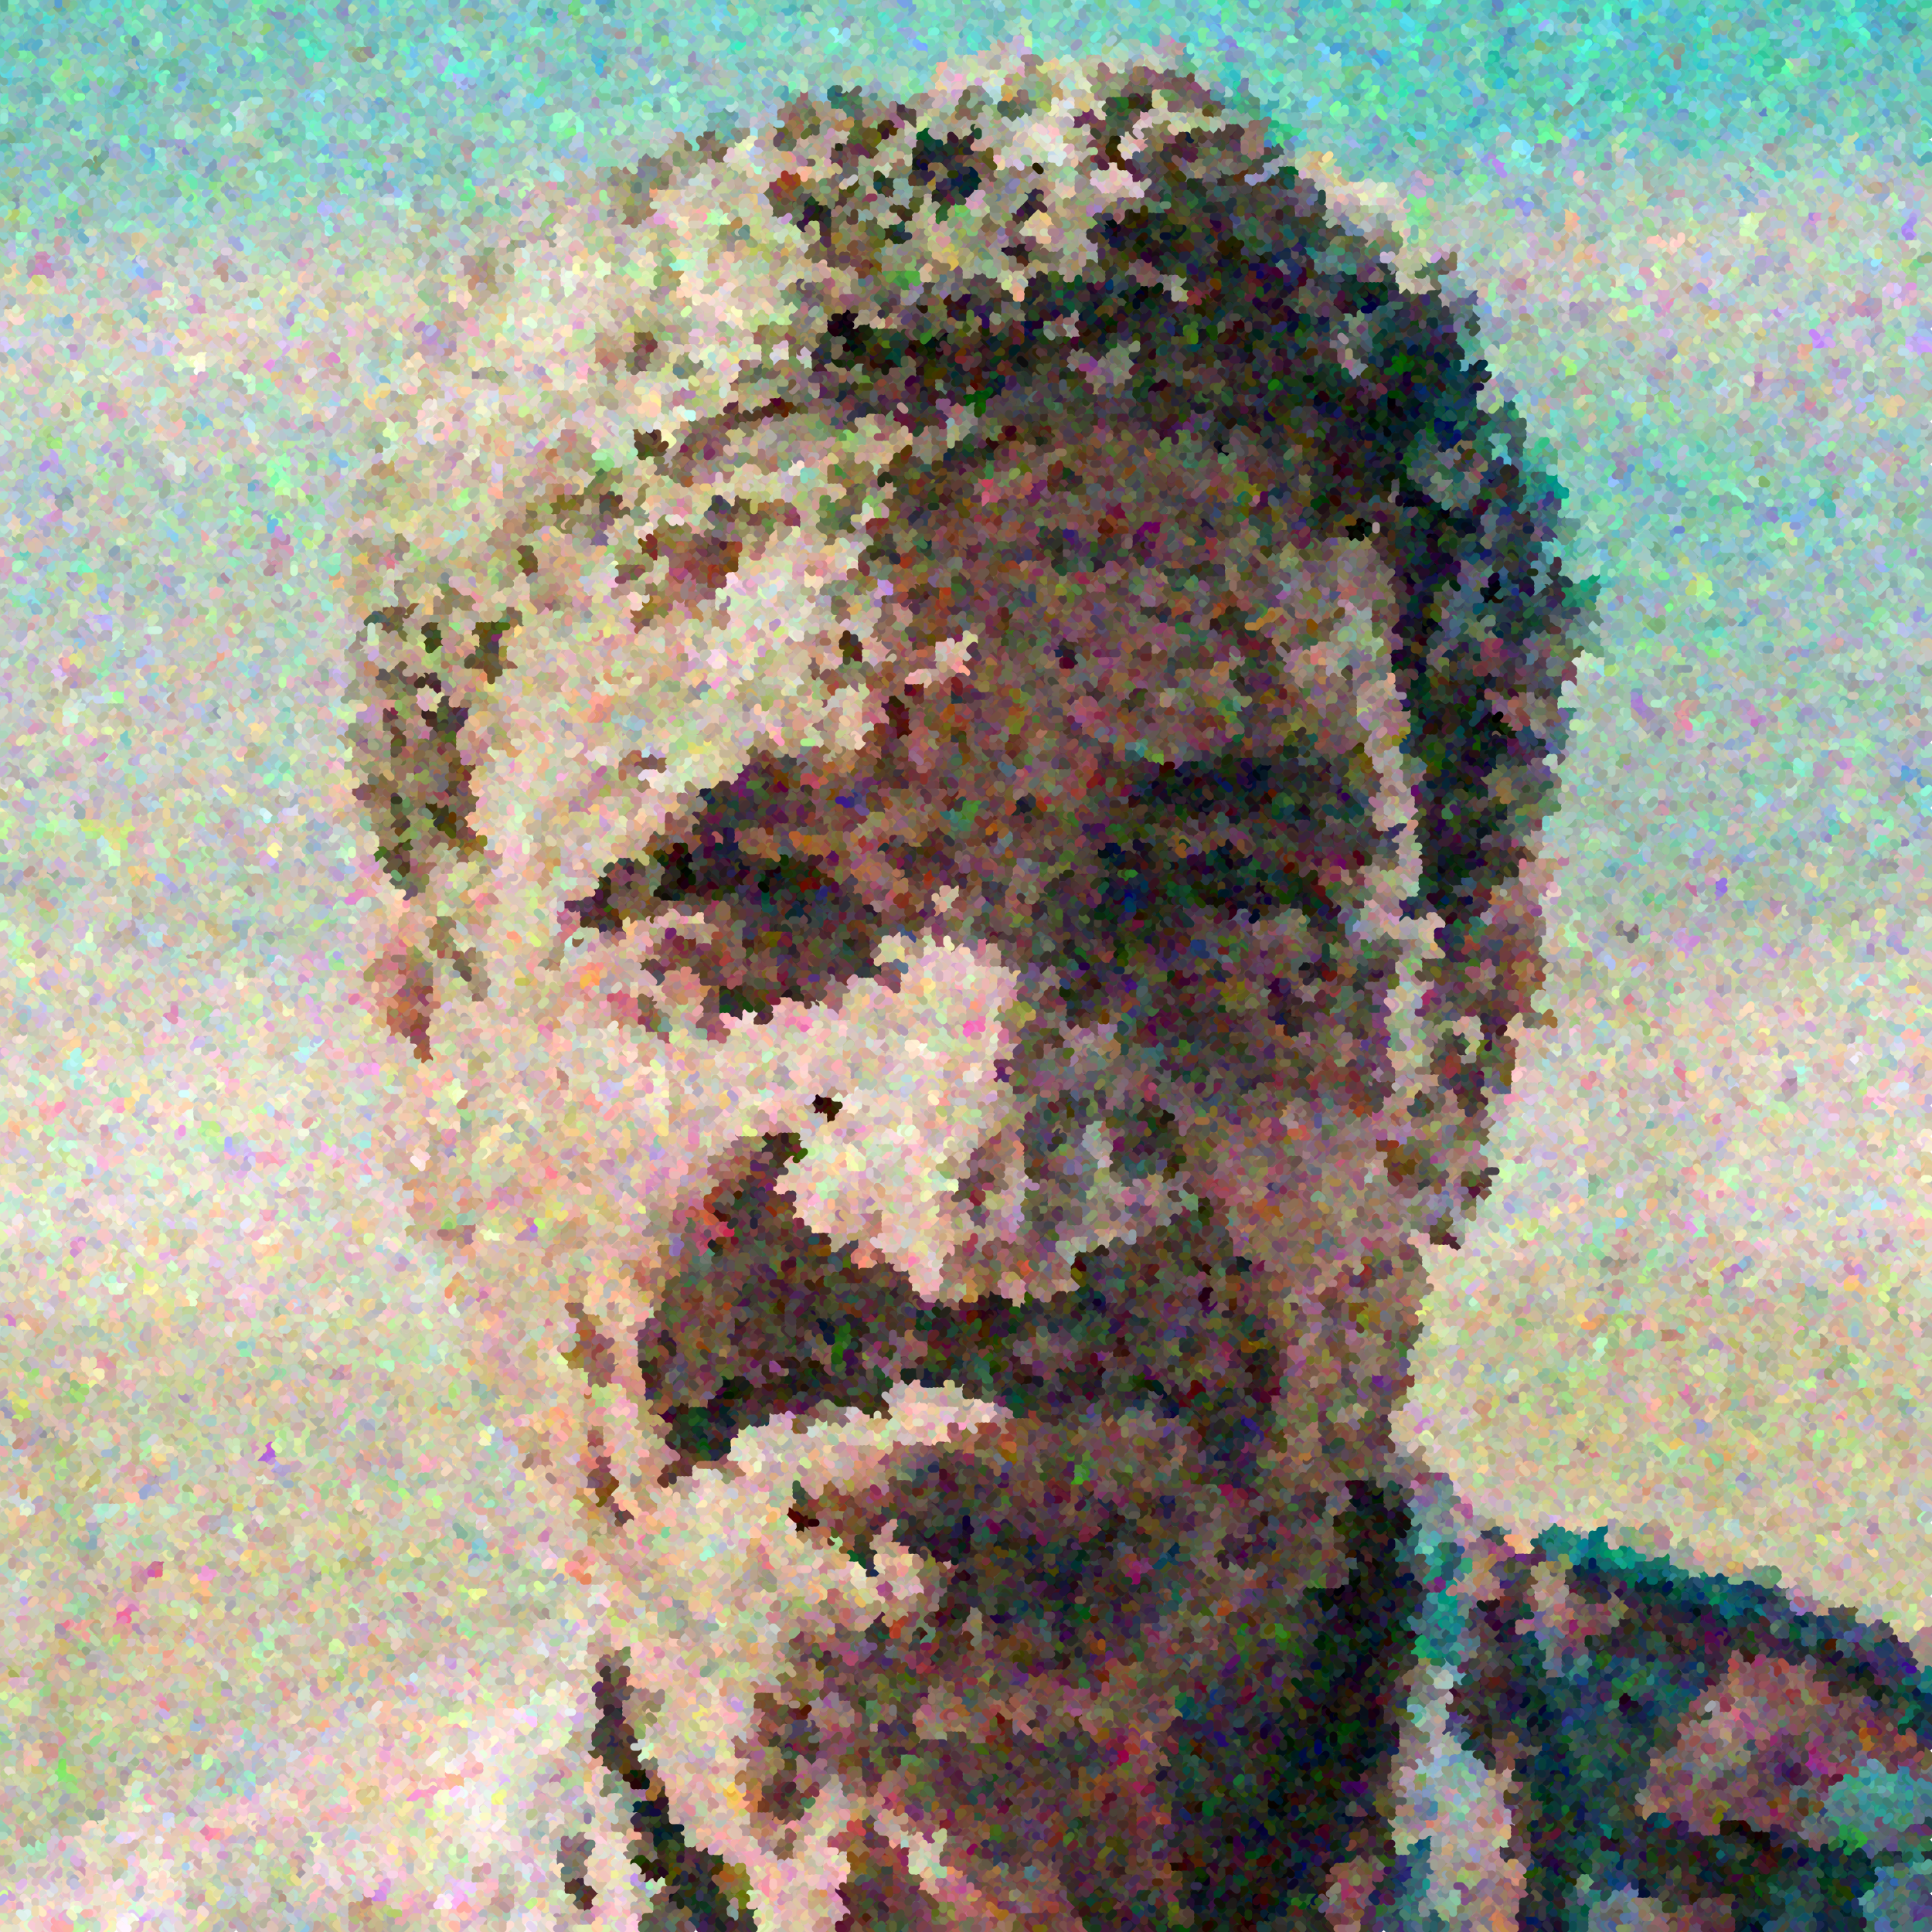
This also works relatively nicely for portraits!
More Tweaks
We’ve just barely scratched the surface of what’s possible with just one simple algorithm. You can play for weeks on end with the color tweaking alone: tying channels together, using HSB colors instead of RGB. You can also try using different mutations for different parts of the canvas, or limiting the extent of the filling to packed circles or polygons. So many possibilities…
Implementation in Processing
You can find a full version of my implementation, with easily-tweakable
parameters over on Github. I won’t go into detail on how I implemented
it and leave it as an exercise to you to understand how it works.
I’ve tried my best to comment things
where possible and to keep the implementation readable, so reading through
the code shouldn’t be too hard, and a useful exercise!
As a starting point, look at what the render() and run() functions do.